The word portrait conjures up visions of a face of an animal, a frame-filling full body shot or another up close and personal recording of the species. Typically, the goal is to reveal character aspects, an adorable expression or to show off the regal features of a majestic coat or colorful feathers. Ideally, the background will be out of focus so the subject stands out with no distractions. A long lens and wide-open aperture are often used to accomplish this effect.
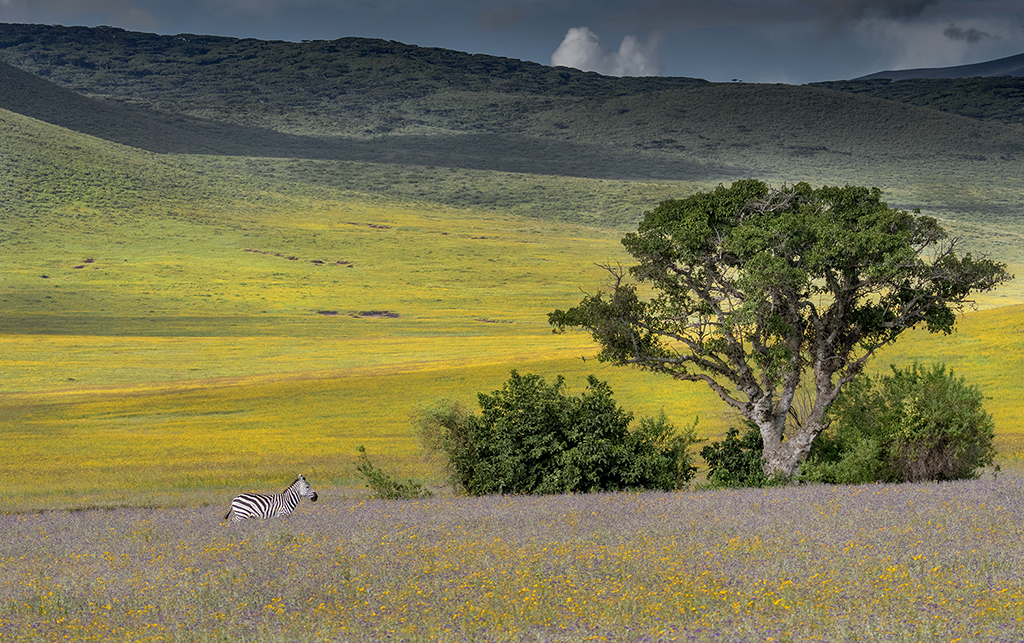
I absolutely make it a goal to make the above kinds of photos, but if I solely concentrate on them, there’s an entire category of photos I deprive myself of capturing. I wind up limiting my portfolio for the sake of adding a single type of image to my files. From an economic standpoint, this isn’t wise. If you’re lucky enough to go on a safari to the Serengeti, a frame-filling image of a zebra would be high on your list. They have character, the lines on their faces are intriguing and close up patterns of their hide can make great abstract photos. But what do those shots tell the viewer about where the zebra lives, what their habitat is like, what it may consume for sustenance and what other species live in its surroundings?
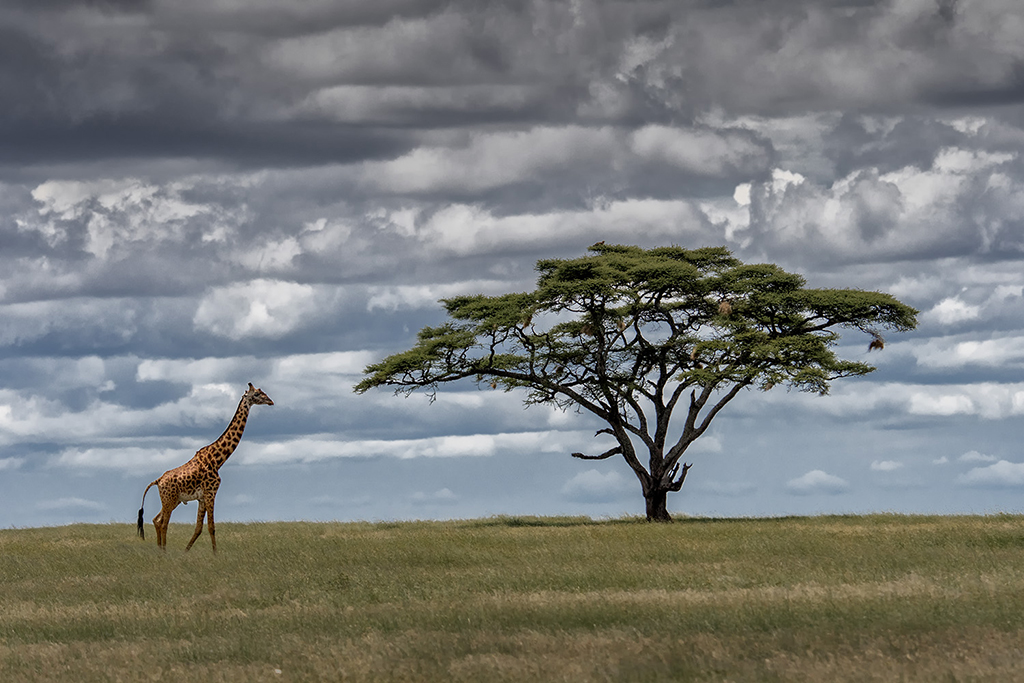
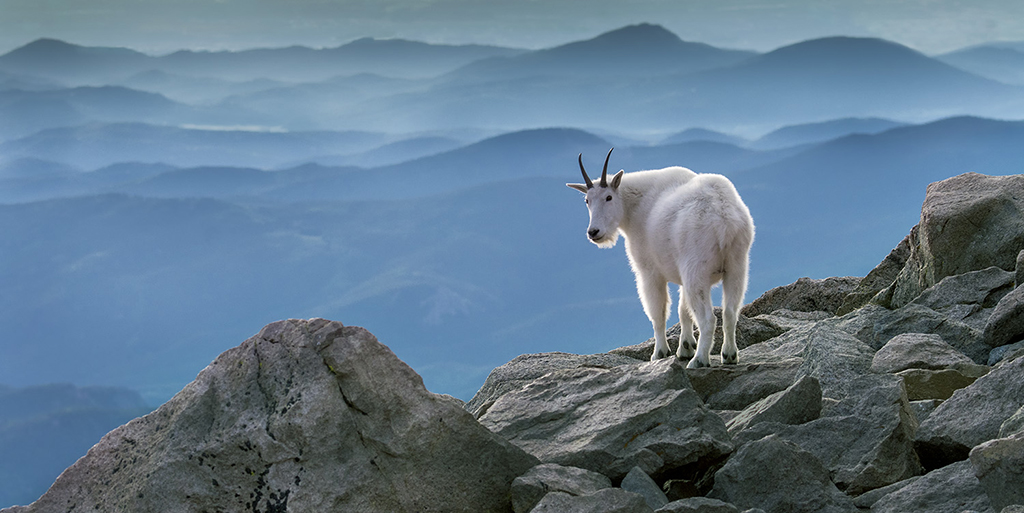
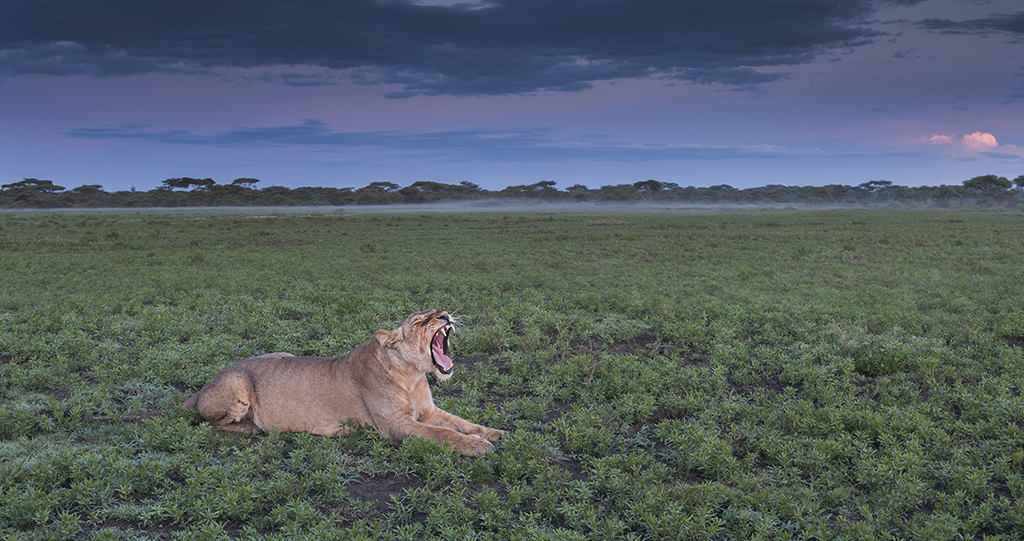
The simple answer to the above questions can be found in making environmental portraits. Obviously, as the words describe, the idea is to depict the subject in its surroundings so it becomes more of a scenic with the inclusion of the animal. Use a semi-wide or short telephoto to show the subject in its domain. The focus becomes more of a storytelling photograph. By standing back or switching to a wider lens, you include more terrain in the scene and portray much more information about the animal than a close-up portrait can reveal. There is another huge benefit to using a semi-wide or short telephoto. In that you won’t be infringing upon the animal’s proximity, it will feel more at ease and act more naturally. This can lead to capturing intriguing behavior that may otherwise not be displayed.
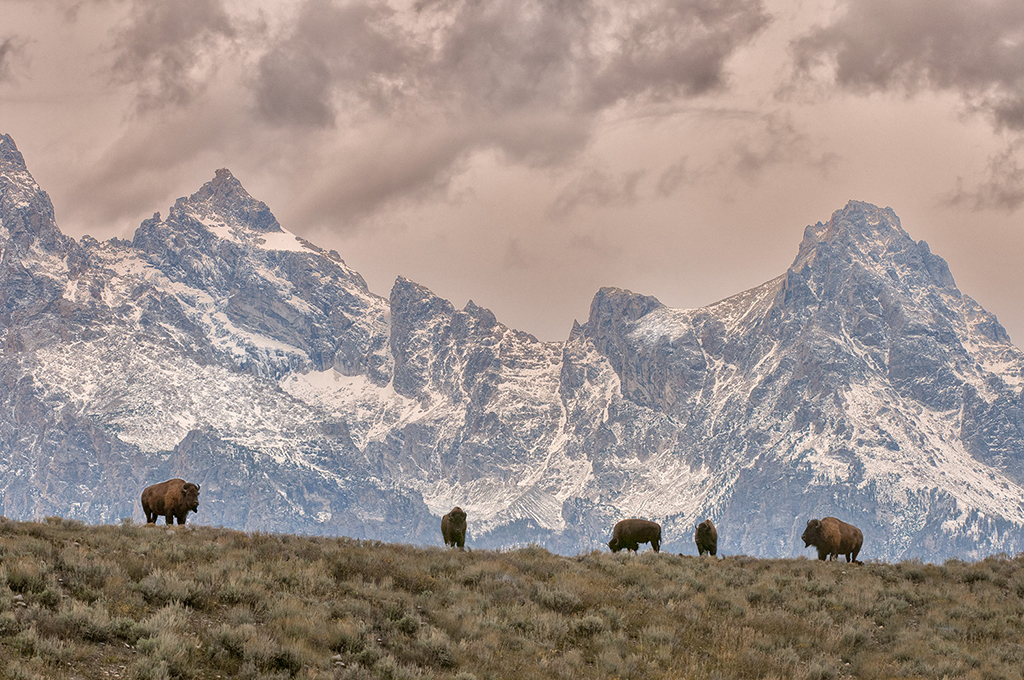
The strategy I use that results in better environmental portraits is to find a great scene in which the animal resides and wait for it to walk or fly into a strategic location. In essence, I make the scenic a priority and hope the subject goes where I will it. Study the light that hits the land and take into consideration how the light will fall on the animal when it becomes part of the scene. Early and late light works well as does backlight if it creates a silhouette or glow around the subject. Patience often comes into play as does frustration if the animal doesn’t cooperate. But when everything comes together, you’ll thank yourself for your persistence. Don’t overcomplicate the scene—keep it simple so the animal, although smaller in the frame, becomes an integral component. Even though it will be small, the goal is to get the viewer’s eye to immediately see it when viewing the image.
Wide angles inherently provide more depth of field, so it’s not always critical to use a small aperture. This is a plus if the subject is in motion. You don’t want to create a beautiful image and have it ruined because the animal’s locomotion turned it into a blur. Selective focus can work, but I find deeper depth of field provides better results. Experiment and try both versions and decide which works better when you edit down your files. Give the environmental portrait some attention the next time you’re in the field. Hopefully, it will lead to a sale or two for you.
Visit www.russburdenphotography.com for information about his nature photography tours and safari to Tanzania.
The post Environmental Portraits appeared first on Outdoor Photographer.