Learning how to eliminate background distractions in a photograph is imperative. As meticulous as one can be in composing a perfect subject, if the background isn’t treated with equal care, the end result won’t be successful. I’m often heard saying, “The background is equally as important as the subject.”
What constitutes a poor background? In-focus elements that compete with the subject immediately comes to mind. But sometimes interfering elements aren’t as evident. A successful background can be obtained if you use a telephoto lens and open the aperture to its widest setting. It’s understood that the subject is far enough away from the background to throw it out of focus.
How the subject is lit can help determine a successful background. If the subject is lit and the background is dark, the viewer’s eye is drawn to the subject. If the subject can be moved, find a background that is plain and simple. Create your own background when working with macro subjects and place it behind the flower, insect, snowflake, etc. Additionally, the amount of subject magnification determines how much of the background is sharply rendered.
In each of the four examples that accompany this week’s tip, a specific technique was used to highlight the subject and/or obscure the background. Be sure to check out part one and part two to learn all 10 ways a background check can be performed.
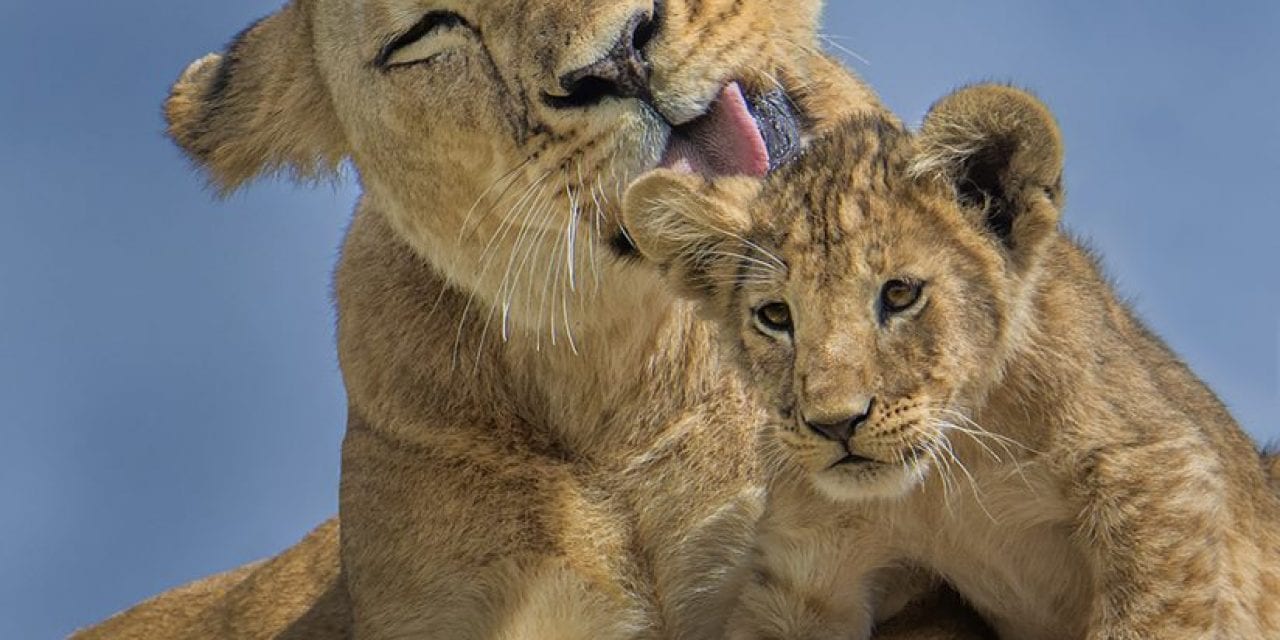
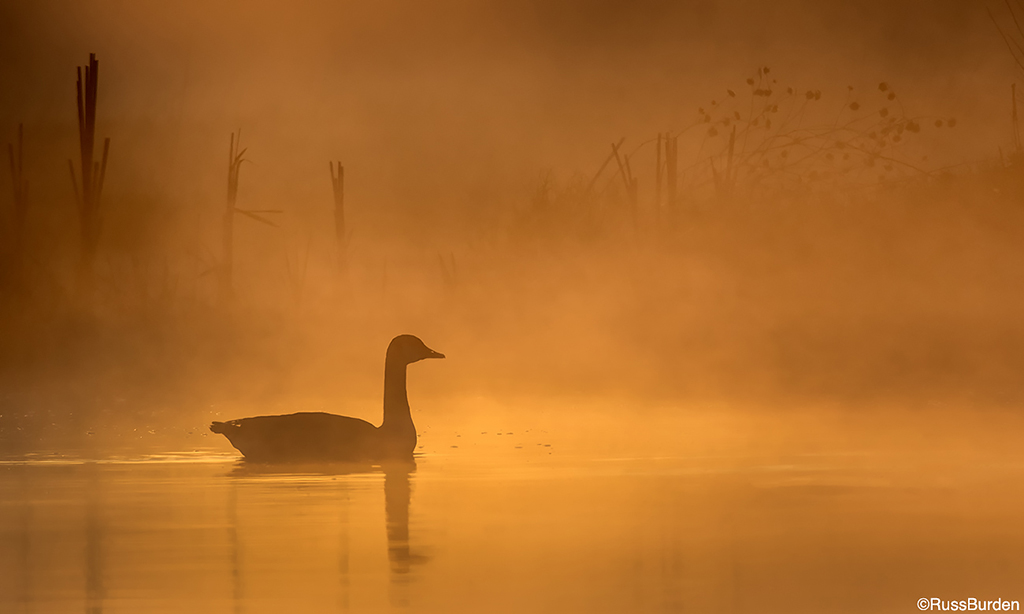
Use The Sky
A clean or dramatic sky as a backdrop can be an asset. Be it a great sunset, a clear blue sky, an impending storm or one full of puffy white clouds, many a great photo can be made. Shoot against a clear-blue sky to offset the subject. The ominous light from an impending storm is extremely moving. Whenever I encounter these magical moments, my main focus is finding a foreground subject to use as a center of interest. This type of light doesn’t last long, so work quickly. The same goes for the light of a great sunrise or sunset as it reaches its climax. Images made with the sky as a background can be enhanced through the use of filters. For blue skies, I’ll either use a polarizer to enrich the saturation or a graduated neutral-density filter to bring the exposure values of the sky closer to the value of the foreground elements.
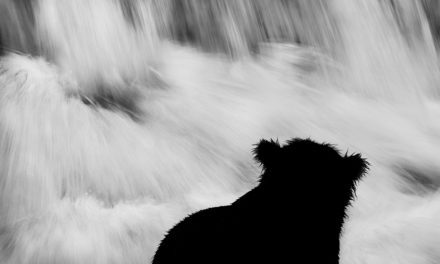
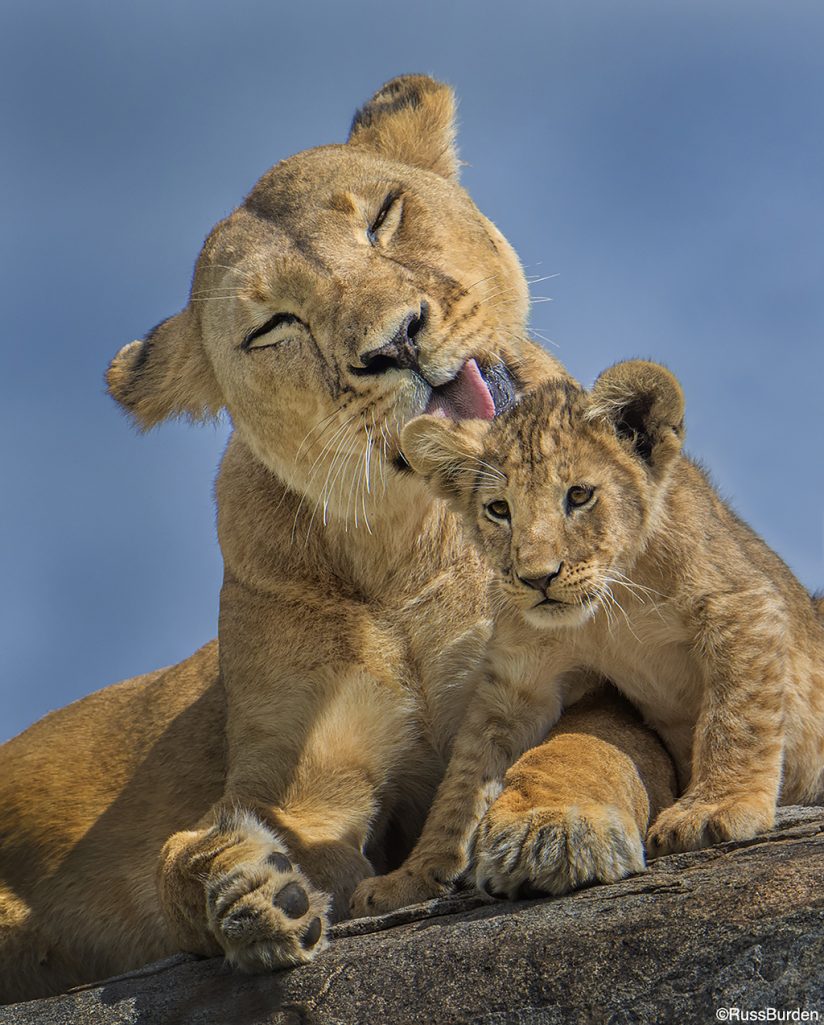
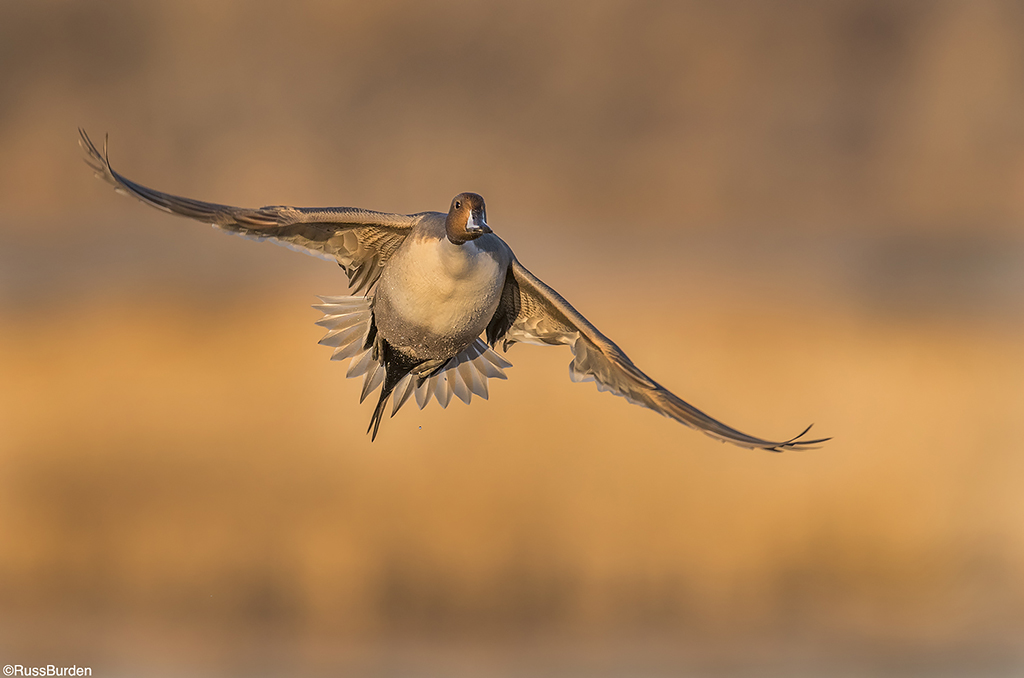
Use Of Backlight
Backlight the main subject to separate it from the background. If you create a ring of light around it, a halo effect delineates the subject with a radiant glow. Backlighting can be achieved by the sun or with flash. With small subjects, flash is a more practical way to go because the intensity and direction can be controlled. For large subjects, the sun’s assistance is needed. For either source, flare can be a problem, so the use of a lens shade is recommended. Also, remove filters as they can cause flare. Good subjects to backlight are flowers or insects outlined with moisture drops or tiny hairs. Many flowers are rimmed with cilia-like whiskers that glisten when lit from behind. Whatever reading I get from the ambient light, I slightly add a bit more light. It’s the overexposure that makes the hairs of the flower glow.
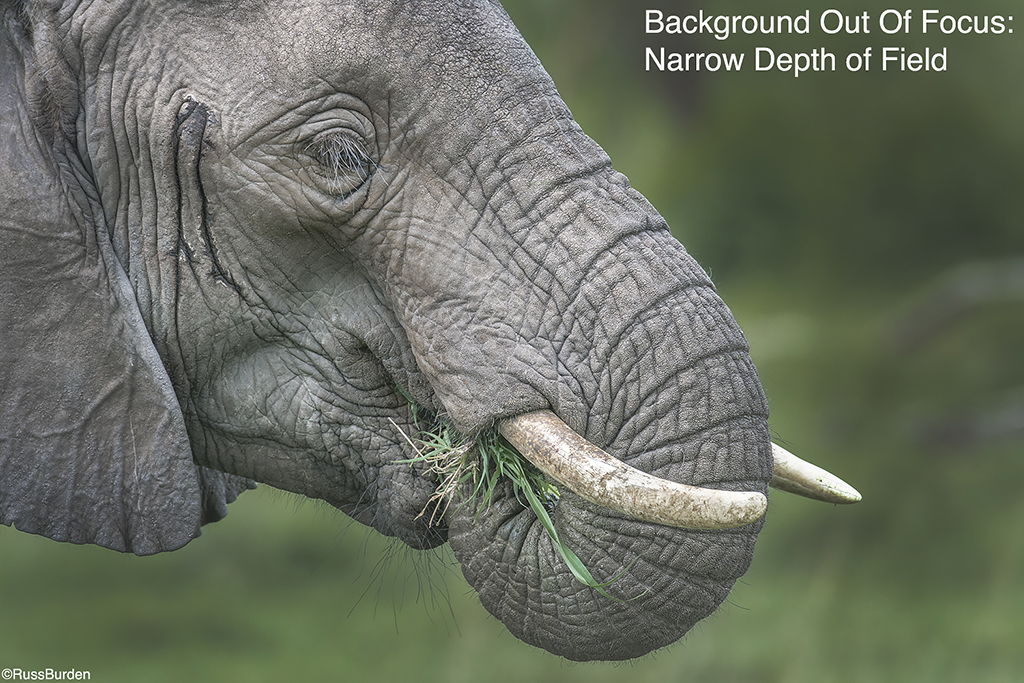
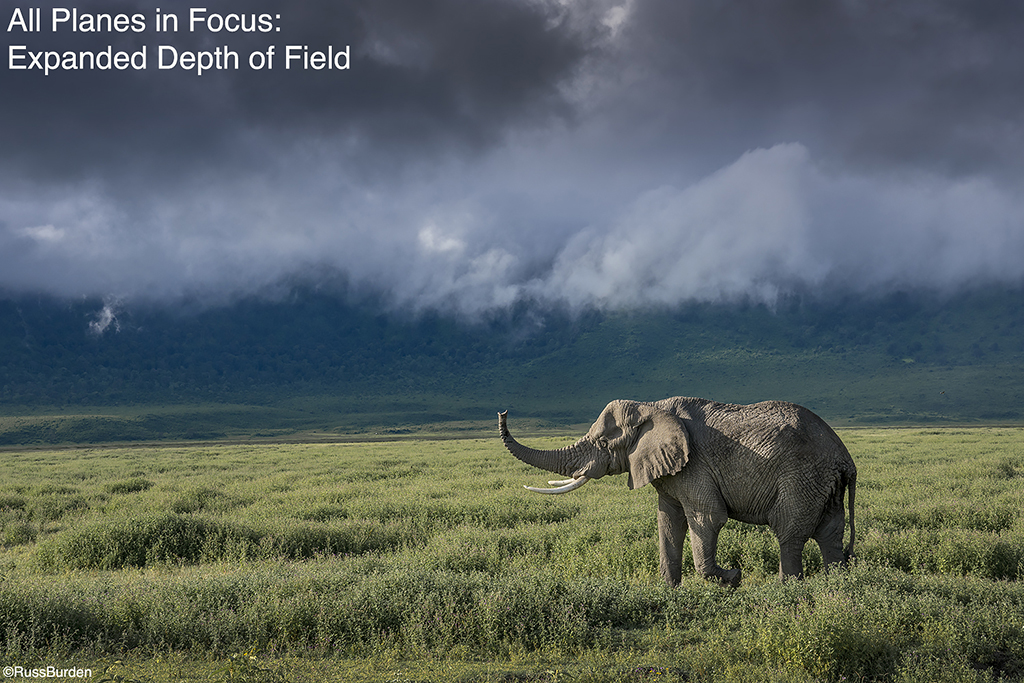
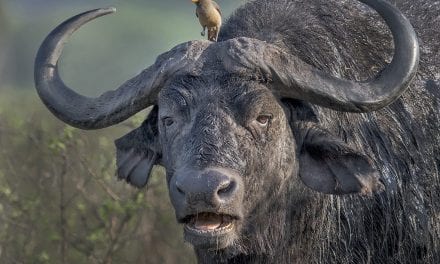
Use Depth Of Field
The strategic use of depth of field controls how much is in focus. Wide-open apertures give the least amount of depth of field, while small apertures increase the range of focus. To defocus the background if the subject is near, it’s essential to use wide apertures. The farther away the subject is, smaller ƒ-stops can be utilized to ensure sharpness throughout and still provide a wash of color for the background. An integral feature of many camera bodies that’s underused is the depth of field preview button. Unless you take every picture at your lens’s widest aperture, every picture will turn out differently from how you view it in the viewfinder. If your lens is set to ƒ/11, the way it’s viewed when you make the composition will net an image with much more in focus. The result is an in-focus background. If you learn how to use the depth of field preview button, you’ll be able to see the amount of sharpness in a subject/background relationship. If the subject isn’t sharp, you can determine what f-stop gives you the needed depth of field to keep it in focus while simultaneously blurring the background.
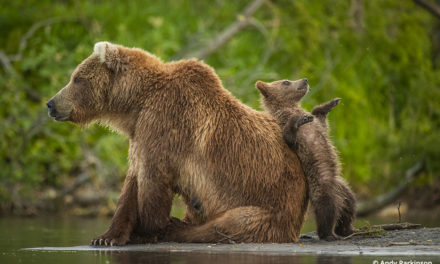
Long Lenses To The Rescue
Long lenses are often used to create separation of the background from the subject. As the focal length increases, the angle of view is decreased. This is used to a photographer’s advantage. Since the angle of view is narrower, less of the background is shown. Potential distractions are eliminated. For instance, a 50mm lens will take in four times the amount of background area as a 200mm lens with the subject the same distance from the photographer. This is why I use longer focal length lenses to do macro work. An added bonus is the working distance to the subject is greater. This way I don’t intimidate what I photograph. If you stay out of an animal’s fight-or-flight zone, it ensures a longer working session.
Visit www.russburdenphotography.com for information about his nature photography tours and safari to Tanzania.
The post Mandatory Background Check, Part 3 appeared first on Outdoor Photographer.