The panoramic format has become very popular. Let’s take a look at some reasons why a photographer would want or need to make a panoramic image.
You confront a sprawling scene and every aspect intrigues you. The problem is the upper and lower portions lack the dynamic qualities of the central part. Pano to the rescue.
You left your wide-angle lens in your car and it’s two miles back in the parking lot. The light that illuminates the entire mountain range evolved into something special and all you have is your medium telephoto and superzoom. Pano to the rescue.
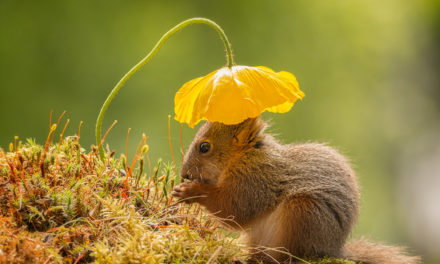
You left your wide-angle lens in the photo closet thinking you were going to exclusively make wildlife images. You encounter a long ribbon waterfall, but your widest focal length doesn’t allow you to make the full vertical capture. Pano to the rescue.
You need to print a huge file of a 2×3 aspect ratio. You were commissioned to make a 60×90-inch print to appear in the rotunda of the new office building. You realize you grabbed the wrong camera. You took the crop sensor body instead of the 50-megapixel full-frame body you intended to pack. Pano to the rescue.
You need to make a super long and skinny print to hang as a banner over an archway to commemorate a wedding, the return of a veteran from overseas, a retirement party, etc. Pano to the rescue.
As you can see, the panoramic format can come in very handy. Therefore, knowing how to create a well thought out file is imperative. Let’s dive into the how-to aspects so the next time you encounter one of the above scenarios, you’re ready to rock and roll.
Make a Garbage Shot: Whenever I create a series of images to stitch, create an HDR photo or know I’ll perform definitive post-processing techniques, I shoot an out-of-focus garbage shot before I start the series of images and directly after I finish. The garbage shot is my signal to not delete a deliberate over or underexposed file or a file that has a funky composition because it’s the end piece of a pano.
Filters: The only filter I use is a clear or UV, and I avoid shooting straight into the sun as it increases the possibility of producing flare. Although I often use a polarizer when I make landscapes and sometimes use a graduated filter for color or neutral density, I remove both when I make a pano. A graduated filter can be used as long as the vertical subjects in the image don’t have a lot of variation. I never use a polarizer if I include any sky. A polarizer has its greatest effect when aimed 90 degrees to the sun. As you deviate from this point, the effect is lessened. If a large expanse of the sky is included, it will create sky blending nightmares and you’ll wind up with a huge variation of sky-blue density that looks extremely unnatural. This being said, I did use a polarizer to make the vertical pano of the waterfall. It removed the glare and reflection of the sky on the wet rocks and moss.
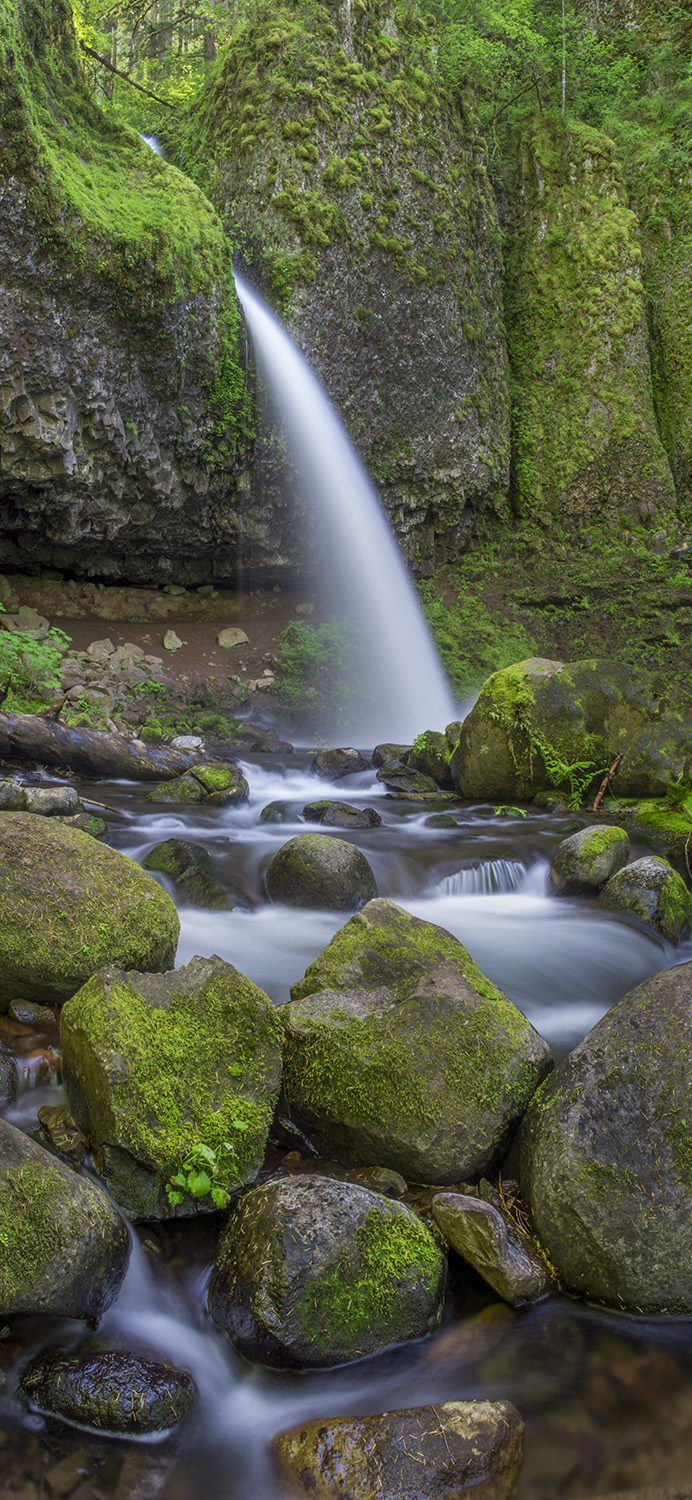
Vertical vs. Horizontal Capture: It’s not uncommon to use a horizontal format to capture individual files that comprise the end result, but the standard practice is to hold the camera vertically. Vertical captures take in more head and foot room from which to crop and they provide less distortion. Conversely, if the end result is a long vertical, as in the image of the waterfall, use a horizontal format to stitch the pieces together.
Shoot in Manual Exposure: Depending on the ratio of highlights to shadows of each section that constitutes the final image, as you pan from left to right or top to bottom, the likelihood of exposure variations is high. This is especially true if there are deep shadows and silhouettes along with bright highlights that live in the scene. Meter the portion with the brightest highlights that need to maintain detail in manual mode and use this as your base exposure for the entire series. If needed, make a bracketed series of each section.
Level the Camera and Tripod: I sometimes handhold the series, but I much prefer to use a tripod. If forced to handhold the camera, it’s imperative the software can handle off-axis variations. Before mounting the camera to the tripod, be sure the legs are leveled. Many tripods have bubble levels near the top. Get the bubble to float in the middle of the circle on the level. Once the tripod is leveled, level the camera. Newer cameras have built-in levels. On my Nikon, I activate the Virtual Horizon feature.
White Balance: I normally use Auto, but I know a lot of other photographers use a preset such as cloudy or daylight or set the color temperature manually. This ensures all files have the same color balance. If Auto does produce a slight variation, in that I always shoot in RAW, I calibrate each section in post-processing.
Be Wind Weary: You travel a thousand miles to make images of fall color. You see a perfect setup for a pano and the wind begins to blow. Wait for lulls so the blending of adjacent images is consistent. If you intend to go for a wind-blown effect, be sure the wind blows for every capture.
Don’t Use A Super Wide: Short telephotos and medium wides tend to be your best choice. They eliminate the potential of wide-angle distortion.
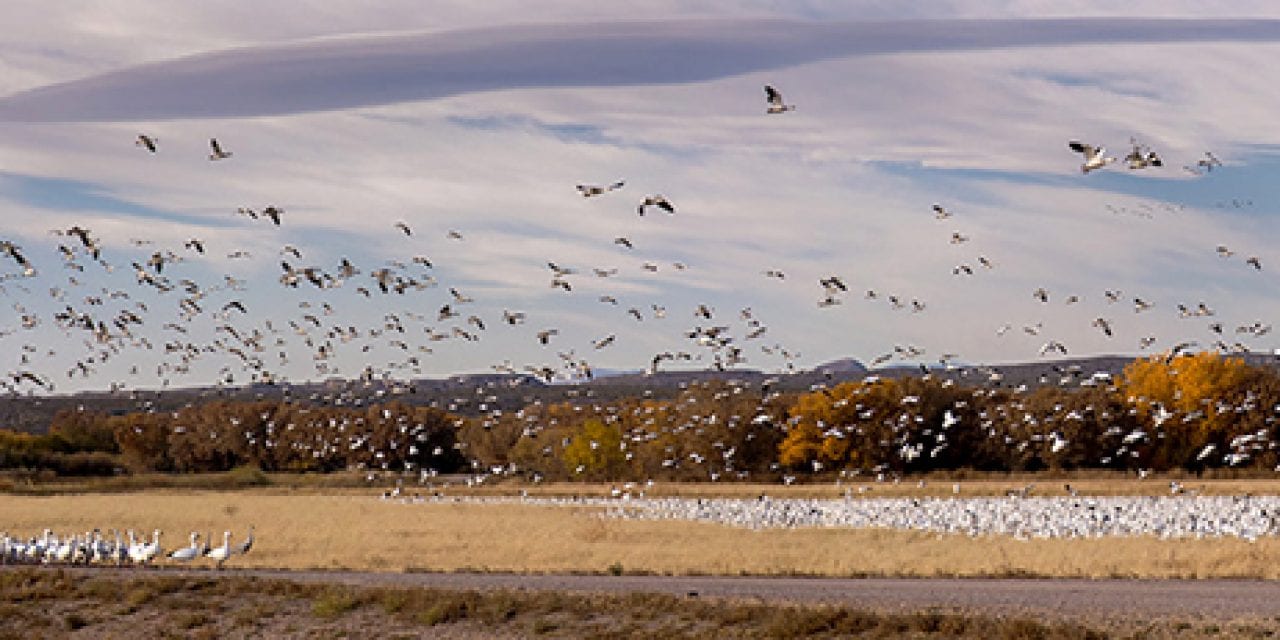
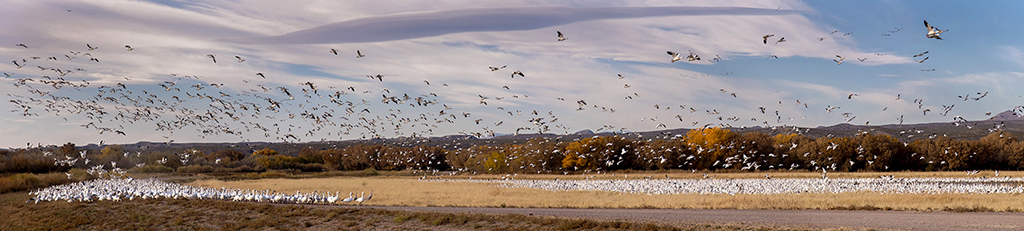
Avoid Scenes Where Objects Are Moving: The software that’s available today performs admirably but may have issues with overlapping pieces where subject A exists if it doesn’t exist in the adjacent section. This being said, experiment. In the image of the snow geese, I got lucky and everything stitched perfectly. If it doesn’t, use the clone stamp to get rid of anomalies that look out of place.
Be Consistent: Use the same aperture to capture all pieces of the pano. Be sure the focus point is set to a spot where depth of field remains the same in all the files. Use a cable release—if one piece of the pano is soft, the image is ruined.
Overlap: Overlap adjacent images by at least 30 percent. Some photographers go as much as 50 percent. Anything less than 30 is playing with fire regarding accurate matches of adjacent files.
Avoid Strong Foregrounds: Foreground objects become distorted when incorporated into a panorama. It’s best to avoid them.
There are numerous benefits to making panoramas. Stitching multiple pictures together produces large files. The resulting photo can be enlarged to huge print sizes. Detail will be maintained throughout the image. If you use a DX body and need to create large files, capture sections as if you plan to make a panorama. The final photo will have more pixels than if you captured the scene with a full-frame sensor. Another benefit is that some subjects simply cry out to be captured with an aspect ratio suitable for a panorama. Anytime you view a scene that doesn’t conform to conventional aspect ratios, make a series of images and stitch them together. Pano to the rescue.
Visit www.russburdenphotography.com for information about his nature photography tours and safari to Tanzania.
The post Pano Power appeared first on Outdoor Photographer.