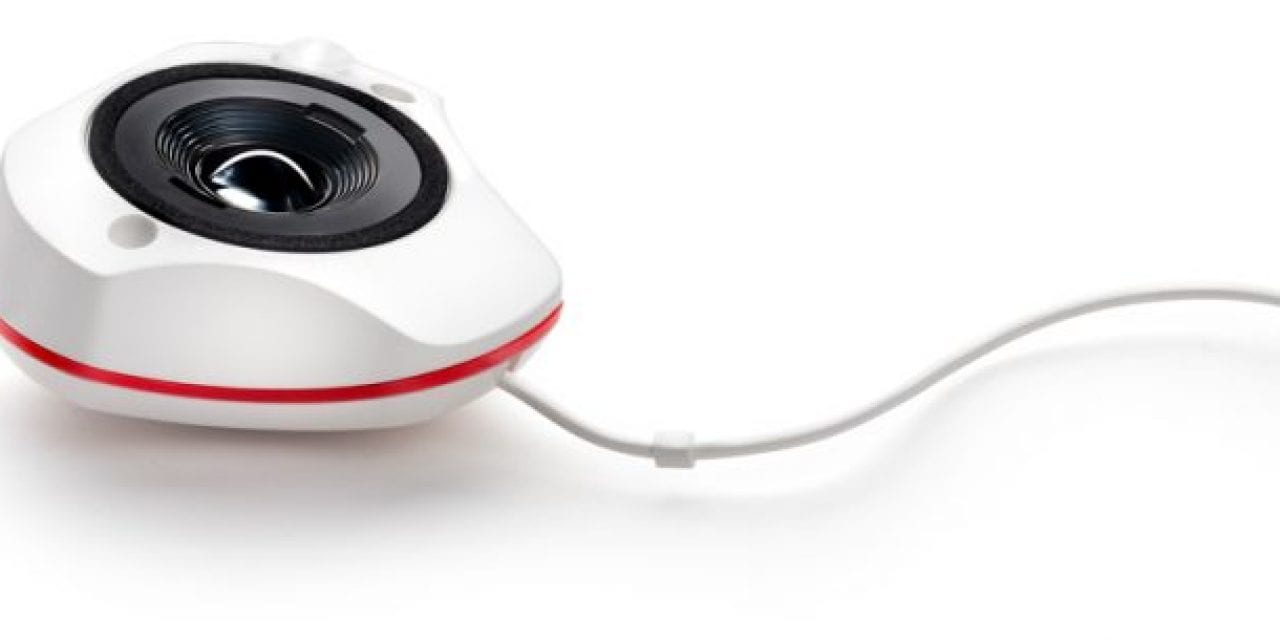
If you’re looking for a top-quality system for display calibration that’s easy to use and affordable, the Datacolor SpyderX is an excellent option. In this article, we’ll provide an overview of the SpyderX product and walk through its use.
As someone who’s serious about photography, you’ve probably been told you need to calibrate your monitor. A display that’s been calibrated with a custom profile, which takes into account not only the display’s unique characteristics but also the ambient light in your workspace, will lead to better results when processing your photographs, as you can be sure that the adjustments you’re making to color and tonality are actually the adjustments your images need. An uncalibrated display can mislead you into making changes to an image that look good on that display but not on other devices or when you make prints.
You might be thinking that while this is all well and good, “calibration” sounds boring, perhaps technically challenging and probably expensive. I’ll admit that it’s been several years since I have calibrated my displays, and while the process wasn’t intimidating for me, it was kind of slow and the gear was clunky.
I’m glad I had the opportunity to test Datacolor’s SpyderX, as it changed my mind about calibration. After years of avoiding it, the technology has come a long way, and the SpyderX was really easy and very quick to use.
The SpyderX is offered in two packages: the SpyderX Pro ($169) and SpyderX Elite ($269). Datacolor sent me the Elite model to test. Both feature a colorimeter with a new lens-based color engine, which Datacolor states improves both accuracy and speed. Both can also adjust for changes in your room’s ambient lighting. The main difference between the Pro and Elite models is that—perhaps counterintuitively to the product names—the Elite will most appeal to pros. If photography is a hobby and you have a single computer on which you do your photo processing, the SpyderX Pro will likely cover the bases for you. If you have multiple workstations, a side-by-side dual display setup, need to calibrate a projector or want advanced control over settings, the SpyderX Elite is the model to choose.
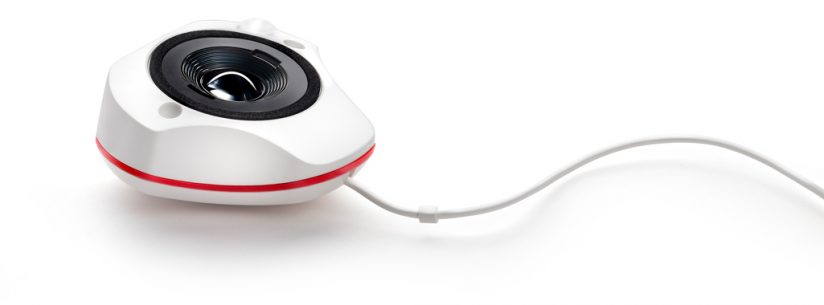
You’ll start by plugging in the SpyderX to a USB port. If you’re a Mac user with a recent model that has only USB-C ports, as I am, that means you’ll need a USB-C to USB adapter. I admit I was a little disappointed by this—I’d prefer the cable to be the newer USB-C type and let folks with older tech hassle with adapters, but I understand that Datacolor made the decision based on the near ubiquity of the older USB connector type. It doesn’t affect the product’s usability, just its elegance for those of us with the latest USB ports.
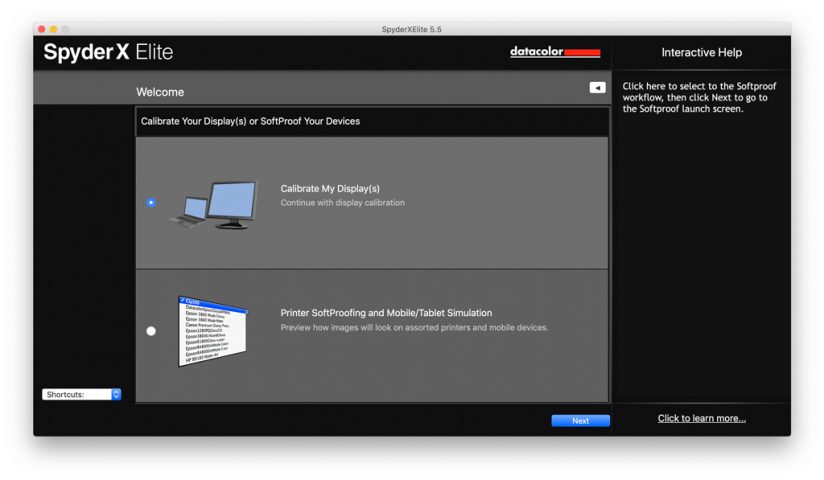
Now you’ll install the software, which is a quick download from the Datacolor website; the URL is printed on a welcome card when you open the box. After completing installation and registration, you’re presented with the option to begin calibrating or, if you have the Elite model, to launch a soft proofing simulator to see how images will appear when printed or displayed on other devices. Note that because I reviewed the Elite model and not the Pro, some of the screenshots and options shown here are different than what you’ll see with the Pro model.
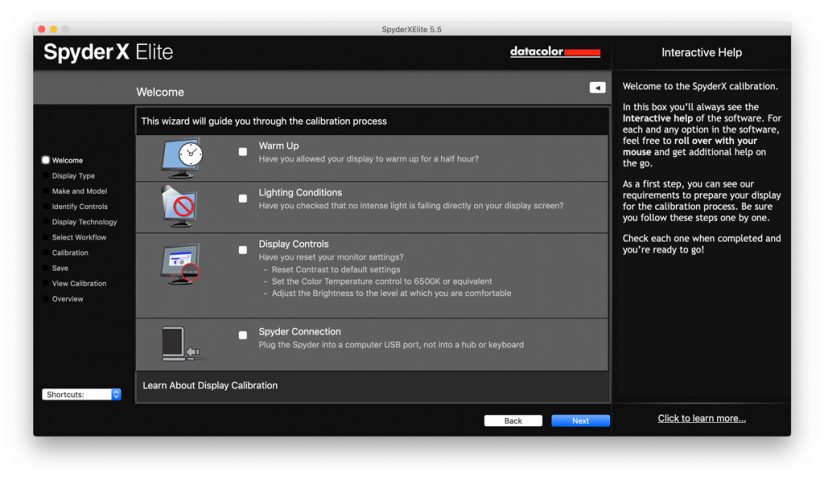
Proceed to calibration, and the software displays a checklist to remind you of several preliminary steps to take prior to starting calibration. First, you’ll want to make sure your display has been powered up for at least 30 minutes. Be sure to adjust your computer’s settings (at least during the calibration process) so that the display doesn’t automatically shut off. If you’re using a laptop, you’ll want to have it plugged into a power source. There are a few additional preparatory steps that the software will prompt you to take before beginning the calibration.
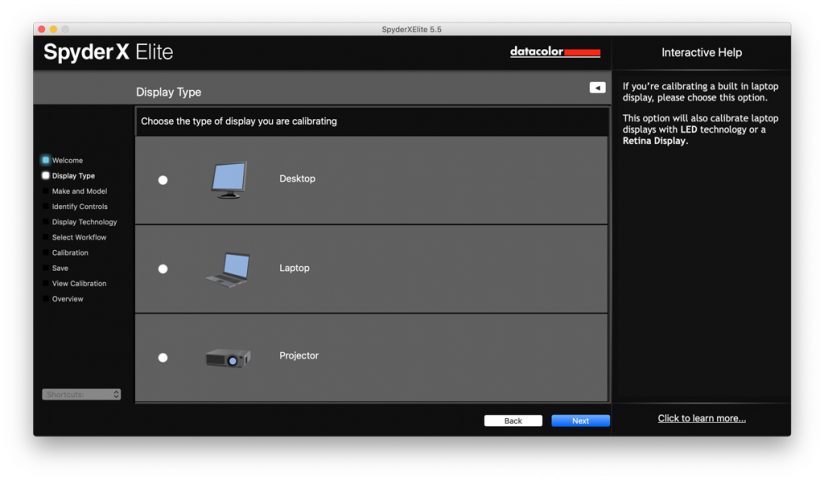
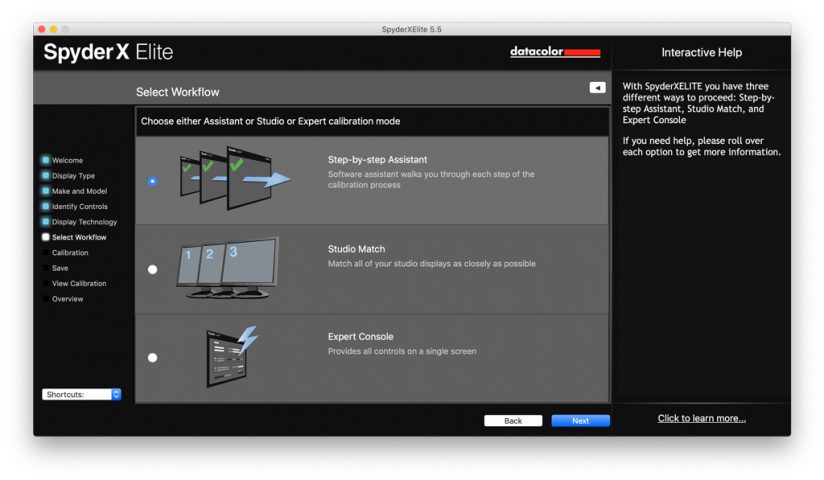
Next, the software will ask you a few questions about your system. You’ll select your display type, specify make and model of the computer (this was automatically filled in for me), as well as additional details about your display and its available settings. Then you’ll see the option of three “workflows” to complete the calibration. I chose the step-by-step assistant, which is available for both Pro and Elite users.
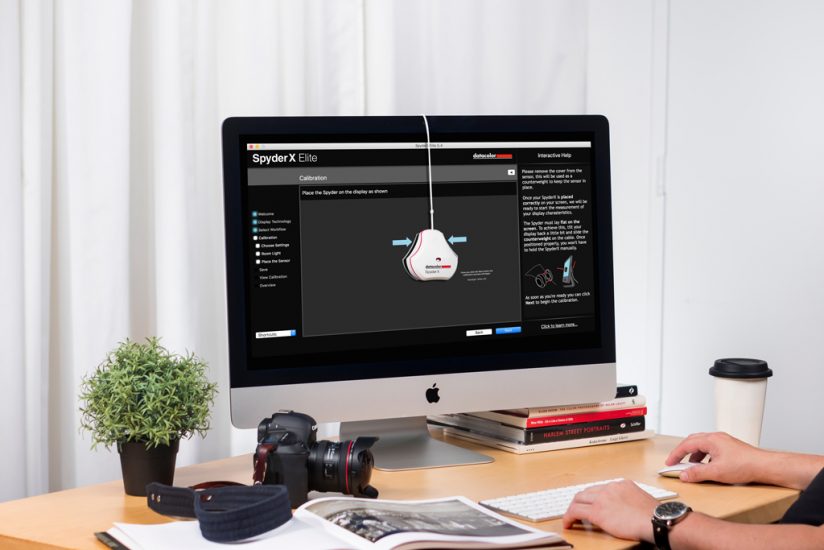
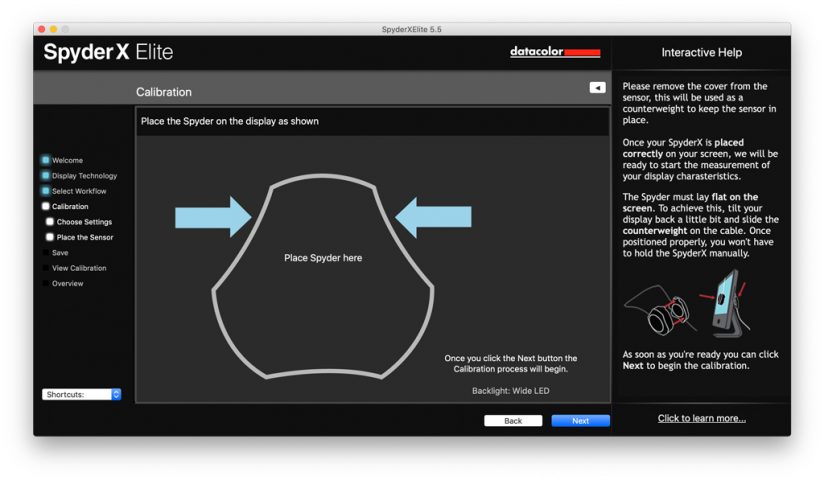
Here, the actual calibration begins. You’ll be prompted to attach the SpyderX to your display over a specific target. It was really easy to do. No hard pushing or acrobatics, it just hung on the display perfectly. If you have trouble with it, Datacolor recommends adjusting the angle of the display so that gravity helps hold the device in place. Next, you’ll see the display cycle through a series of screens of solid red, green, blue and neutral shades of gray at different brightness levels as the device takes measurements. From start to finish, this step took about 1 minute, 15 seconds—much faster than I was expecting.
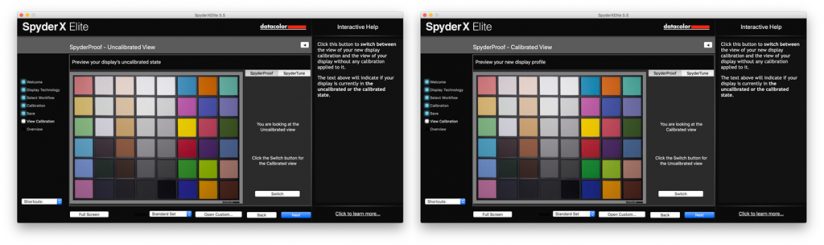
On the next screen, you’ll be asked to save your new calibration profile, after which you’ll be able to compare before and after images to see the effects of calibration. In my case, the differences weren’t extreme, but even subtle differences can impact the decisions you make when processing photos.
Calibration may not be the most exciting part of being a photographer, but the SpyderX makes it so fast and effortless, there’s really no excuse not to do it. It’s nice knowing that as I work on developing my images, I’m making decisions based on an accurate display. The 15 minutes or so I spent from start to finish (not counting display warm-up time) was well worth that advantage.
The post SpyderX Review: Fast And Easy Display Calibration appeared first on Outdoor Photographer.