If you master the art of composition, if you’re amazingly creative, if you’re out every sunrise and make photos every sunset, and if you have all the latest photography gear, all will prove fruitless if you don’t know how to master exposure. The sophistication of today’s metering systems is extremely high as are the abilities of today’s sensors to capture a wide tonal range, but there will be situations where you need to outthink your meter and sensor and be smarter than your in-camera computer. Rather than rely on technology, learn when it’s necessary to override your metering system. Rather than lose what could be the shot of a lifetime, be cognizant of the situations I explore in this week’s Tip of the Week so you’ll always be able to acquire accurate exposures.
First and foremost, get intimately acquainted with your histogram. Along with your intuition, it will be your best friend. And don’t just study the luminosity histogram. Be sure your RGB and luminosity histograms can be displayed. If they’re not, check your custom menu and go to the Playback settings. Activate the RGB and Luminosity option. Check your camera’s manual to make sure it’s available. If not, when it’s time to upgrade, be sure the new camera has this option. Along with your histogram, establish a relationship with the Exposure Compensation button. It allows you to darken or lighten the exposure in third or half steps. The alternative is to use Manual exposure. While some photographers dictate that one method is better over the other, for me, whatever feels more comfortable and produces the necessary results for you is what I encourage. Ideally, learn both and use the method that best suits the situation.

After each exposure, check the back of your camera and study the histograms. Do this until you feel comfortable that you consistently make proper captures. As you progress, you can cut back on the frequency with which you study the LCD. During every in-the-field session, challenge yourself and point your camera in a direction you know creates a problematic exposure. Study the LCD and make all necessary changes to acquire a correct reading. It’s an exercise in learning, so don’t get caught up in needing to create a masterpiece. Do it to get familiar with tricky lighting situations so when you do encounter one where a potential masterpiece can be created, you nail it on the first try.
Shoot Into The Sun
Shooting into the sun often means a backlit situation. If you include part of the sun, the onboard meter will most likely be fooled. Subsequently, the photo will be underexposed in most situations. The reason “most” is in italics is because it depends on HOW much of the sun is included in conjunction with HOW much of the rest of the frame contains black. Given this variable, it’s best to set the camera to Manual exposure and dial in the effect you want to repeat. Manual will LOCK in the exposure, so regardless of the amount of direct sun or silhouette, the exposure will remain constant. As in the case of the image of the wood stork in silhouette, base your exposure on the RED channel. If you let the exposure be governed solely by the luminosity channel, the reds will be overexposed and blown out. Blown out reds are NOT recoverable and the image will suffer.
Dark Backgrounds
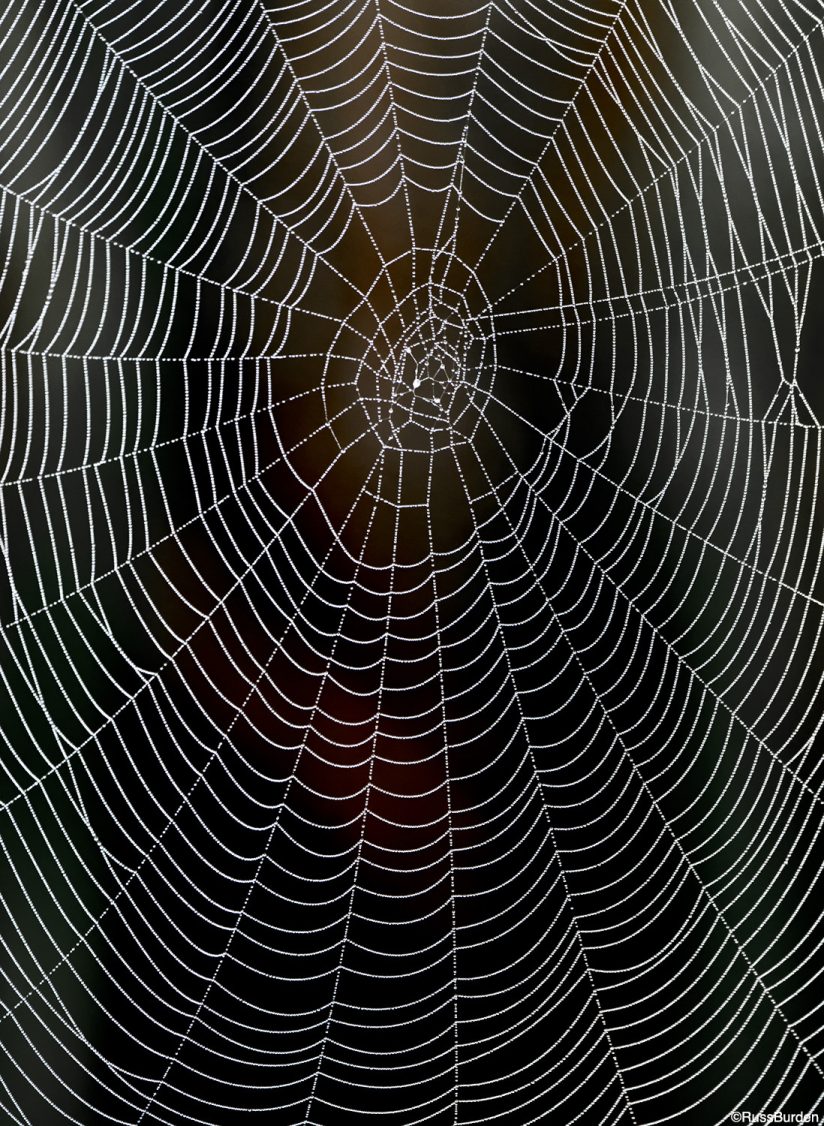
Dark backgrounds wreak havoc especially when there are light toned subjects in the foreground. The dark background tells the meter there’s not a lot of light. Hence, the shutter stays open longer or the aperture opens wider and the result is an overexposed foreground. To prevent this, use your exposure compensation button to minus some exposure. This is what I did in the image of the spider web. If you do dial in either Minus or Plus compensation, always remember to zero it out before moving on to the next situation.
Predominately White Subjects
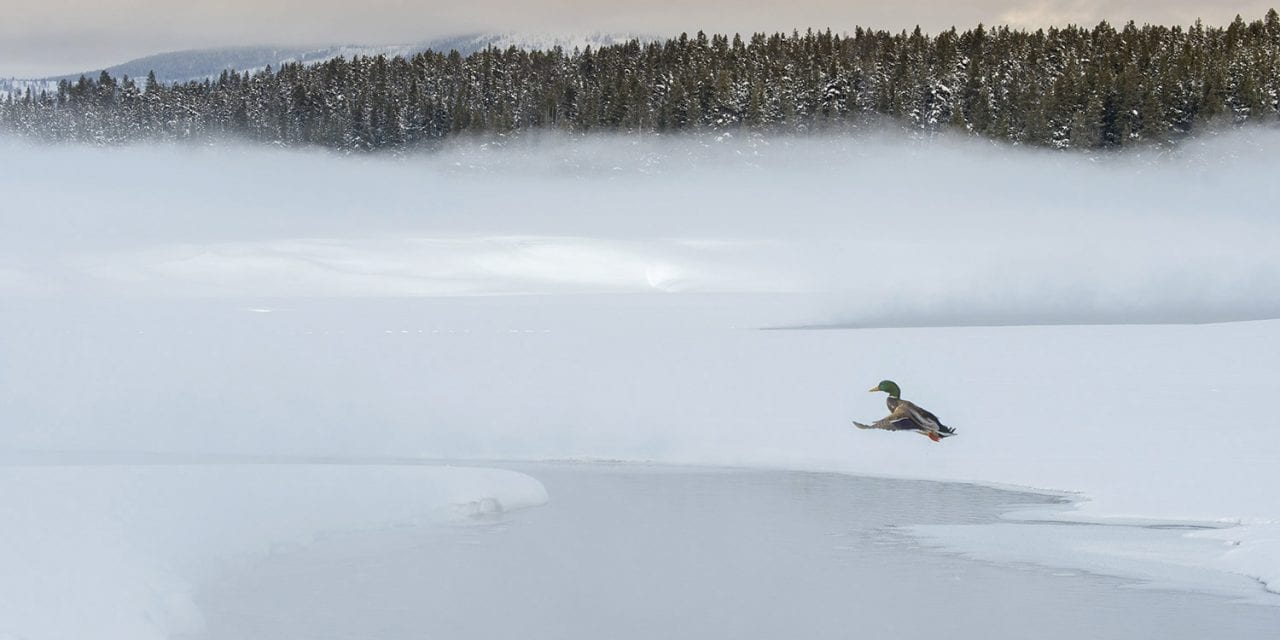
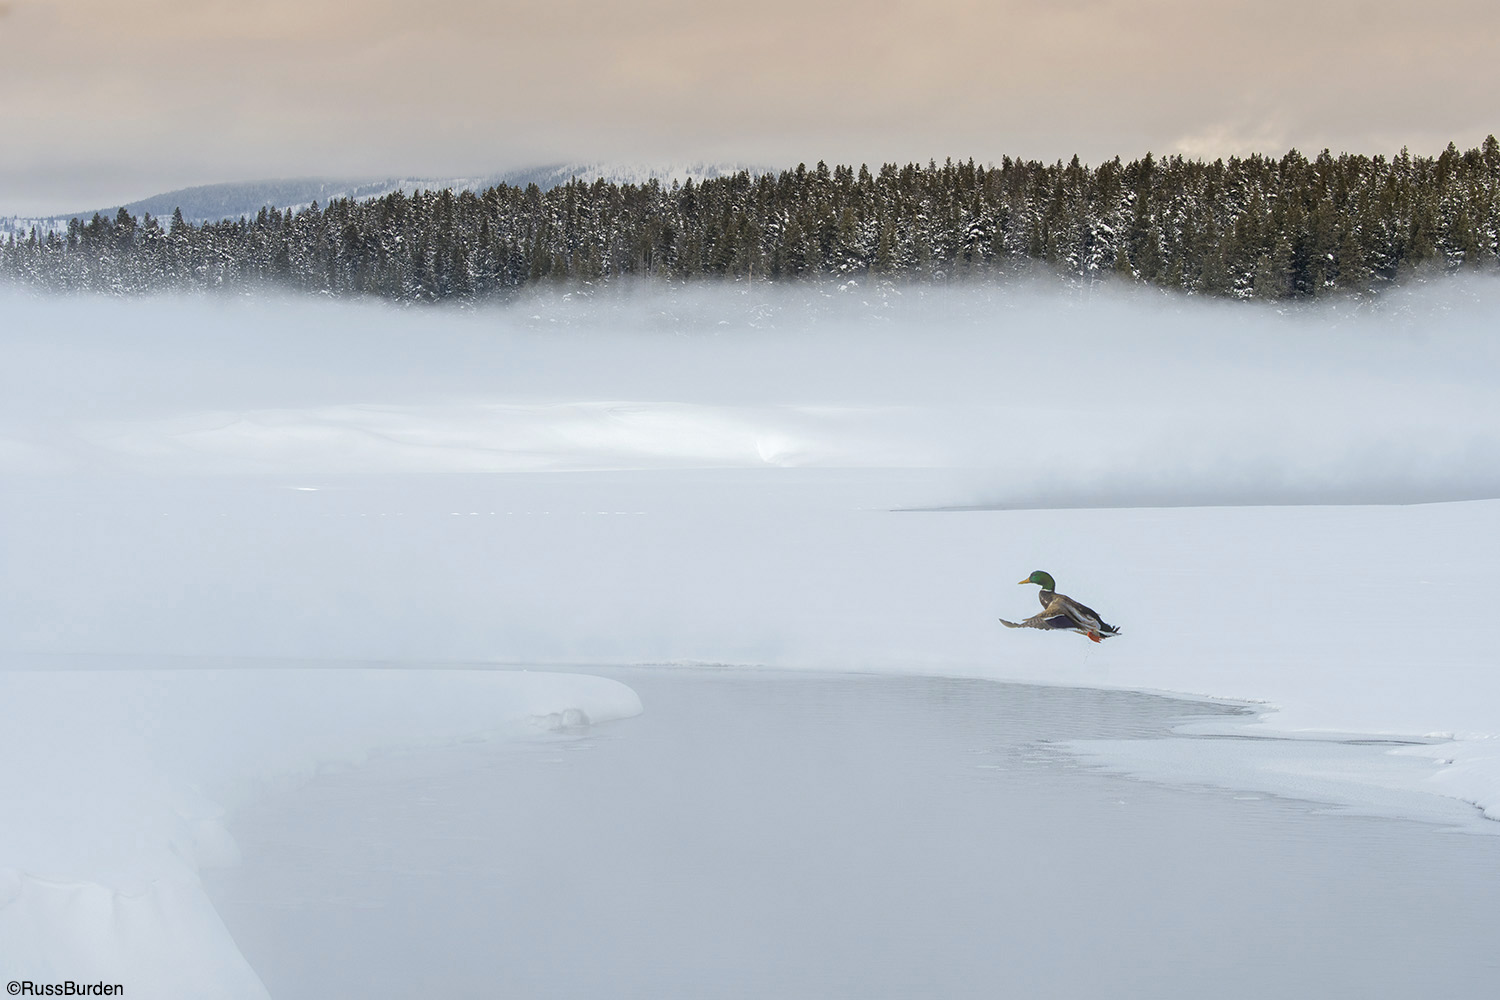
When the camera is pointed at a composition dominated by white, the meter tells itself, “lots of light” and wants to make the photo darker than it should be. Snow is not gray, but it will turn out that way unless you outsmart your camera. Make an initial exposure and you’ll see lots of pixels bundled up in the center of the histogram—similar to what would be displayed if you photographed a gray card. But since the snow is white, the exposure needs to be moved to the right. To accomplish this, add PLUS compensation or switch to manual exposure to make the shutter stay open longer or to open the aperture to a wider ƒ-stop.
Bracketing
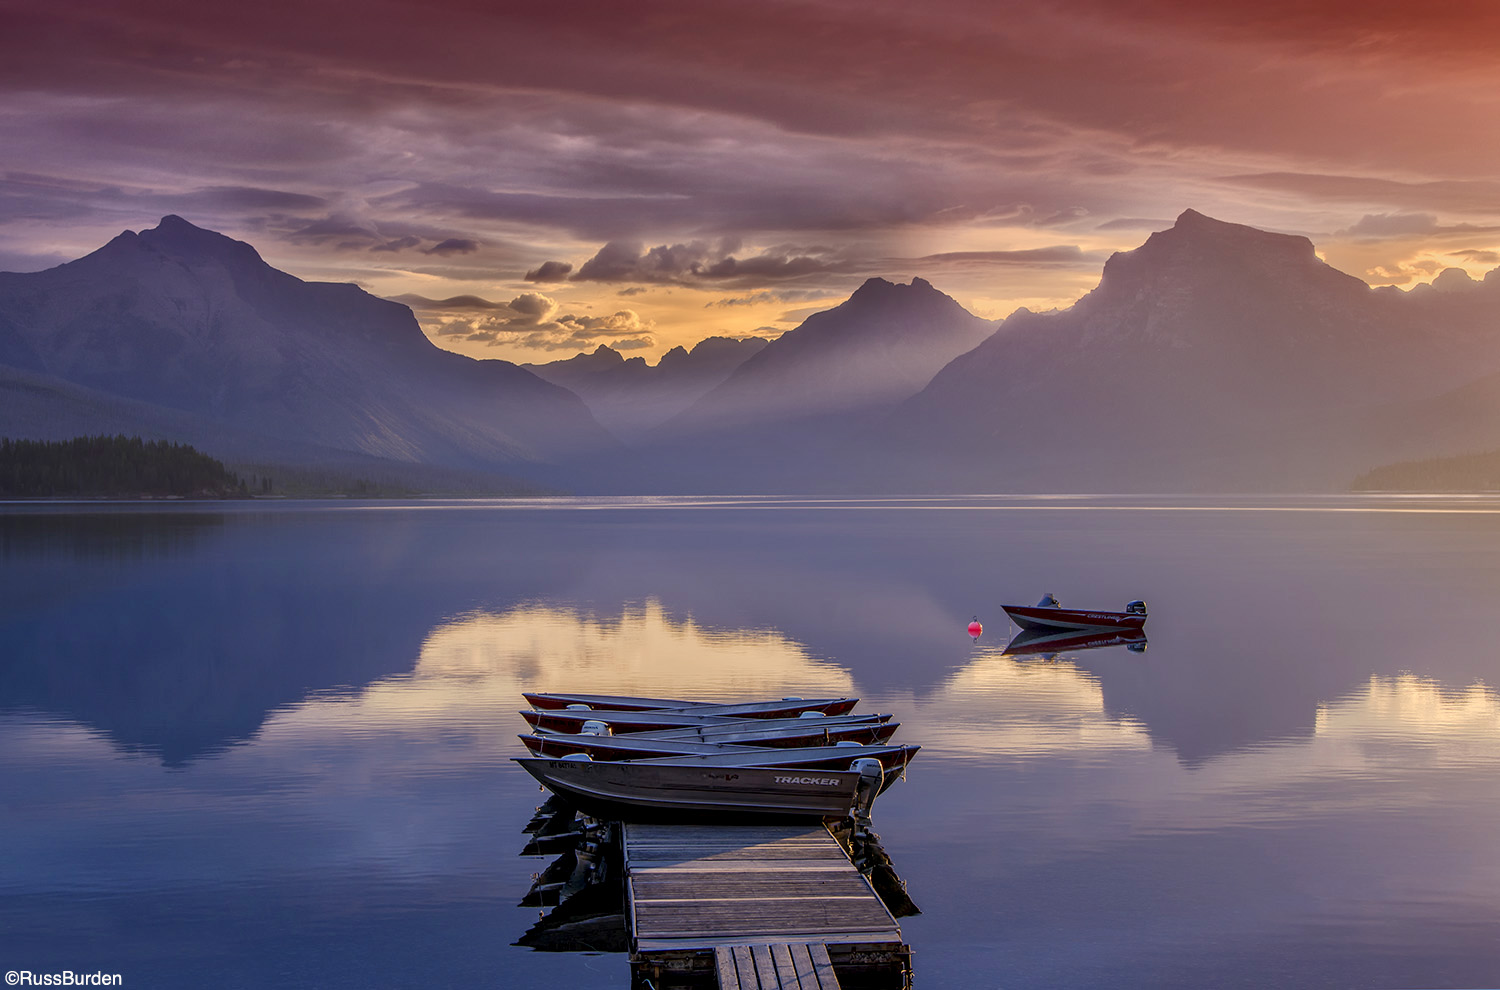
There are times when the contrast range exceeds an exposure adjustment. Here’s where HDR comes to the rescue. It allows the tonal range to be dramatically expanded. A series of different exposures is made and software takes the optimal parts of each and blends the files in post-processing. If you don’t know how to set up an HDR exposure bracket series on your camera, hopefully this week’s tip provides the motivation to break out the manual and read up on how to do it. If you do set up an HDR series, always remember to cancel out the bracketing before moving on to your next situation. The sunset image of the boats and mountains was created using HDR software.
The bottom line is to check your RGB and Luminosity histogram often to learn exposure. That being said, the key is to learn when to override it and how to do so. That once-in-a-lifetime shot may appear the very next time you head into the field—be ready for it and know how to acquire accurate exposure.
Visit www.russburdenphotography.com for information about his nature photography tours and safari to Tanzania.
The post Acquire Accurate Exposure appeared first on Outdoor Photographer.

