As many of you know, for me, “It’s All About The Light.” Regardless of the subject, light is the critical factor that determines the success of a photo. In wildlife photography, the main source is the sun. We all strive to capture dramatic action, interaction, a moment of expression or emotion while the subject is bathed in the golden glow of sunrise or sunset light. When it happens, we look toward the sky and share a big, “Thanks.”
This being said, I’m also a huge proponent of exhausting all possibilities. It adds diversity to your portfolio in addition to separating your images from everyone else’s who continues to photograph the same way all the time.
This brings me to the topic of this week’s tip. I’ll continue to make photos with early and late front-lit sun, but in the back of my head, there will always be a voice telling me, “If you can get to the other side of the animal, do it!”
Shoot Into The Sun
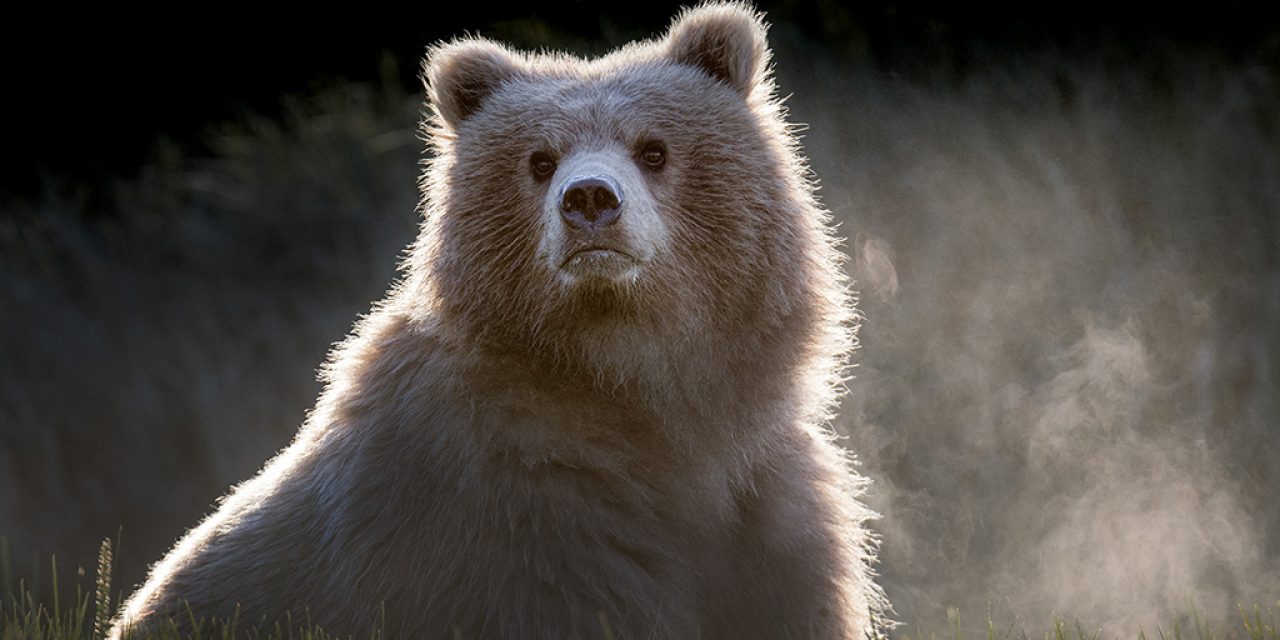
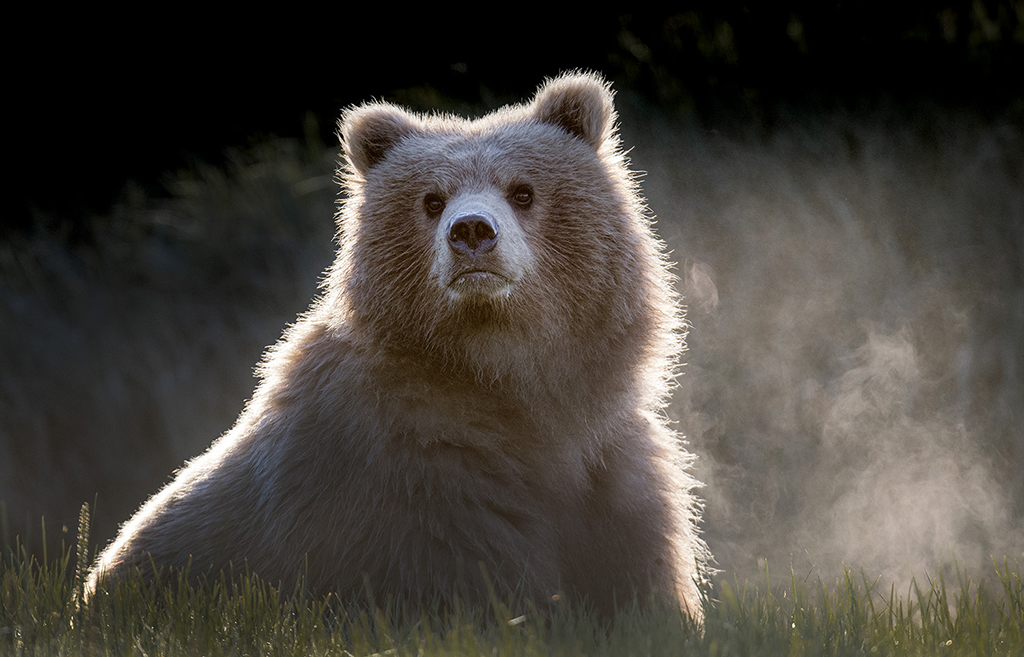
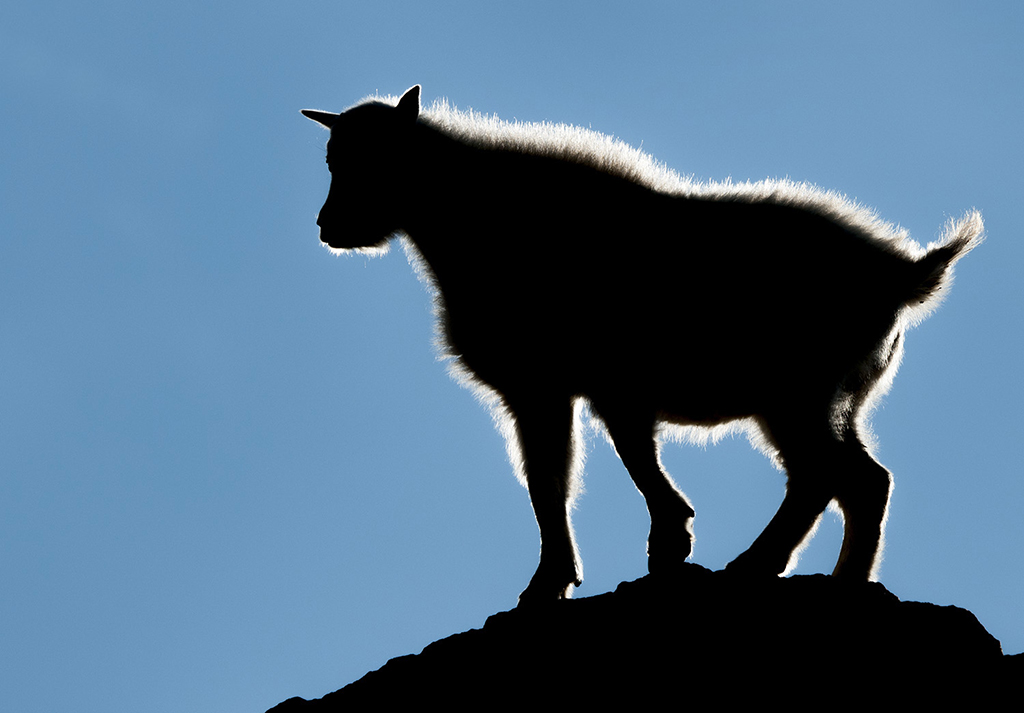
Shooting into the sun creates an obvious backlit situation. Seek subjects that take on a glow when the sun is directly behind them. Animals with long fuzzy hair or coat work well. Known as rim light, the glow outlines the subject with a ring of illumination that clearly defines its shape. Base your exposure on how much of a silhouette you want to create. The more you dial in minus compensation from the overall meter reading, the darker the end result.
I normally meter my exposures using aperture priority, but when I pursue these types of images, I switch to manual to lock in my desired exposure. I open the aperture or slow down the shutter if I want to brighten the image. Conversely, I stop down or increase the shutter speed to subtract light. While it’s impossible to maintain detail in both the animal and the rim light, be cognizant of how overexposed the glow is impacted.
A cool effect is to create a composition where just an edge of the sun peeks out from behind the animal. Stop the lens down to ƒ/22 and you should obtain a sunstar effect. Be aware of how much sun you include to prevent eye damage while previewing the composition through the viewfinder.
Evaluate The Exposure
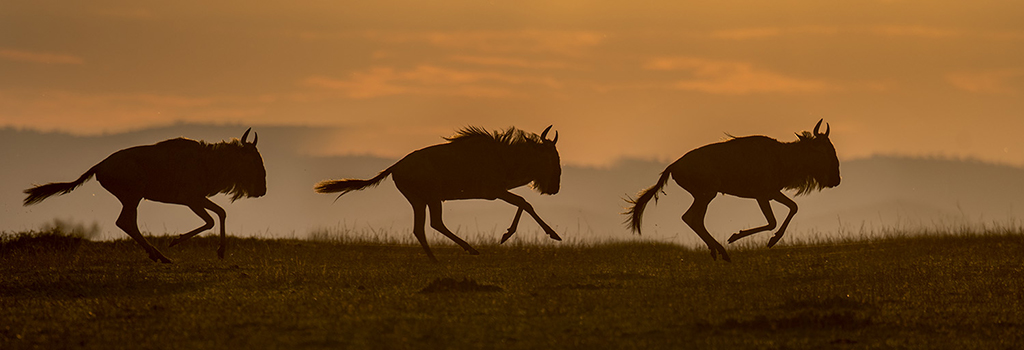
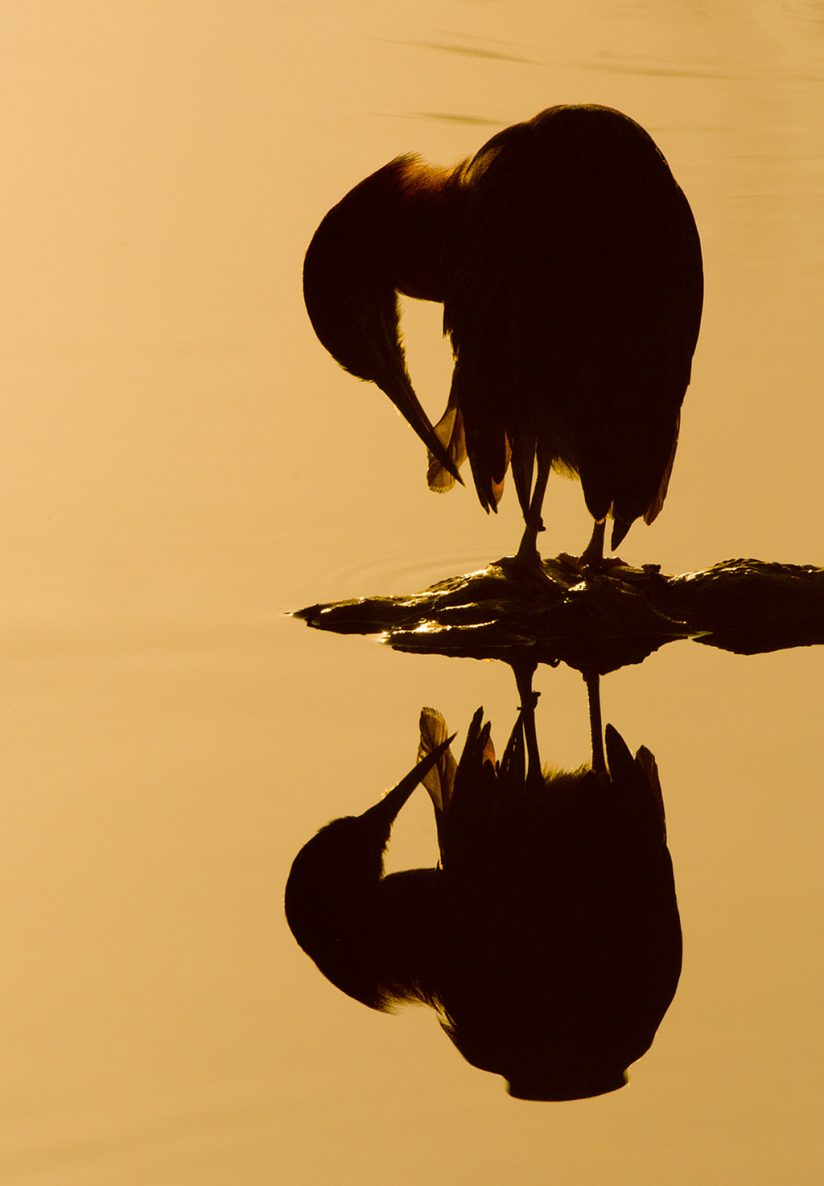
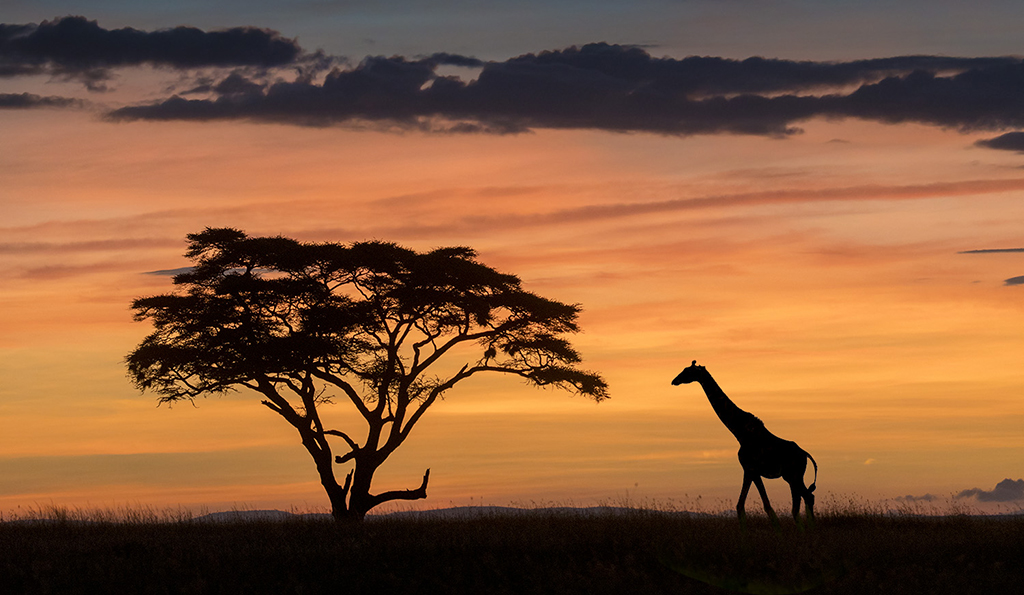
A common method to incorporate into your backlit wildlife photography is to offset your subject against a rising or setting sun. This often goes hand in hand with skies that contain a lot of color. It’s imperative you base the exposure on the red channel in that warm tones are the hardest to recover. If you blow them out, the sky takes on a “mushy” look that’s void of detail.
As in the case of the images of the wildebeests, preening green heron and giraffe, all in silhouette, I ignored my luminosity channel and adjusted the exposure compensation until the spike on the right side of the red channel histogram didn’t exist. In the above examples, I compared my luminosity channel to the red histogram. The luminosity channel provided a “safe” reading. When I checked the reds, there was a huge spike. Again—base the exposure on the RED histogram. If you don’t see it when you play back your image, search the menu to see how to bring it up on demand. If you let the exposure be governed solely by the luminosity channel, the reds will be blown out. Blown out reds are NOT recoverable and the image will suffer.
Bracketing
There are times when the contrast range exceeds an exposure adjustment. Here’s where HDR comes to the rescue. It expands the tonal range in the image. A series of different exposures is made, software takes the optimal parts of each and blends the files in post-processing. Set your camera to high-speed motor drive, dial in a bracketed set of three images and, depending on the contrast range of the scene, set it to bracket either in one or two stop increments. The obvious drawback in doing this with wildlife is the subject needs to be still, so if the goal is to depict action, this method isn’t possible. If you do set up an HDR series, always remember to cancel out the bracketing series before moving on to your next situation.
Visit www.russburdenphotography.com for information about his nature photography tours and safari to Tanzania.
The post Backlit Wildlife appeared first on Outdoor Photographer.

