I’m a firm believer that a great way to become a better photographer is to deconstruct images that have excellent composition, great light, photogenic subjects and clean backgrounds. I can remember being a teen thumbing through magazines and issues of National Geographic. I looked at tens of thousands of images on those pages yet I always paused when one connected. Images that arrested my attention had inner meaning. There was instant respect for the photographer. Every subsequent page turn that impeded me from going deeper into the magazine brought on the same reaction. Little did I know at the time I’d become a professional photographer. Perhaps it was those early days of image sleuthing that planted the seed.
I can still recall the questions that danced through my brain: what lens and camera were used to make the photo? what settings did the photographer dial in to get that look? What additional equipment went into making the photo? How was a particular subject approached? How did the photographer arrive at the final image? I wanted to know anything that shed light on the photographer’s creative processes. In essence, I was deconstructing each image down to every explicit detail so I could more deeply understand the meaning of the photo and how it was constructed. It’s these early thoughts that prompted me to compose this week’s Tip.
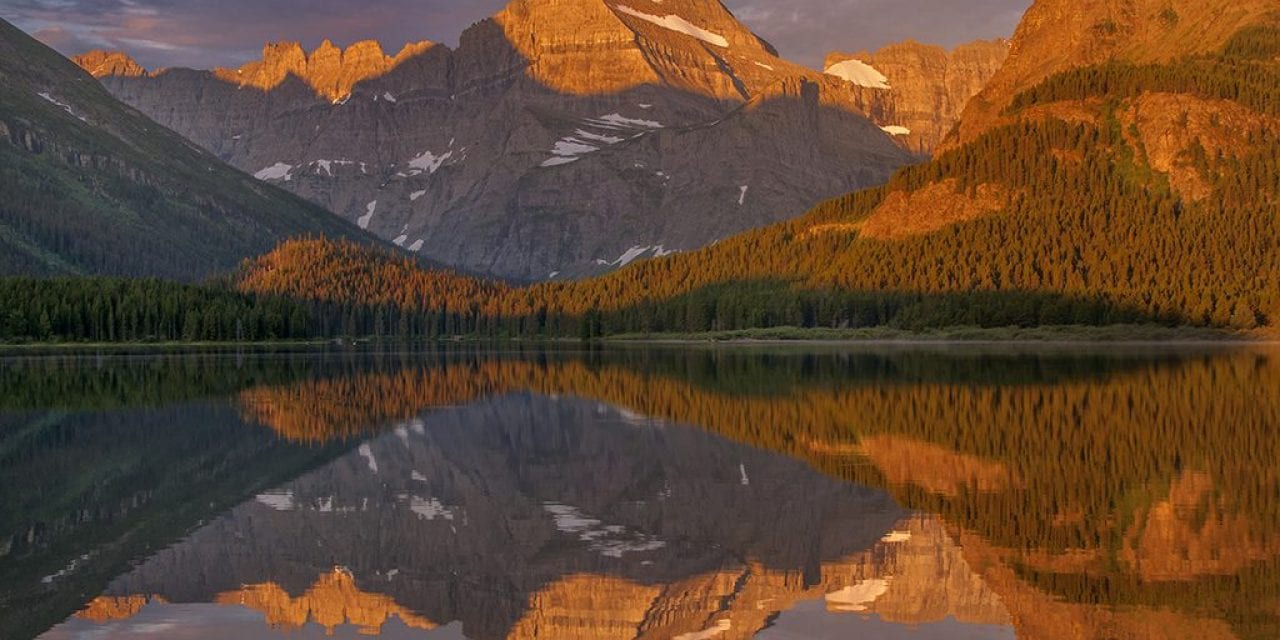
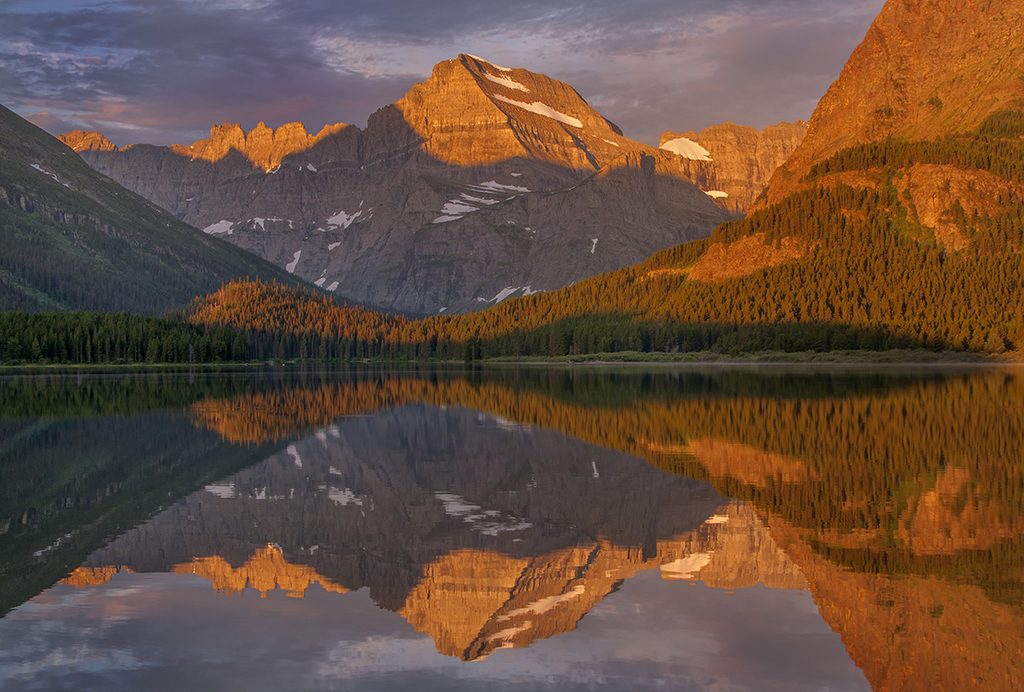
A Scenic
With each new issue of National Geographic that arrived, I couldn’t wait to turn every page and absorb the beautiful images. I slowly thumbed through the magazine and stared at the pages with which I found a connection. The light: What was it about its drama? The color: How come the colors were so vibrant? The reflections: How could a scene be so still that a reflection occurred? I could rhetorically go on and on adding questions about every image. The point I emphasize is as you ask yourself these rhetorical questions, find the answers if you want to become a better photographer.
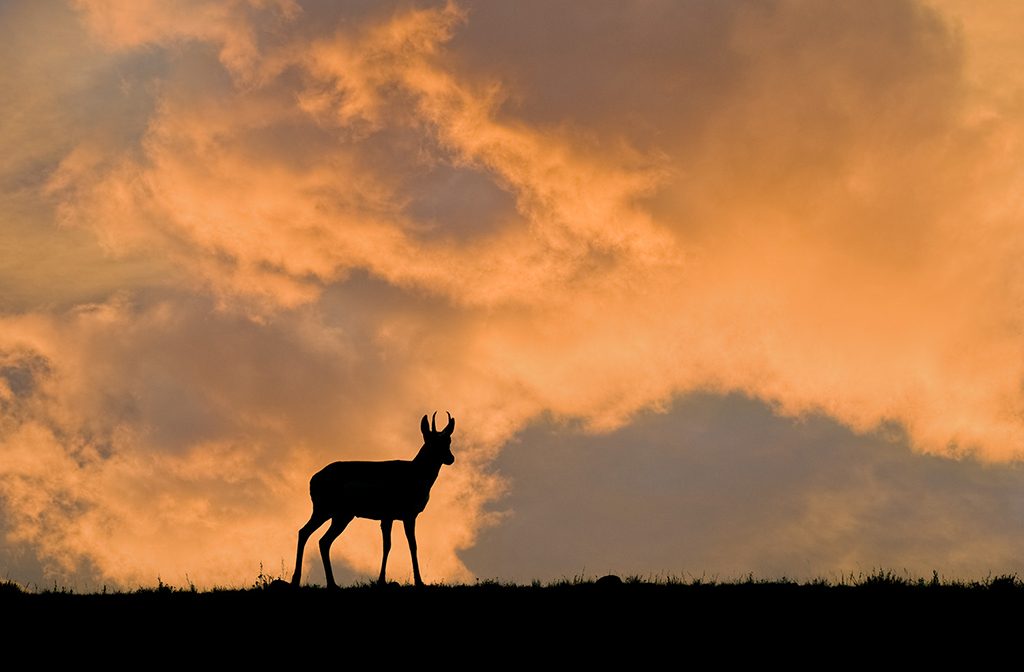
Drama—clouds add impact to an image. Storm clouds add more. Listen to weather reports and head out when an edge of a storm is forecast at sunrise or sunset. Drama will be the result.
Chroma—All the images that drew me in had vibrant and dramatic color. Sunrise and sunset light provide the best opportunity to net saturated color. Colors that are warm provide a soothing feeling, and it just so happens that warm light coincides with rise and set.
Mirror images—The wind has to be dead calm for reflections to appear in water. As the sun rises, the land heats up, which creates turbulence, which in turn produces wind. Winds tend to be calmer at sunrise before hot and cold air masses touch each other. Serendipitously, sunrise coincides with this time of day. By analyzing the look of the image, I learned that the best light, most drama and stillness occur at the time scenic photographers should be in the field—sunrise and sunset!
A Wildlife Image
I loved looking at dramatic scenic photos, but there was always something special about a photo of an animal that grabbed my emotions.
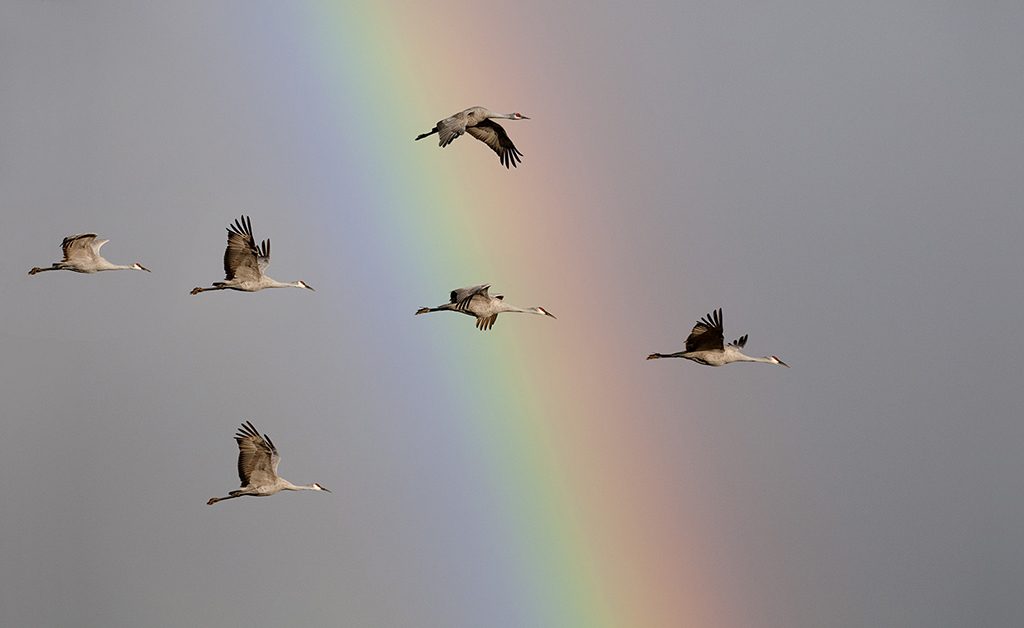
Impact—Animals can’t be repositioned, moved or told how or where to stand. How did the photographer get the subject perfectly placed? How did the photographer pull that off? It’s essential to learn about the behavior of the subjects you long to capture. The more you know about its behavior, the better you’ll be able to predict its next move.
Storytelling—How did the photographer produce such a strong narrative as to the behavior of the animal? To work with a single wildlife subject is difficult enough, let alone adding more to the mix and have everything fall into place. Look for subjects that are offset against a neutral backdrop so if they move, distractions that may negatively impact the entirety of the photo can’t be introduced into the composition. When you make a wildlife image, there are so many factors that must fall into place, but if you can always stay one step ahead, you stand a much better chance of getting the shot.
Environmental Portrait
Based on the theme of this week’s tip, let’s analyze the environmental portrait of the cheetahs in the Serengeti to see what was done to capture the photo.
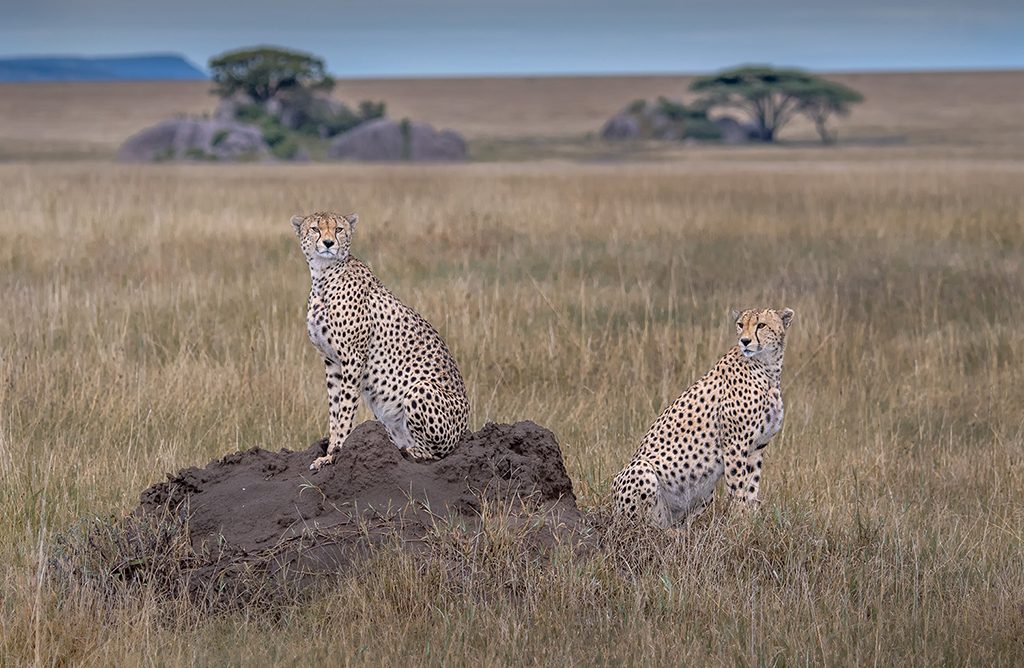
The depth of field is narrow. There’s only one sharp plane of focus—the two cheetahs. To achieve the effect, I used a wide-open aperture with a medium telephoto setting of 185mm.
The light was overcast and somewhat gray, so I added a flash to spotlight the cheetahs. The augmented light allowed the cheetahs to be significantly brighter than if the gray sky illuminated them. Look closely at the eyes and you’ll notice the catchlights.
The composition was created to achieve balance where each cheetah has an out of focus kopje behind it. This provided symmetry among all the main subjects.
Behavior—I’m familiar with cheetahs and know they love to perch upon termite mounds to better scan the countryside. This allowed me to predict where they’d go and what they may do. It provided more of a story telling image.
In the other images that accommodate this week’s tip, see if you can analyze what was done and what gear was used to create the photo.
Visit www.russburdenphotography.com for information about his nature photo safaris to Tanzania.
The post Become A Better Photographer appeared first on Outdoor Photographer.

