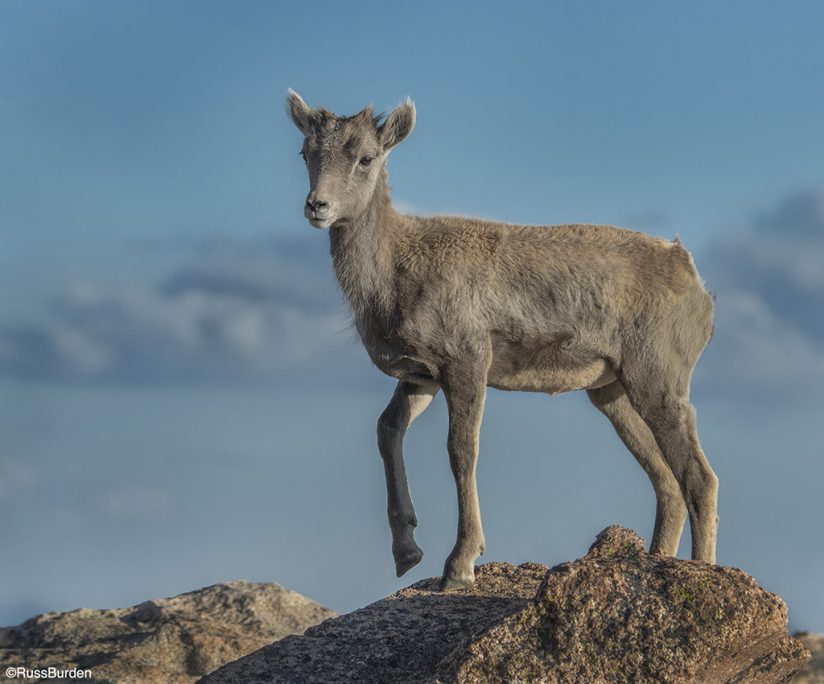
In part 1 and part 2 of this three-part series, I covered numerous considerations of how to develop an “Eye for an Eye” in portrait photography. In this final installment, we’ll take a look at how to make the light work for your portraits, no matter if your subject is people or animals.
My business motto is, “It’s All About The Light.” When it comes to this critical aspect, I could write volumes of information. Generally speaking, the easiest source with which to work is soft light produced by bright overcast light. The light wraps around the subject and softens the edges of facial features, which allows the photographer to make great portraits at any time of day. The contrast range between highlights and shadows is low and a nice soft highlight is shown in the eye. The sun’s contrast is cut by a canopy of clouds, which creates even and diffused results. Facial contours are wrapped in a cloak of soft light that creates a natural look. Additionally, it’s bright enough to use a low ISO that results in cleaner, less noisy files.
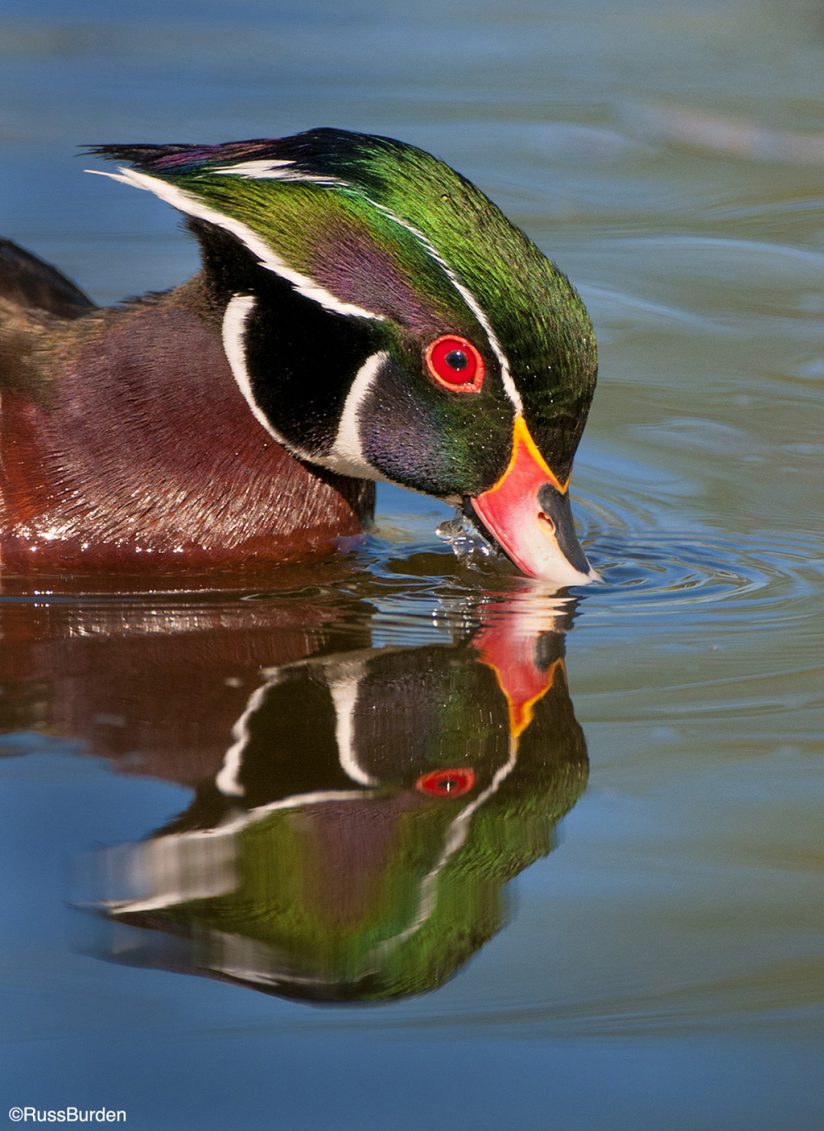
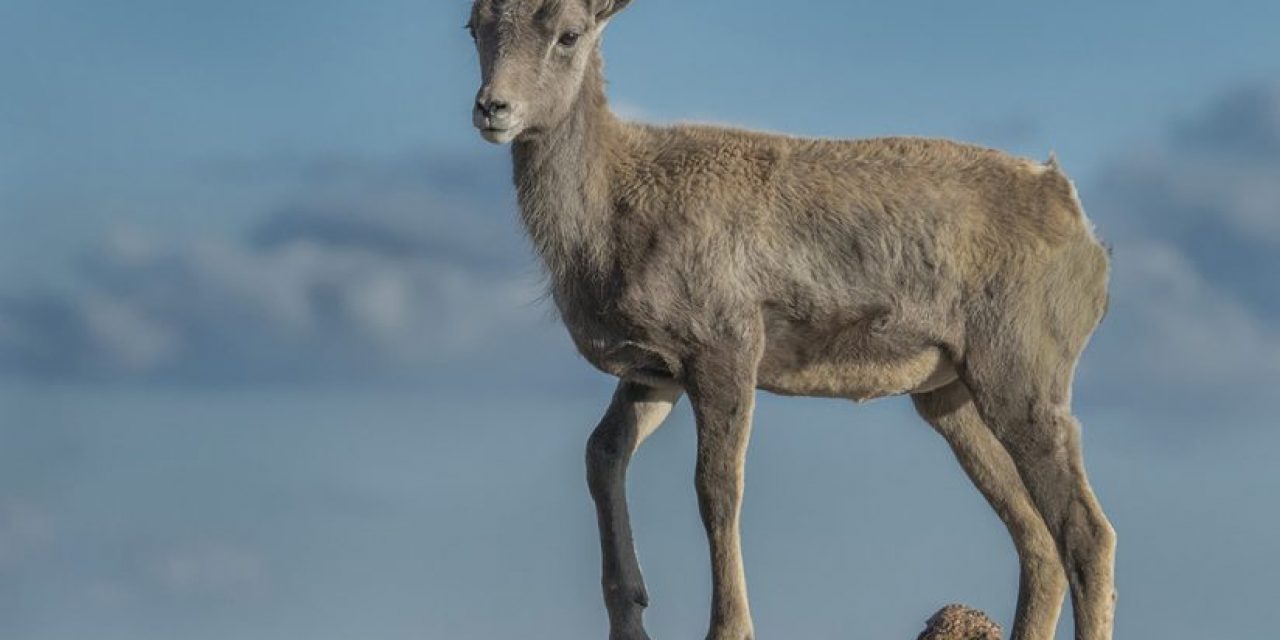
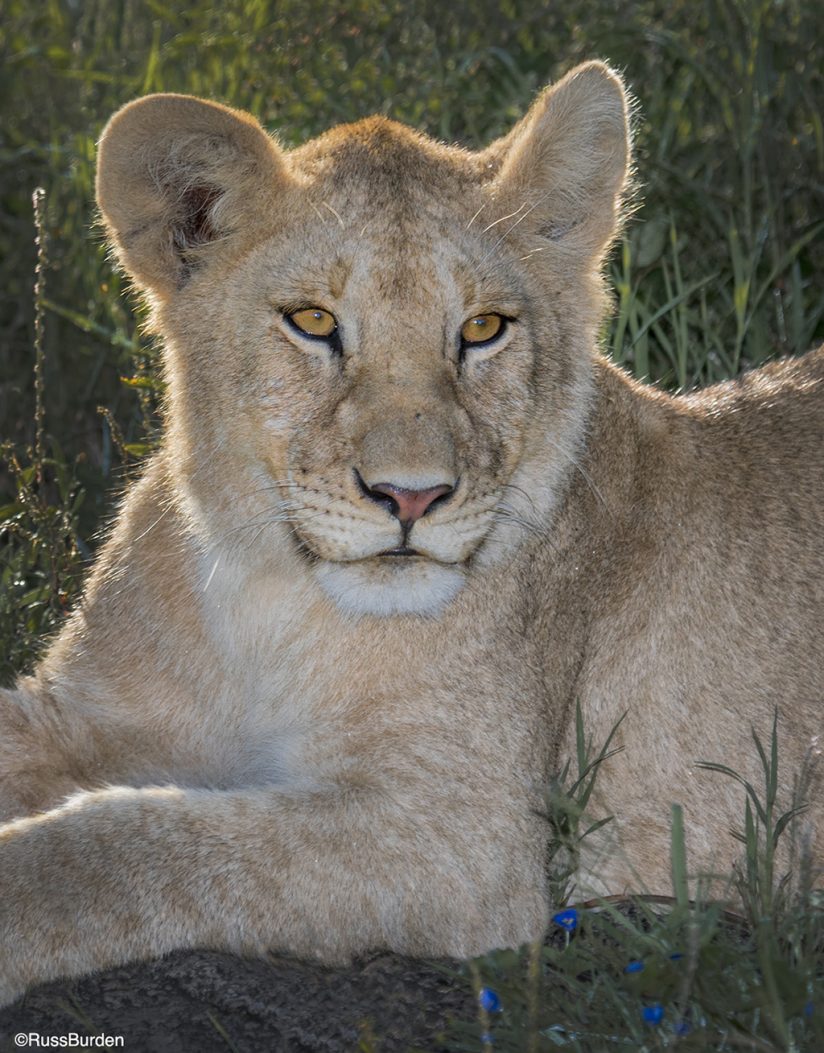
Another benefit to shooting in bright overcast conditions is the person isn’t subjected to the bright sun that results in the discomfort and unappealing look of squinting. People aren’t their most attractive when they contort their eyes as they deal with the sun’s brightness. Even if the subject is tolerant of the sun’s intensity, eye sockets go dark and ugly shadows are created under the nose and chin. This is also true with wildlife subjects.
Obviously, I love bright overcast conditions to make portraits, but living in Colorado and leading safaris to the Serengeti has taught me how to deal with intense sunlight when I make headshots. Fill flash and a MagMod fresnel system have become my biggest allies. I also utilize collapsible reflectors or diffusers but usually limit their use to macro subjects that I can approach closely. Complex mathematical calculations once required to obtain successful fill flash photos are ancient history. Modern SLRs with dedicated flash units make the task as simple as mounting the flash to the camera, turning both on and dialing in the proper amount of fill. Although my camera body has high-speed synch capability, flash power is cut drastically when it’s engaged, so I try to synch the amount of daylight with fill flash to 1/250th of a second or slower. Along with the MagMod, I can add light to shadow areas of wildlife subjects that are relatively far away.
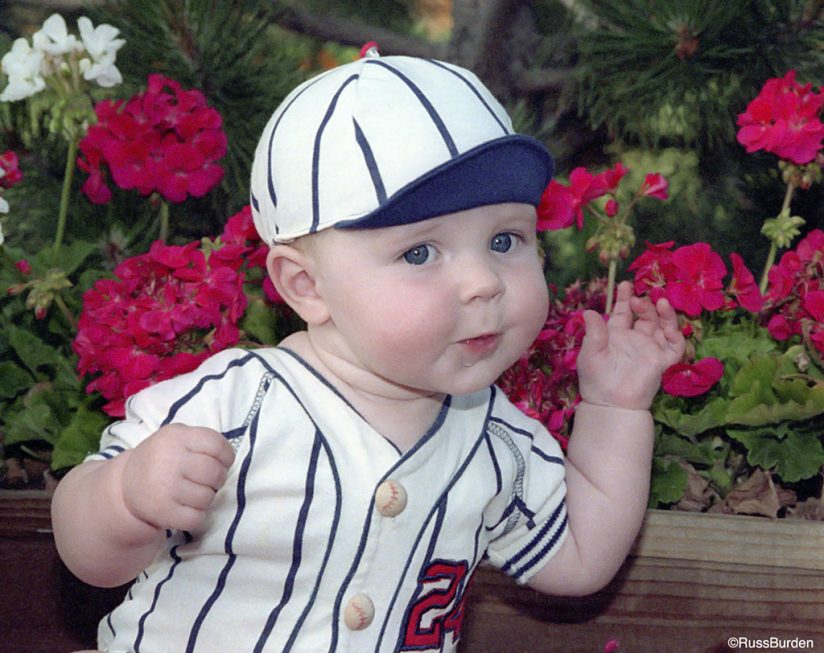
The amount of fill is determined by contrast ratios. I strongly encourage you to test out different lighting situations to dial in proper combinations. When you perform these tests, cover everything from full sun to full shade. For each situation, in one-stop increments, dial in different ratios of fill from minus two stops to plus one stop. As the frequency with which you work with fill flash increases, you’ll find yourself fine-tuning it in one-third stop increments to produce the exact effect you want. It does take some time to get it down pat, but the effect of fill flash is unobtainable using software. Yes, shadows can be brought up, but because I profess “It’s All About The Light,” if I add flash and bring up the shadows in post-processing, the results are drop-dead gorgeous! I’ve made very successful images using fill where otherwise I wouldn’t even press the shutter if it weren’t for the supplemental light.
When the sun is intense and strong shadows are evident, I’ve used flash as my main light. I power it up to override the intensity of the sun. This creates a situation wherein the exposure is governed by the flash. For example, the ambient light gives me a reading of ƒ/8 at 1/250th second, but the subject is illuminated with contrasty light. I power my flash to go off at ƒ/11 and rotate my aperture ring to ƒ/11. As a result, my subject is accurately exposed by the flash. Shadows are tamed and I effectively darken the background by one stop, which allows the subject to stand out more prominently.
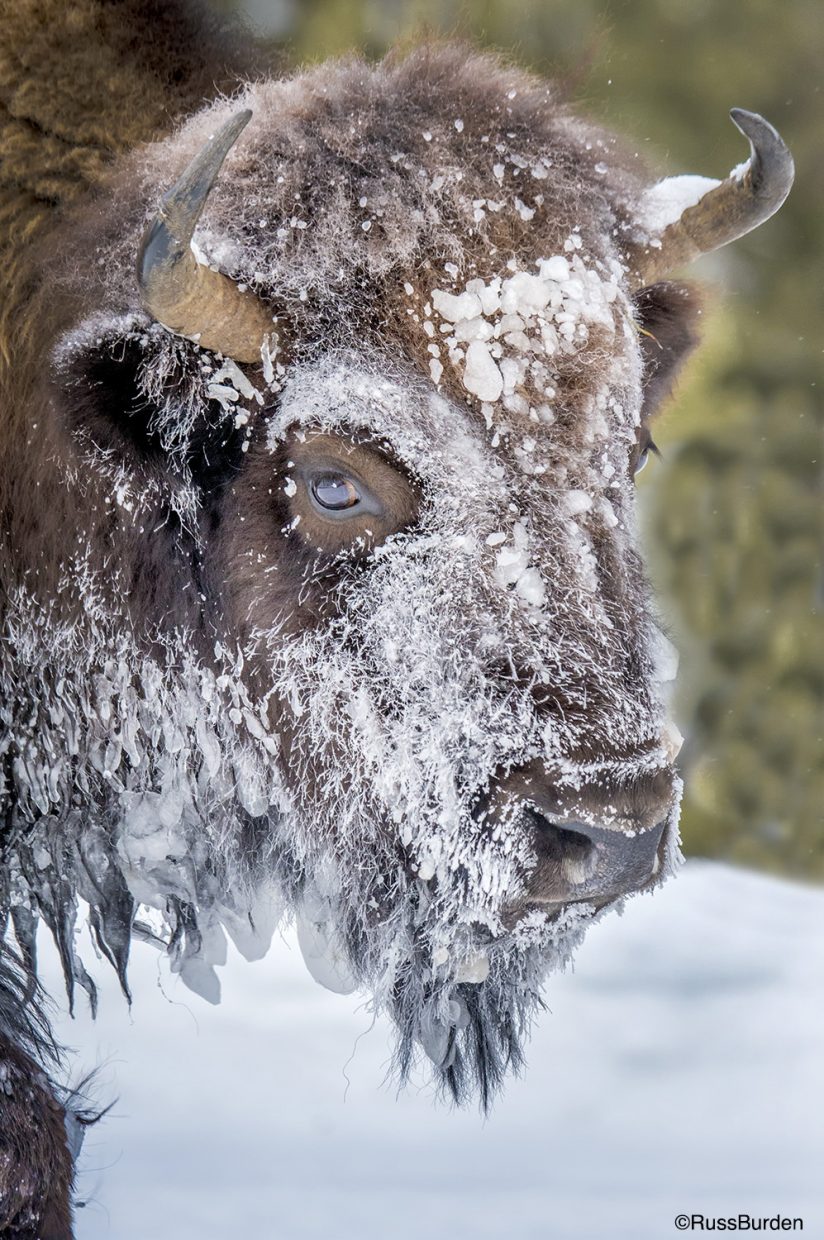
Reflectors can have similar results, but they’re not as precise nor are the results. Also, the angle of the sun limits their use and the distance the light can be thrown is much more limited. Additionally, they often require an assistant, especially if it’s windy. The advantages are that they come in a gold tone to add warmth, they’re a lot cheaper than flash and they don’t eat up batteries. They do work well if you can get close to a subject and precisely aim the bounced light.
Developing an “eye for an eye” is fun and challenging. For every session, my goal is to have every photo be a keeper. Although this may seem unrealistic, it keeps me striving for perfection. It keeps me in practice trying to capture the decisive moment. It keeps me looking for better ways to improve compositions. It keeps me on my toes looking for ways to improve the light. Most importantly, my love of nature is nurtured and keeps me in the field, endowing me with the richness and intrigue of all wildlife species.
Visit www.russburdenphotography.com for information about his nature photography tours and safari to Tanzania.
The post Develop An Eye For An Eye In Portraiture, Part 3 appeared first on Outdoor Photographer.

