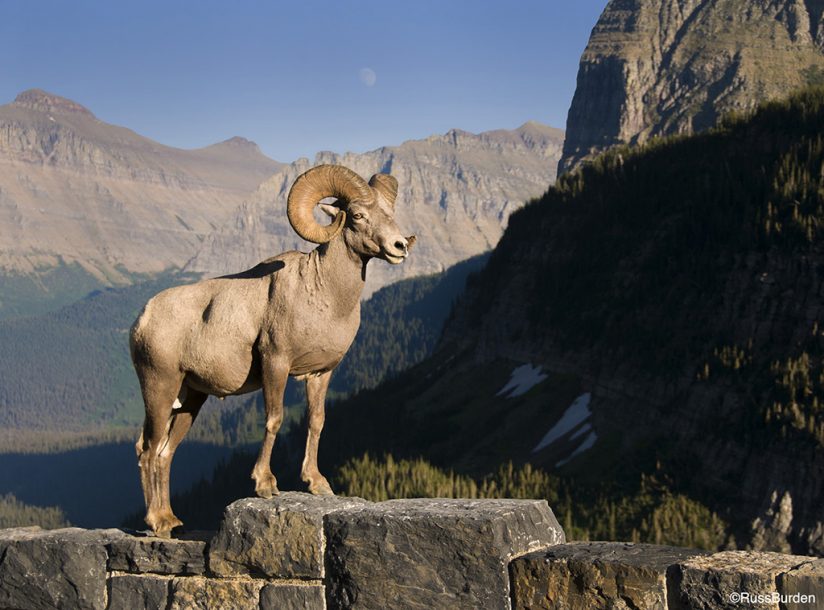
Photographs portray three-dimensional objects on a two-dimensional plane. This explains why many photographers scratch their heads and wonder why the scene they photographed that looked as if it was never-ending lacks depth in their images. In a two-dimensional world, unless the illusion of depth is portrayed, the result is an image that looks flat.
There are solutions. Some ways to achieve the illusion of depth are through the use of color, lens choice, strategic composition, framing, light, subject placement and the working aperture. Two or more of these factors should be used in tandem to ensure depth is rendered.
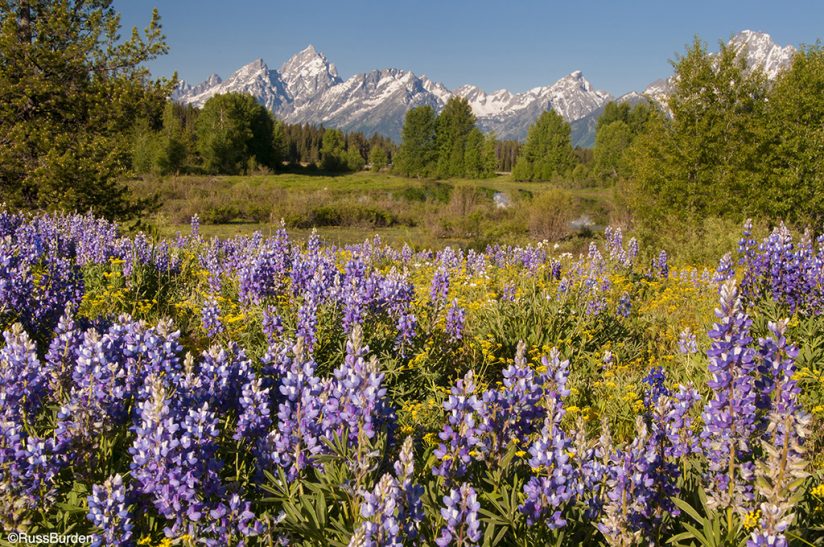
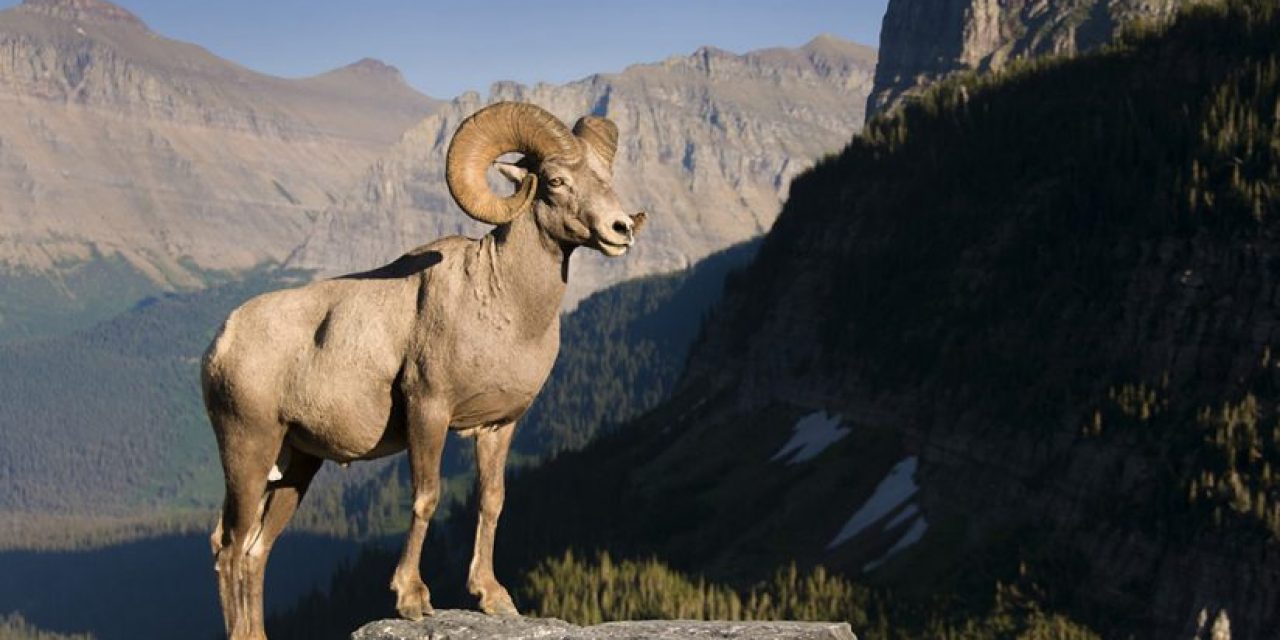
Use your working aperture to help convey depth. As opposed to the example below where you’d photograph the scene using ƒ/22, when you work with small subjects, make a portrait or in instances where the primary subject lives a good distance from the background, use a wide-open aperture. With everything being equal, the wider the aperture, the more the background goes out of focus. Use this creatively to show depth. When the primary subject is tack sharp and the background is out of focus, the background recedes and the sharp foreground element comes forward.
Use light to your advantage to create depth. This can be accomplished in two ways:
- The strategic use of shadows provides depth. Create compositions where the shadows fall behind the primary subject. When the main subject is lit by the sun and the shadow is naturally dark, the lit part implies it’s in the front, which in turn shows depth.
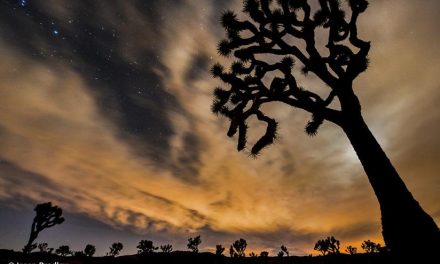
- Quite often, clouds channel where the light falls on a wildlife subject or landscape. Look for these “SPOTLIGHTING” situations. The part that’s lit stands out more prominently against the part that’s in shadow. This, in turn, implies depth. When light like this occurs, I take full advantage. It’s why my business tag line is, “It’s All About The Light.”
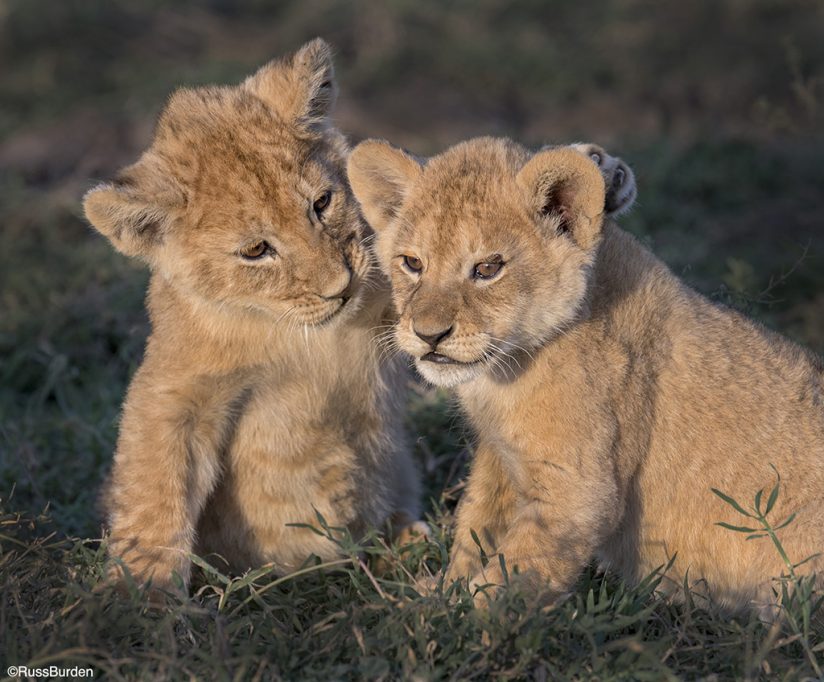
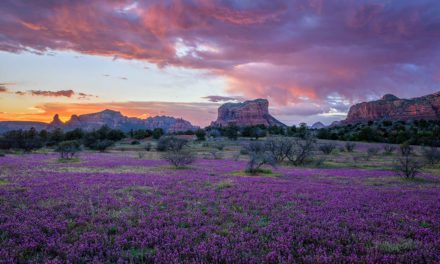
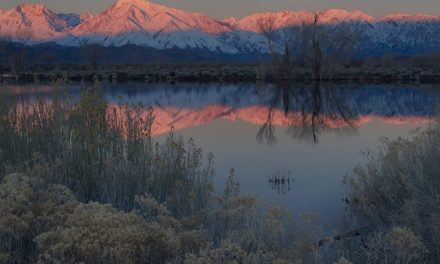
Lens choice is key to creating depth. Long lenses compress distances. This makes everything seem as if they are much closer than in reality. The quintessential example of layers upon layers of mountains that recede into the distance comes to mind. The compression of layers makes each look as if they are on top of one another. On the other hand, wide-angle lenses are used to exaggerate perspective and convey depth. Get very close to a foreground element and compose the picture to overemphasize that subject. Use additional foreground pieces to lead the eye throughout the rest of the composition. The magnified size of the foreground pieces will create the illusion of depth as the eye traverses throughout the rest of the composition. The wide-angle effect implies everything else is pushed back, which in turn provides depth. Landscapes work great for this technique. For instance, strong foreground elements, such as boulder fields or mounds of flowers, lead the eye to key subjects in the mid-ground. The mid-ground subjects, in turn, direct the viewer’s eye to distant focal points. These three layers work together to unify the sense of depth.
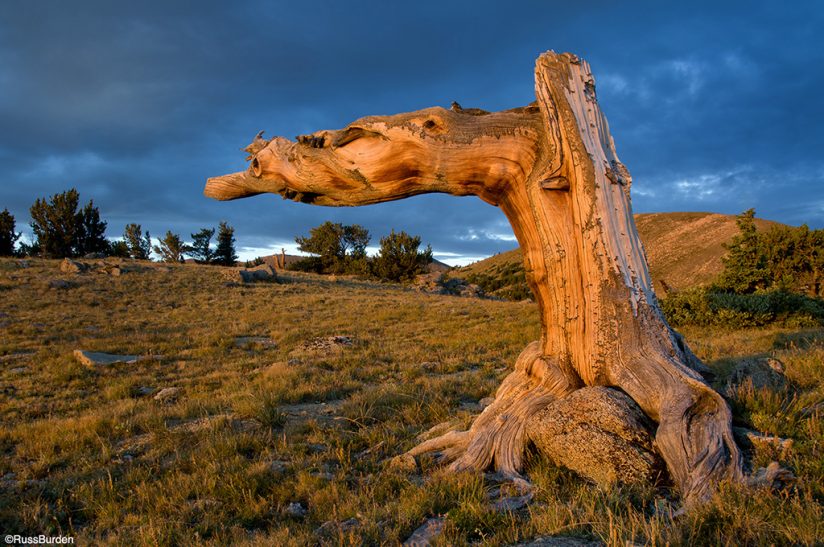
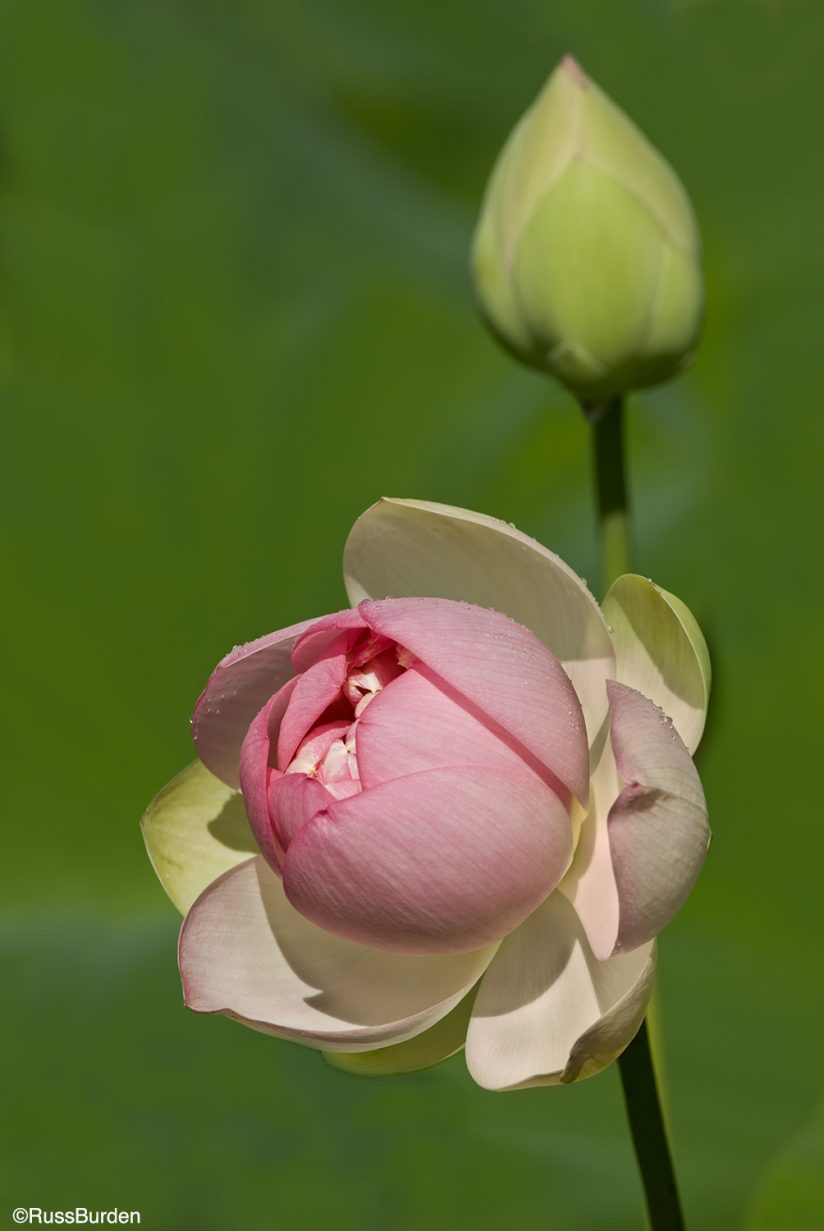
Color can be used to show depth, especially when you juxtapose subjects that are on opposite sides of the color wheel. If you’re not familiar with the color wheel, I encourage you to study it. Cool tones move back while warm tones come forward. Look for situations where a warm-toned primary subject is offset against a cool-toned background. By combining subjects in this way, the illusion of depth can be easily depicted. For instance, magenta and green are on opposite sides of the color wheel. A magenta-colored flower photographed against a field of green will result in the viewer zeroing in on the warm tones while the cool green hues fade into the background.
Get lost in the depths and use the above examples to turn your two-dimensional images into three-dimensional masterpieces.
Visit www.russburdenphotography.com for information about his nature photography tours and safari to Tanzania.
The post Get Lost In The Depths appeared first on Outdoor Photographer.

