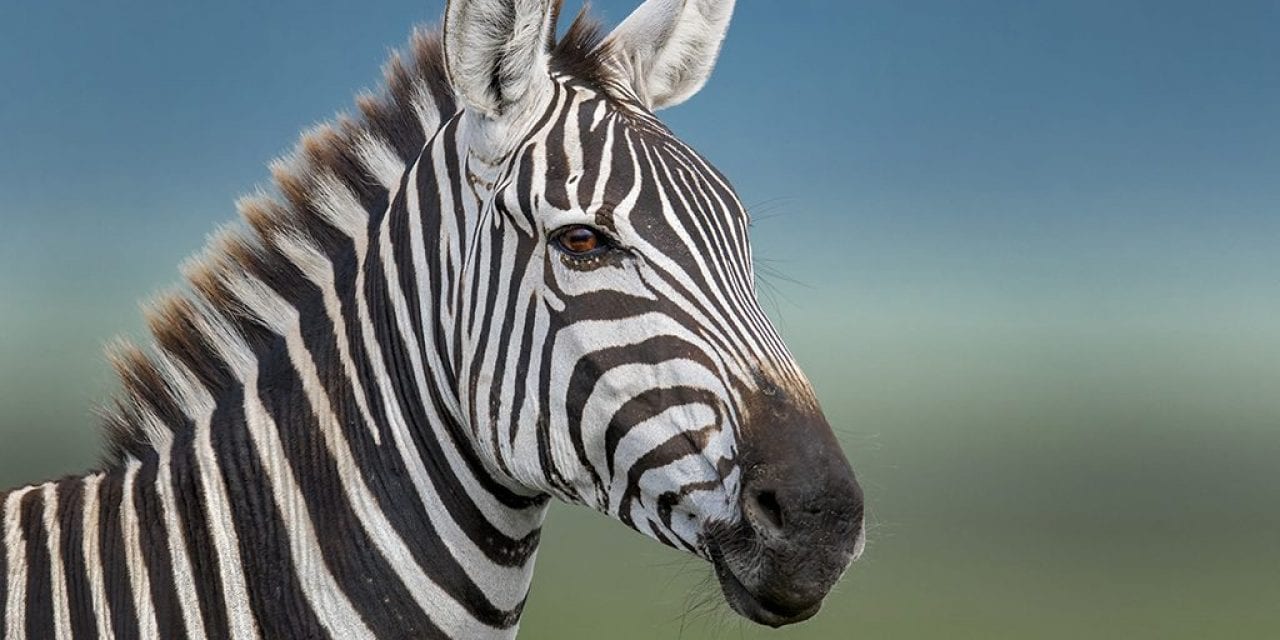
Regardless of the size of the animal or the type you choose to photograph, good wildlife headshots have a number of things in common. These aspects deal with the same principles of good portraits of people. Some of these commonalities are a good background, good light, a proper head angle, a good expression, strategic use of depth of field, proper lens choice, time of day and more. If you study, mimic and know good people portraiture, it will make getting good wildlife headshots easier.
The bonus of learning one is you can become proficient in the other. This is true, especially, if you go from wildlife to people as opposed to the opposite way. The reason for this is people can be directed, positioned, instructed, and coaxed as to where they stand, how they turn their head, how they’re positioned, etc. If you’re up for the challenge, apply what’s below to your wildlife headshots to capture wall hangers.
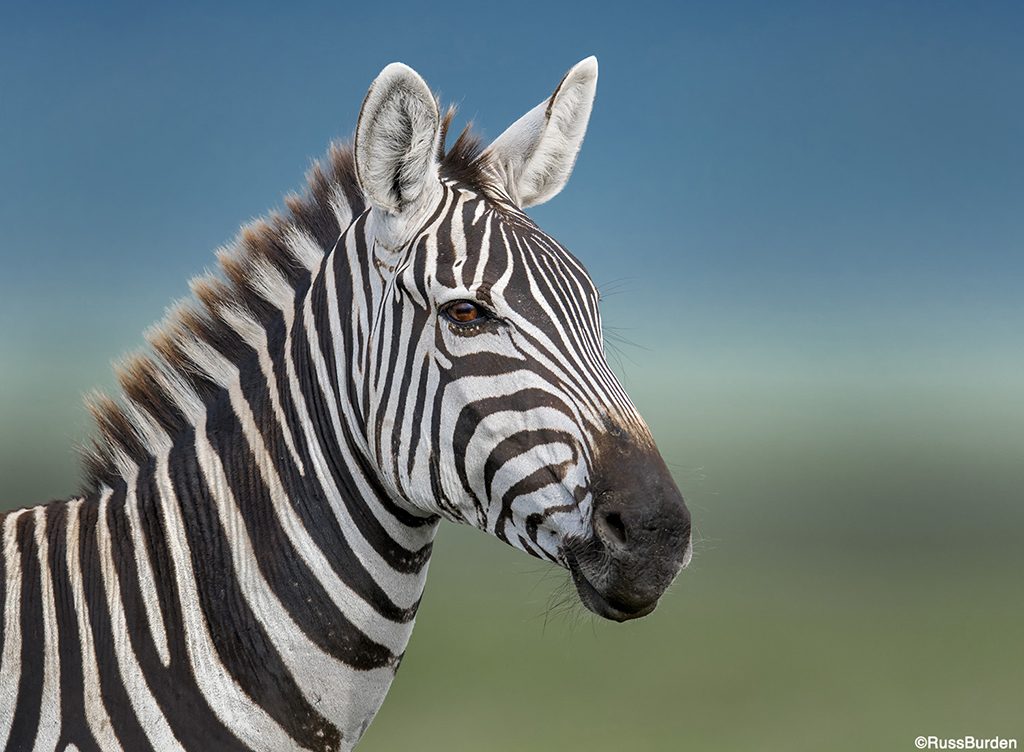
The Background
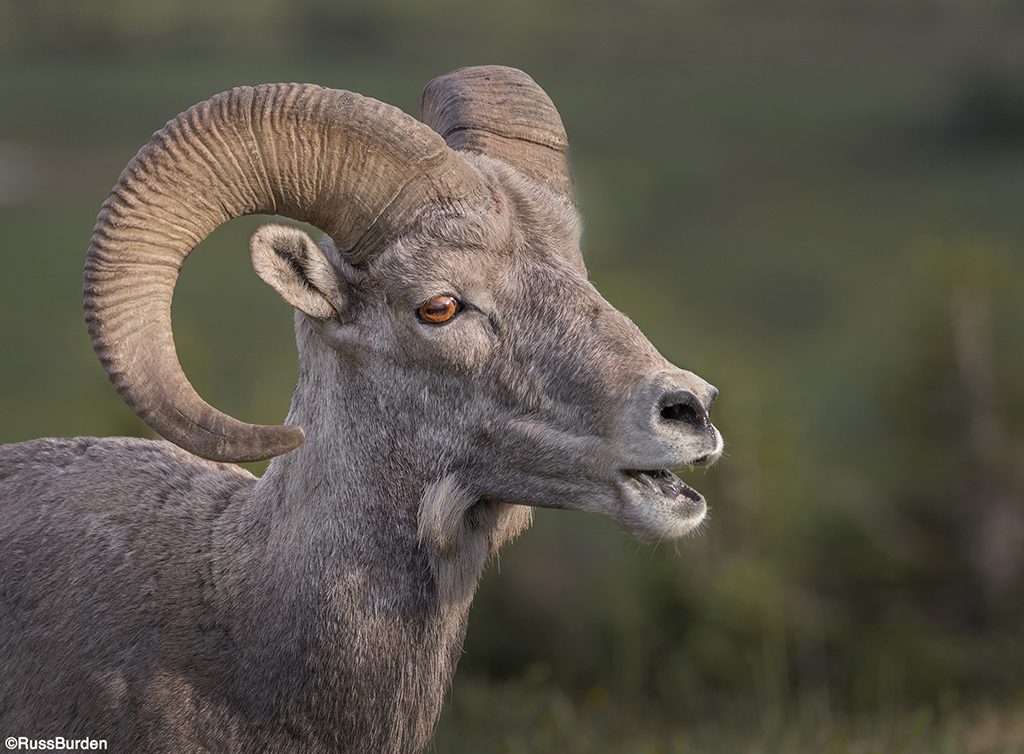
My business motto is, “It’s All About The Light,” but one of my mantras is, “The Background Is Equally As Important As the Subject.” A great subject in great light is ideal, but if the background is busy, has distractions and/or pulls the viewer’s eye from the subject, the image falls short. A great background shouldn’t compete for attention. It should be soft, muted, out of focus and free from confusion. Use a long lens and a wide-open aperture to attain these aspects of shallow depth of field. But even armed with this information, if the subject occupies a location that’s very close to the background, it’s impossible to use photo technology to create a good one. Ideally, you want the animal far enough away from any background so that a long lens coupled with a wide-open aperture will yield a pleasant backdrop.
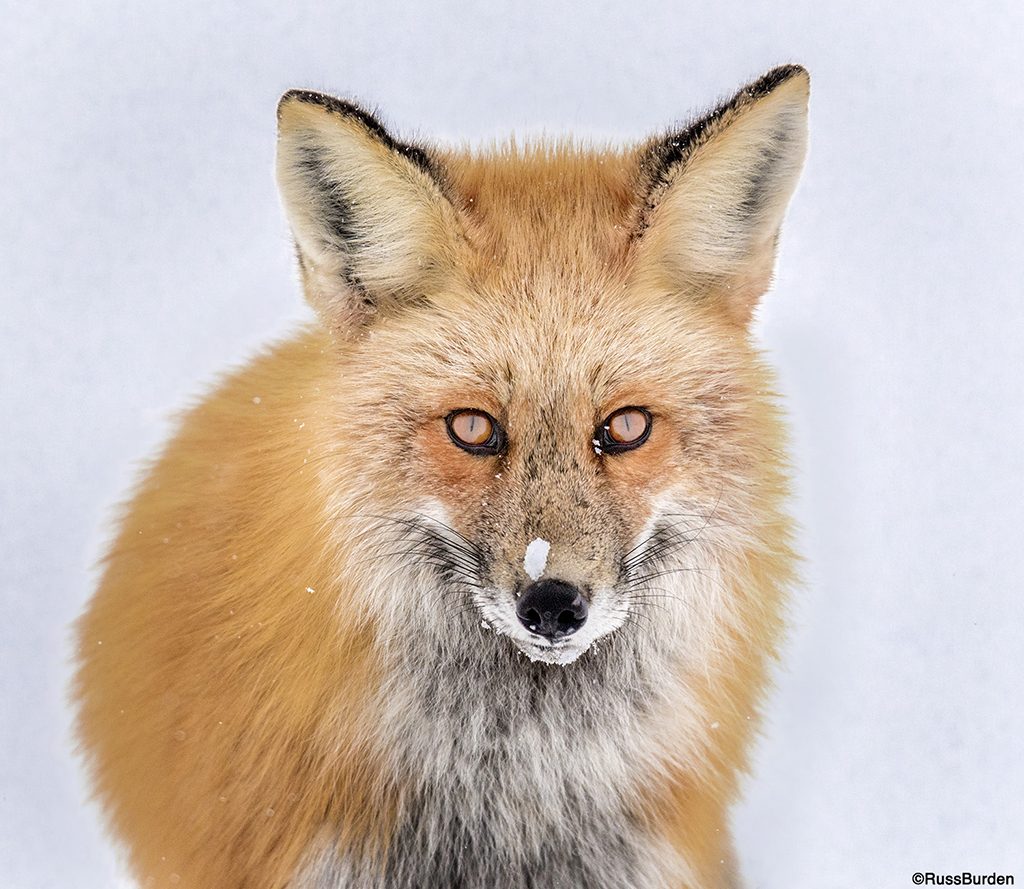
Patience and Persistence
If you’re one who quickly bails, you need to develop patience. There will be times when luck is on your side and everything falls into place nice and easy. Excluding that 2 percent of the time, most good wildlife headshots are made by the other 98 percent of photographers who do invest time and are patient. If you don’t have the patience to wait for all the above and below factors to gel, you’ll go home with mediocre images compared to those who persist.
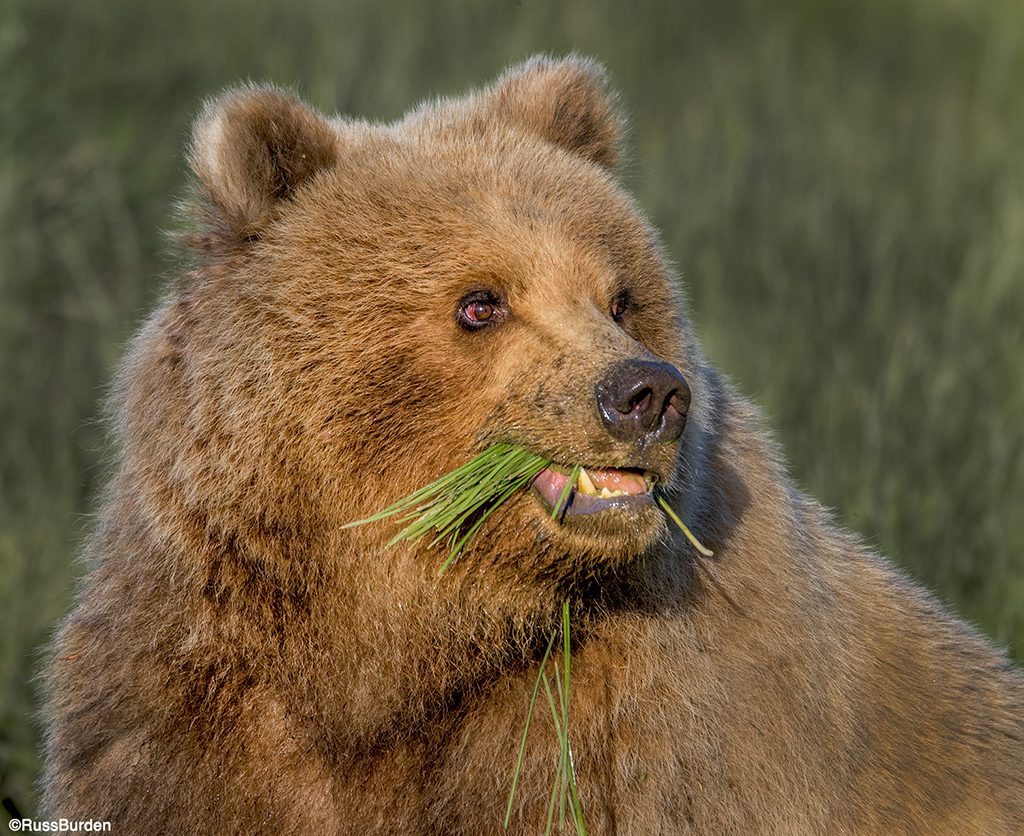
Light
Sunrise and sunset provide the best times as the light is warm and directional. Point your shadow at the subject as it provides nice warm-toned front light on the animal. Sidelight also works, but realize that part of the face will be in shadow. Flash helps if you’re close enough. If not, get yourself a MagMod flash extender that projects light emitted from the flash much farther via the use of a fresnel lens. They work so well I’ve even lit leopards under the canopy of an acacia tree. I wouldn’t go on safari without one. Bright overcast light also works great and has an added benefit. It allows you to make headshots even in mid-day hours. The light wraps around the subject in an even and clean way. While not as dramatic as sunrise and sunset, don’t let mid-day clouds chase you indoors.
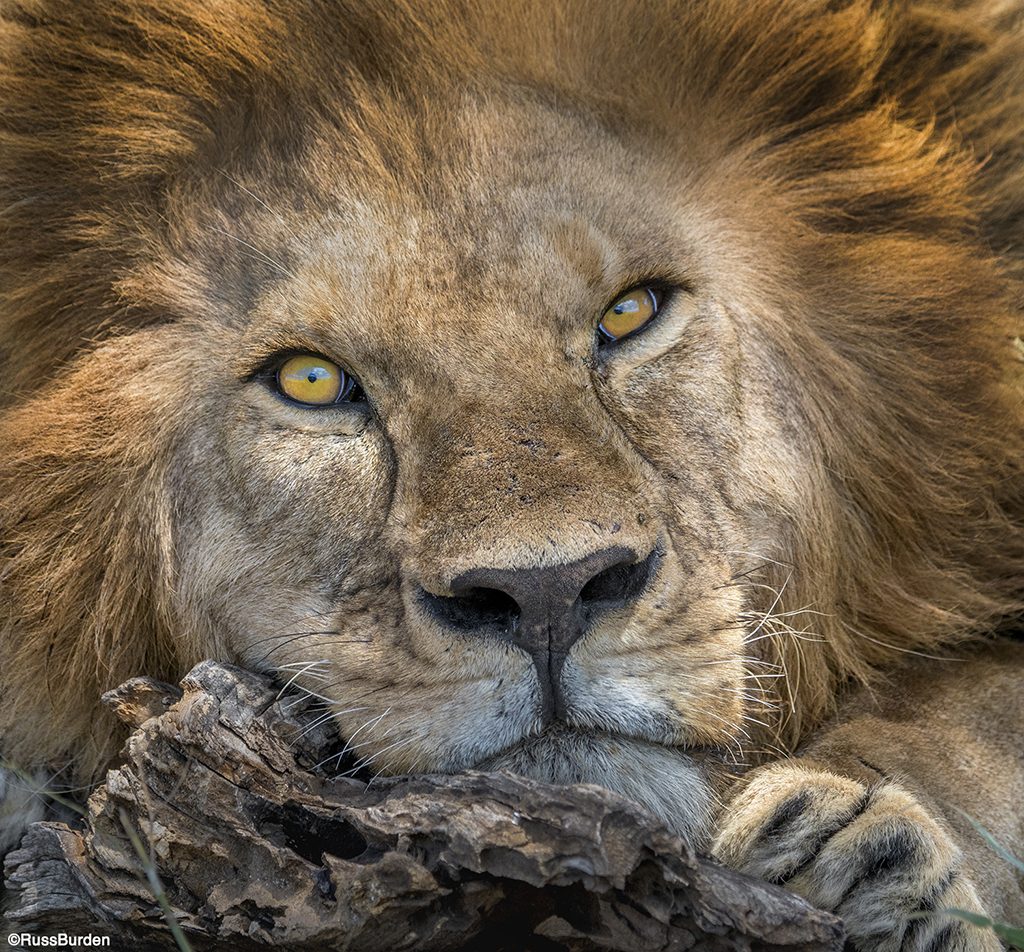
Tell the Story
When you look through your viewfinder, the most important part of the face is the eyes. Expressive eyes show personality. Avoid eyes that are closed or half open. It implies sleepiness, which translates to a boring subject. The mouth and nose are also important. Movement of the lips in certain directions implies action, especially if the tongue is out. Watch for the twitching of a nose as this sends a message the animal is alert. Just because you fill the frame with the animal’s face doesn’t mean it’s going to be a great shot.
Research
Know your animal. Study its traits and habits. Research the internet or read some books about the animal. It will help you predict what it may do next and also prevent you from getting hurt. Know its limitations as to how close you can get without putting you or the animal in danger or stress. Work out of your vehicle as animals often see a car as a blind. Don’t be the idiot tourist who walks up to a moose or bison with an iPhone to get a headshot and winds up making the 6 o’clock news. Persistence gets revisited here given the fact that on any given day, an area may be teeming with wildlife and another, it’s barren. Be persistent and keep going back.
- The ideal recipe to create a heavenly wildlife headshot is to use these ingredients:
- Hope that your subject is far away from the background.
- Use wide-open apertures to throw the background out of focus.
- Use a telephoto lens to help narrow depth of field.
- Work your subject and follow it until all aspects fall into place.
- Use light to your advantage: sunrise, sunset, overcast, MagMod.
- Know your subject, have patience and learn to develop persistence.
Visit www.russburdenphotography.com for information about his nature photography tours and safari to Tanzania.
The post Heavenly Wildlife Headshots appeared first on Outdoor Photographer.

