I’m a stout proponent of less is more when it comes to my photography. This is the point of this and last week’s tip—KISS: Keep It Simple And Splendid. Below I offer more techniques that will help you create images of animals with impact.
Using Flash to Control the Elements
For me, light is the single most important aspect that determines the success of a photo. It certainly needs to work in tandem with other qualities that need to align, but without good light, images fall short. If the ambient light isn’t ideal, flash can be used to augment it. It can fill in shadows to reduce contrast, add illumination to the shadow side of an animal and become a main light when small subjects dwell in dark locations.
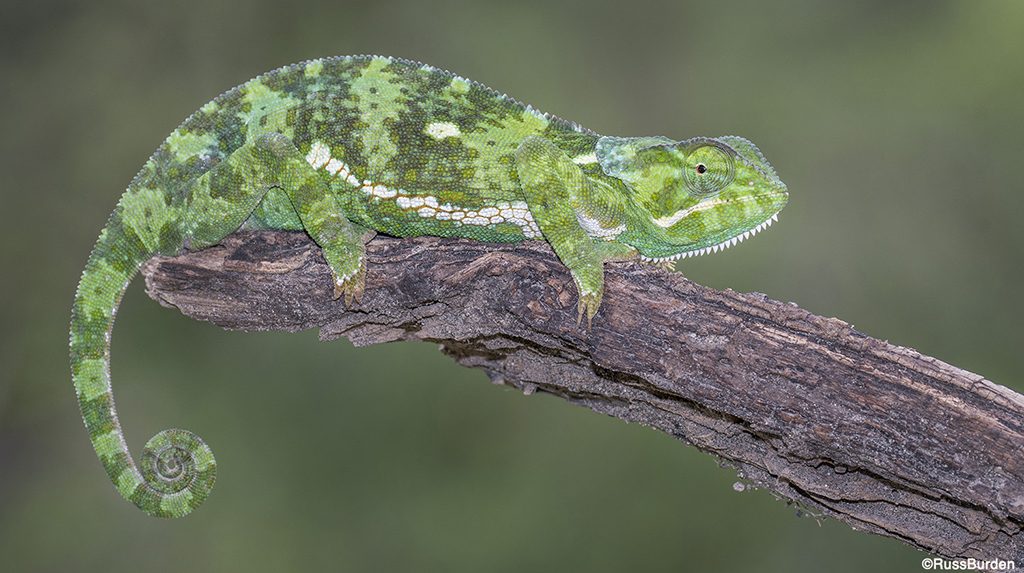
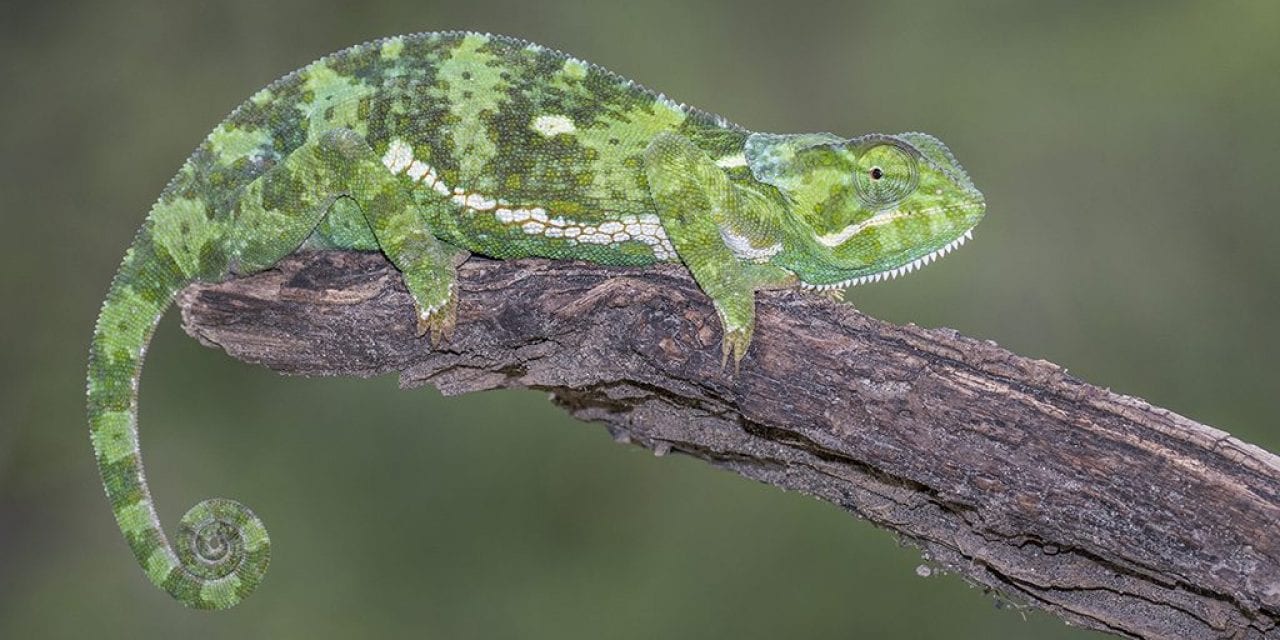
In the image of the chameleon, I used the light from my SB5000 primarily as a main light. When I made the initial photo with it dialed down to act as a fill, the light on the chameleon was good but the background was too bright. Since both the animal and background are green, I wanted the background to go dark.
Because the background was far enough away from the subject, when I powered up the flash, it properly illuminated the chameleon and the background became darker. In essence, I totally controlled the light in this image to make the subject stand out from the background.
Skyline the Animal Against Blue Sky
One of the easiest ways to make a sweet and splendid photo is to have your subject front-lit and photograph it against a blue sky. I often do this with mammals when they walk a ridgeline or when I photograph birds in flight. The solid background of blue easily allows the subject to pop off the image.
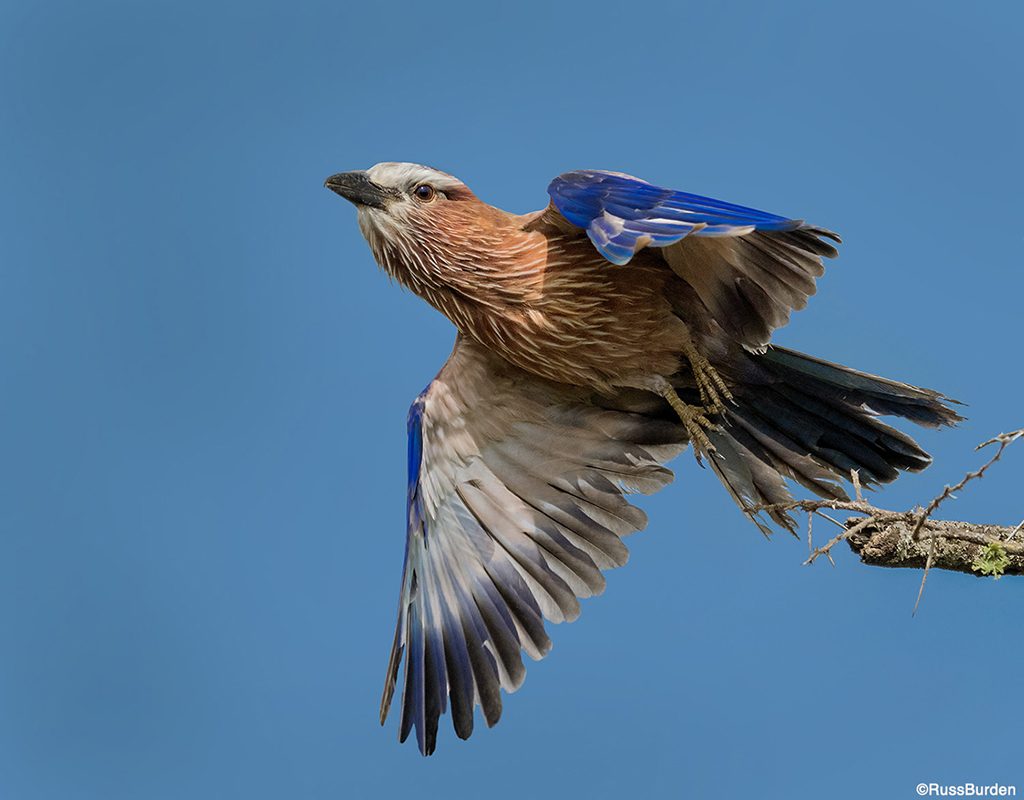
You do need to be cognizant of how a blue sky background looks if there are clouds. The idea is to offset the animal against a total wash of blue. When white clouds merge with the subject, they battle the subject for the viewer’s attention.
Shoot During the Winter Months
Wildlife photos made in the snow work on many levels. If there’s snow, it’s obviously cold, so the animals are in their best coat. The snow hides many distractions that would negatively impact the image if they weren’t covered in a blanket of white. The bright white snow reflects a lot of light so the animal is more evenly lit.
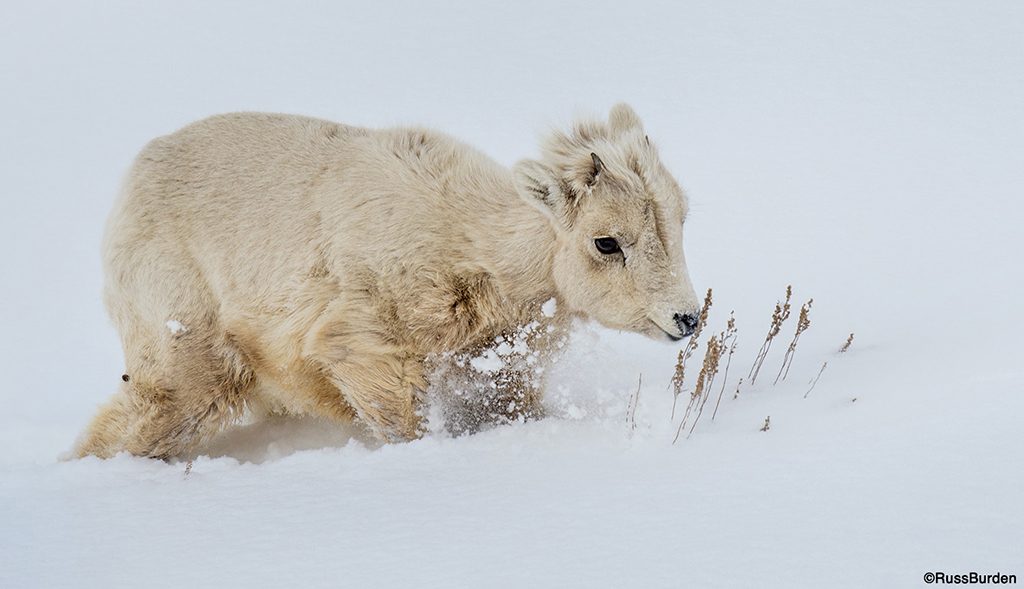
This is truer on bright overcast conditions. When the sun is intense, exposure compensation has to be taken into account because the areas that receive direct sunlight often burn out and lack detail. In the photo of the baby bighorn, the image is chiseled down to two basic elements—the sheep and the grass. If the snow wasn’t there, lots of rubble would attract the viewer’s eye and the image would lack its simple and splendid look.
Avoid Mergers
When I made the image of the two zebras crossing Lake Ndutu in the Ngorongoro Conservation Area, there were a number of other animals also running through the water. I waited until just two were in my viewfinder and followed them as I looked through my viewfinder.
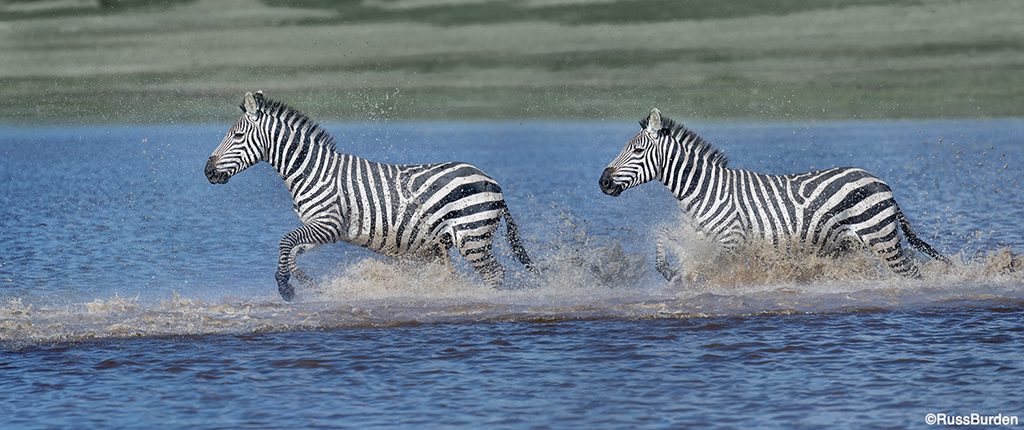
I looked for other small groups or I zoomed my lens to a longer focal length to make images of single ones. Regardless of the number of subjects I wanted to record, if there was any overlap whatsoever, I refrained from pressing the shutter.
Using Long Lenses
The primary reason photographers purchase a long lens is to pull in subjects that are far away. That being said, many don’t realize long lenses narrow depth of field. This helps isolate a subject against a soft background, especially at wide-open apertures.
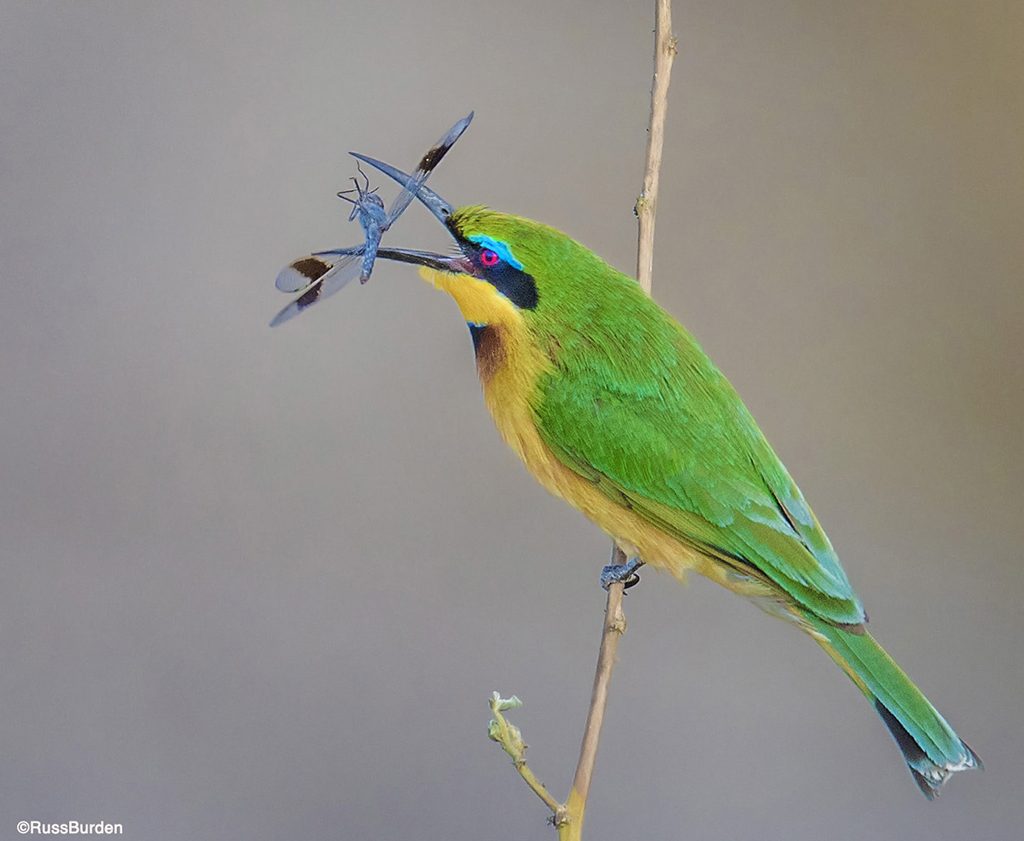
For example, if you stand at the same spot with a subject at a constant distance and one frame is shot with a 200mm at ƒ/8 and another with a 400mm at ƒ/8, the frame shot with the 200mm will have more depth of field. Using this knowledge, use longer lenses if you want the animal to “pop out” from the background. The one catch is if the subject is butted up to the background, it’s impossible to throw it out of focus because it’s simply too close.
Visit www.russburdenphotography.com for information about his nature photography tours and safari to Tanzania.
The post How To Create Images Of Animals With Impact, Part 2 appeared first on Outdoor Photographer.

