Whether you or your fishing partner have landed the fish of a lifetime, a neat looking fish, a more unique species, or a memorable outing casting a line, here are some great tips for better fish/fishing photography from two professional photographers/outdoor writers at Field & Stream Magazine – T. Edward Nickens and Tim Romano, longtime Missouri River fly fishing guide and outfitter in Montana – Mark Raisler, Nebraska Game and Parks Commission Fisheries Biologist – Daryl Bauer, plus yours truly.
These easy-to-follow tips should help you better capture that priceless fishing moment with images on your Smartphone, iPhone or digital camera. And yes, you will have to talk your partner through these steps and then make them smile for the camera, HA!
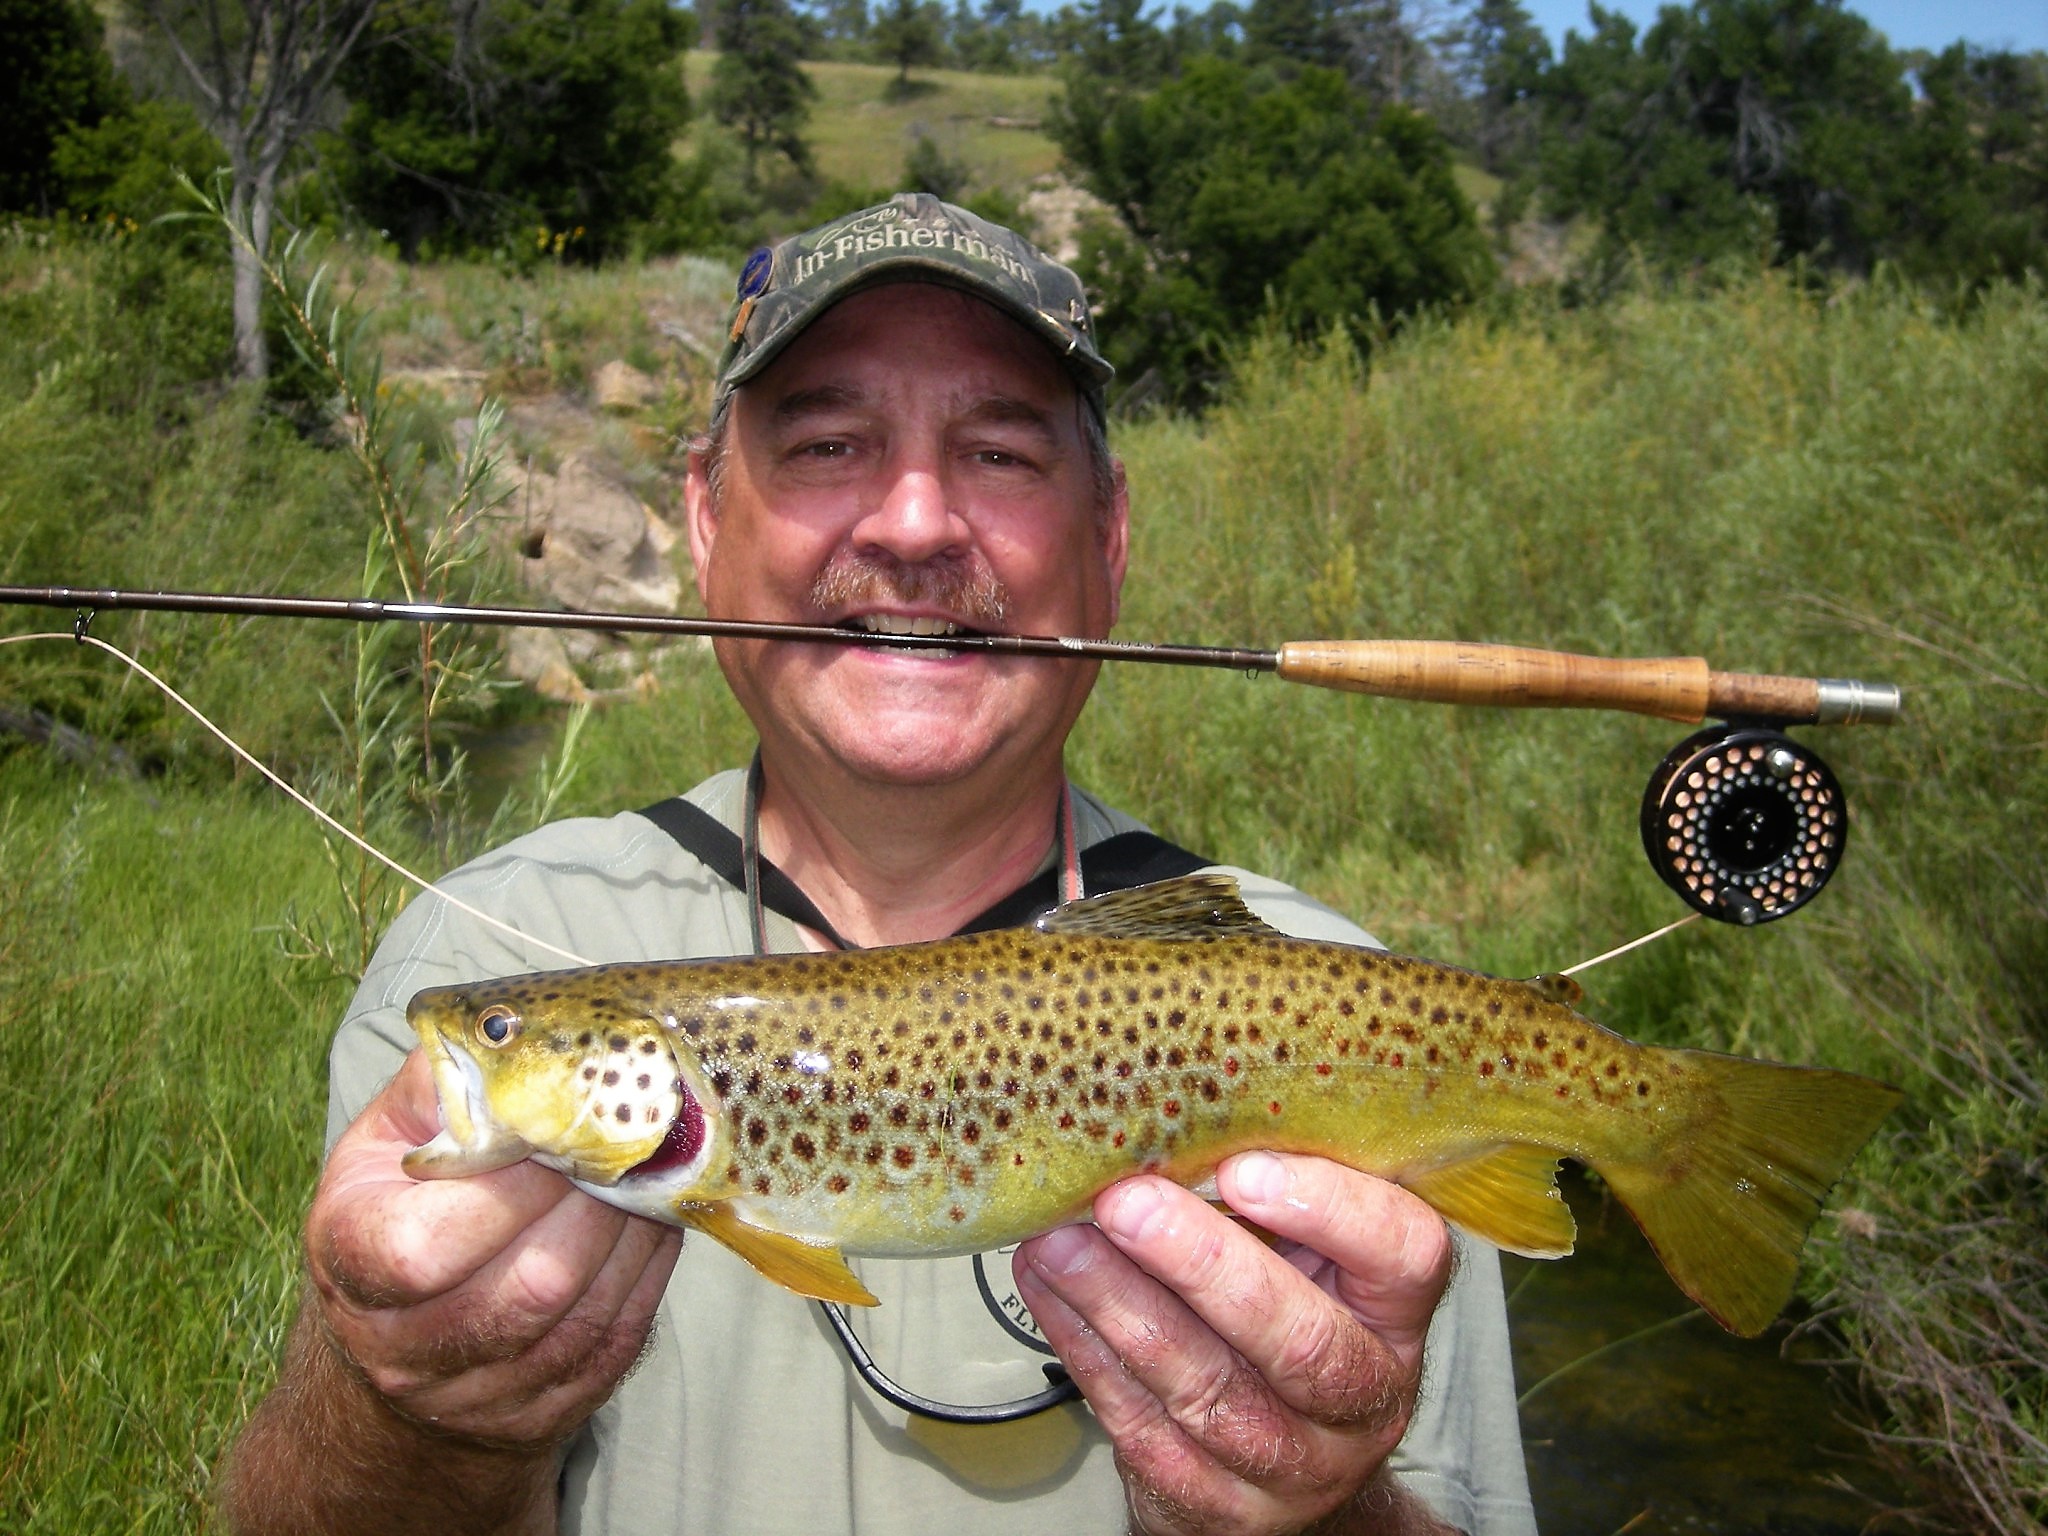
SET THE STAGE. Move away from muddied water or water stirred up by the fight and keep the fish in the water as much as possible. This is especially important to ensure survival upon the fish’s release. Quickly position the artificial lure, tied fly or natural bait in the fish’s mouth the way you want it to appear, or better yet, remove it. In advance, make an attempt to clear the scene of unnecessary clutter — chairs, tackle boxes, extra rod-and-reels, drink cans, vehicles, etc, essentially anything that could possibly detract from the photo and cause a person to look beyond the fish and the angler. Do your best to include the natural surroundings and aquatic habitat but stay as close as possible to the water. Have the angler support the fish gently but firmly while level to the water and even consider kneeling in the water with it. Dip or rinse the fish off in the water to remove unwanted grass, mud, sand, etc. stuck to its protective mucous. If desired, take a shot as the fish comes up out of the water streaming droplets of water. Now repeat it with flash dialed in to a fill-flash setting.
ANGLER ATTIRE. Try to have your angler remove their sunglasses and hat or at least, tip the hat up a bit to prevent a dark shadow on the face. All face covers should be removed. Use the flash to eliminate hat shadows if the hat is to be worn. Some call it the magazine style. This lights up the fish and the angler. Also, a shirt with color may add a little pop or zest to the photo. Avoid muted greens and blues though, as they might blend in to the foliage or a big blue sky. Rubber fishing gloves can be worn and are suggested for use to hold the fish.
MINIMIZE THE TIME FOR FISH OUT OF WATER. Marshall Cutchin of www.midcurrent.com may have the absolute best yardstick for how long a fish should be out of water during a photo opp. So, how long should you hold a fish out of the water? Cutchin says that an angler should start holding their breath as soon as the fish comes out of the water. “When you run out of breath it’s time to let the fish go,” he stresses. “Basically, don’t abuse the fish just for a photograph, keep it short and sweet,” adds Cutchin. Ten seconds is the general guideline.
DIFFERENT ANGLES. Most pictures we see of anglers holding fish are taken at eye level. Dare to be different! Show some dimension. Flat fish look flat. Angle the nose towards the camera. The fish has dimension now and can look better to the eye. Get on your knees or your stomach, lay on your side, or at least squat. If you can, get above or below the situation. Perhaps snap a quick pic of the fish in a rubber net in the water. Take a picture of that fish at the level of the water – with just its eye above the water line, during the fight or swimming away upon release. Those pics are cool!
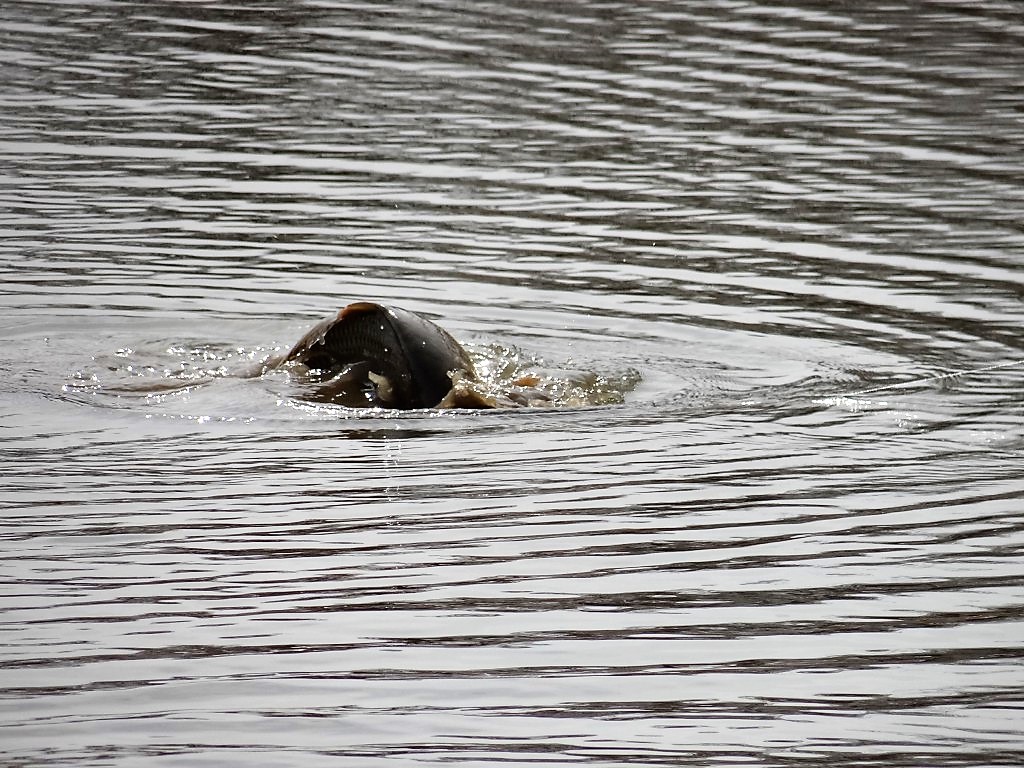
CENTERED IMAGES AREN’T VERY EXCITING. By and large, centered images can actually be boring. Typically this is the case with fish photos. Use the rule of thirds, if possible. Divide your frame into thirds both horizontally and vertically. Place the center of attention on one of those “third lines.” Some say by focusing on the eye of the fish that everything else falls into place with the rule of thirds.
STEADY AS IT GOES. Take a deep breath and hold it while you shoot. The primary reason that most fish and wildlife shots don’t turn out is that the camera moved, even slightly, during the photo taking process producing blurriness or fuzziness. Make certain there is no condensation on the lens by taking several seconds to wipe it clean with a lens cloth. Foggy pictures are the among the worst. Many folks blame the camera or lens, but almost always it is ‘operator error’ with unnecessary movement or lack of care by the photographer. Be particularly aware shooting pics during low-light periods and maintain focus on the fish.
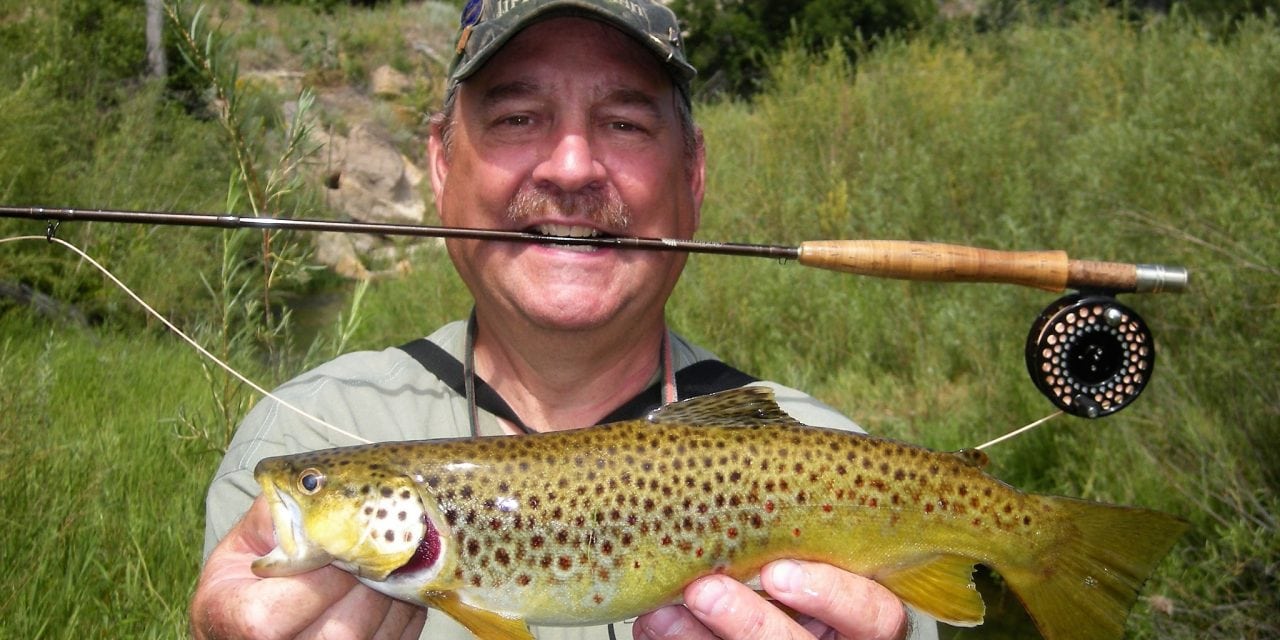
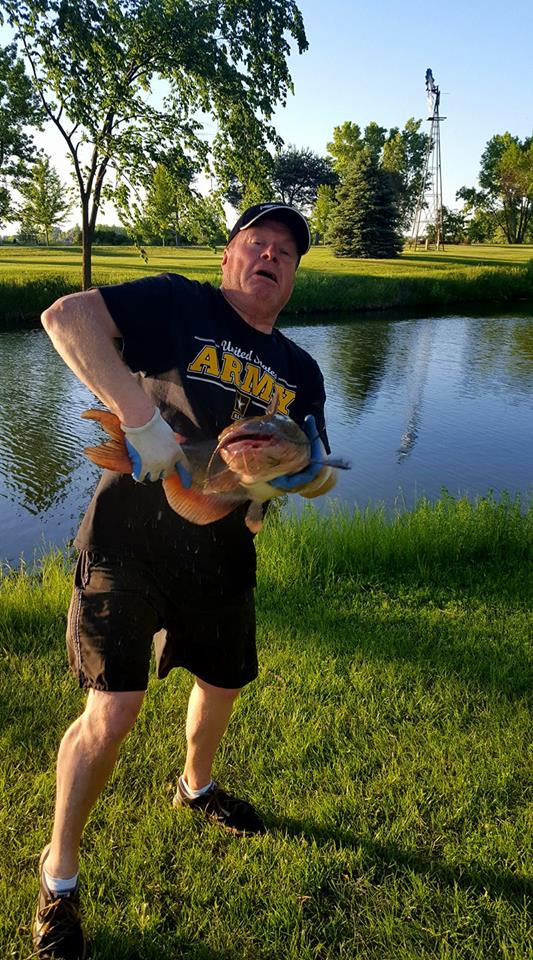
THE HERO SHOT. The “Hero Shot” pose is a standard practice with the hero being the fish. The pose shows complete respect to the fish by the angler properly handling it horizontally in a relatively firm manner with both hands, palms up, not causing damage to the fish “hanging” it by the gills, lips, etc. with blood rushing away from its head. If the fish is larger and you need a little bit of elbow grease to hold it, simply switch the position of your tail hand to the front of the fish grasping with your entire hand around the front of the tail. This covers a bit more of the fish but still shows the tail and makes it a bit more manageable to control large fish. In addition, extend your arms so the fish is at the forefront of the photo. The intent with that is not to mislead viewers on the size, but to promote the “hero” status of the catch, released or kept!
SNAP A LOT OF HERO SHOTS. Snap three or four times as many hero photos as you normally would. Most cameras have a setting to take more than one shot at a time. This is very important when taking photos of fish because they like to flop around when out of the water – making hero shots quite challenging at times. The more shots you can fire off in a few seconds the better. Shoot far more than you think you’ll need. If you’re short on space, just erase the ones you don’t like after you or your fishing partner have released the fish. Editing capabilities are now offered with most cameras these days, too.
GET CLOSE, REAL CLOSE. Look at most of your photos of fish and fishing friends. Bet most of them are taken from about 10 feet back. Be bold, fill the frame with the angler and the fish. Here’s a good rule of thumb. Whenever you take your next image of friend, fish, camp, boat, whatever, get twice as close as you normally would and take a couple of shots. In fact take a bunch. You can always delete them.
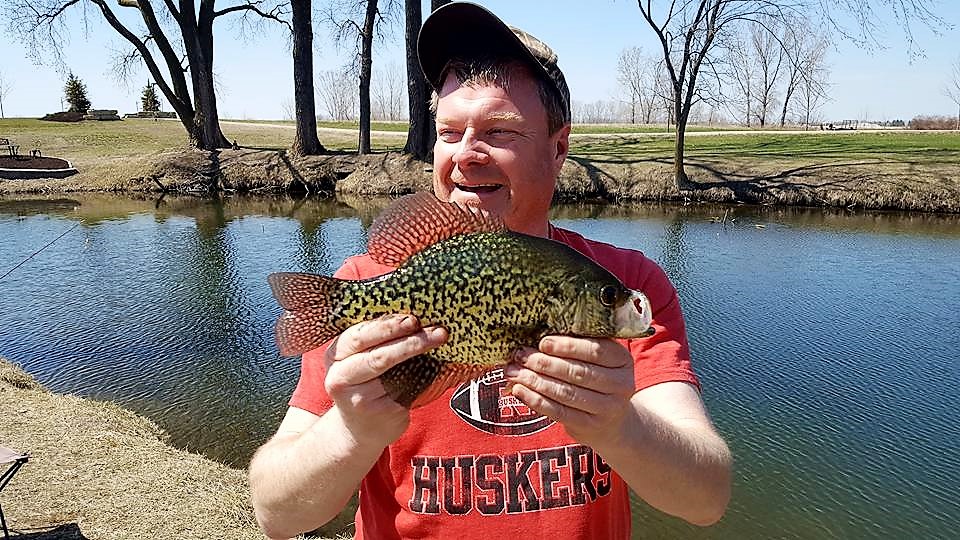
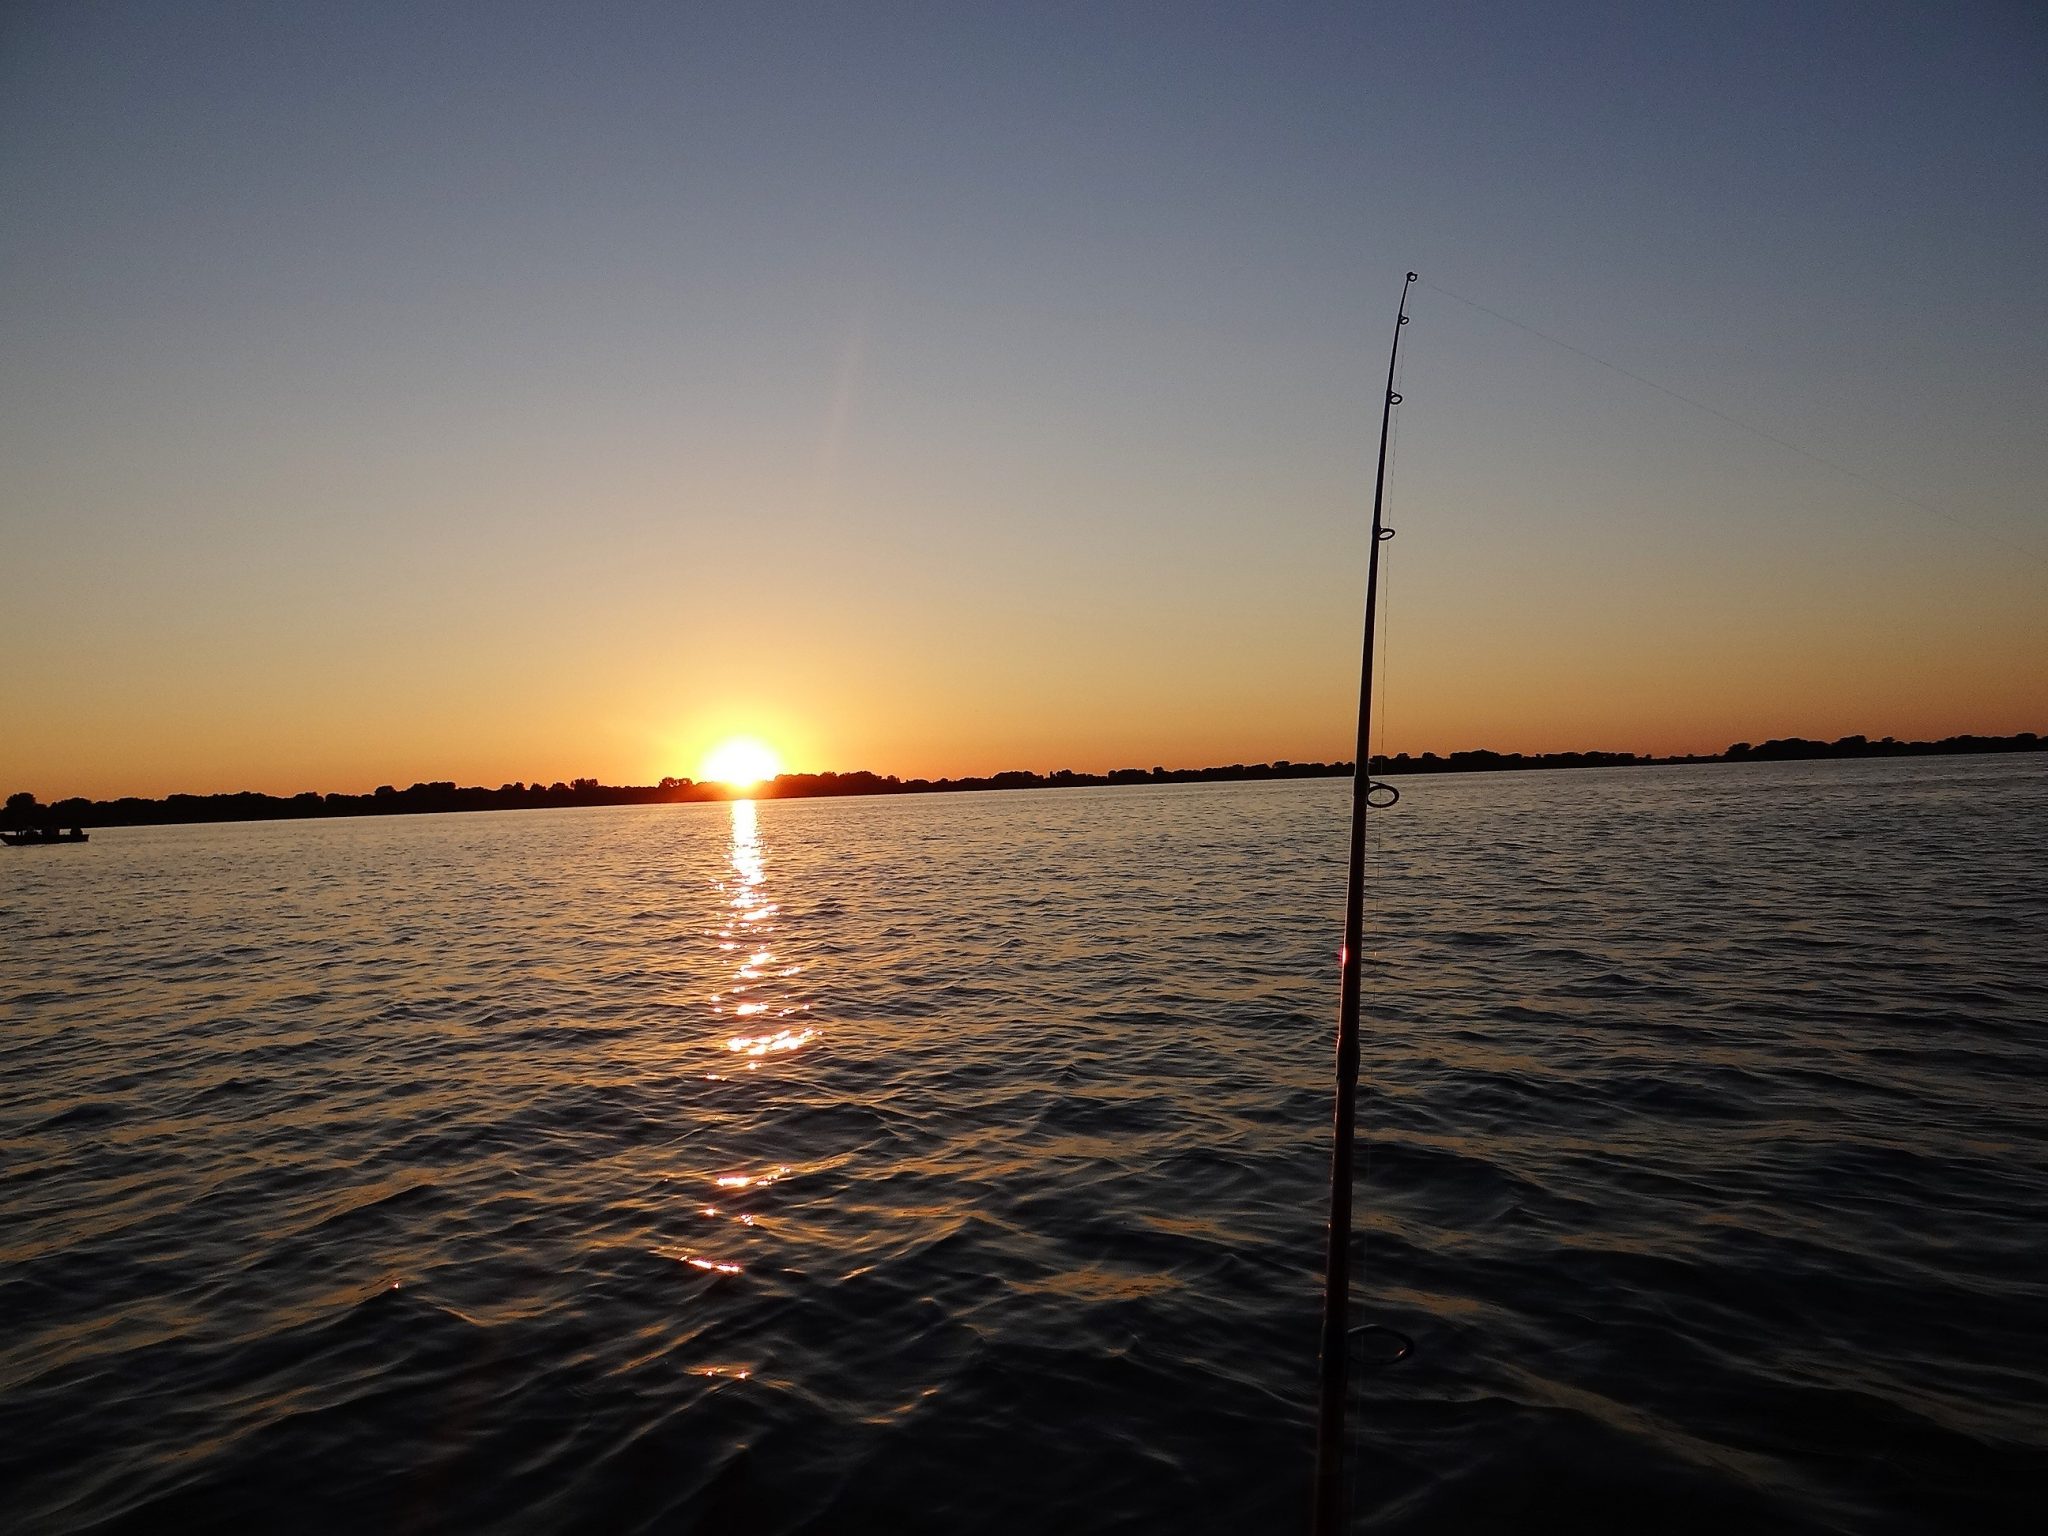
THE LIGHT AND THE SUN. Keep in mind the “magic hour,” which is just after sunrise and just before sunset when the sun is low on the horizon. The sunlight is traveling through more atmosphere and this provides a warmer, richer light. “Keep the sun at your back” is still true with digital photography. Colors are typically much better if the fish is in sunlight rather than in shadow. Shooting into the sun will render anything other than the background as silhouette. This can work in your favor if the landscape is your main focus. A well placed silhouette can really make a photograph.
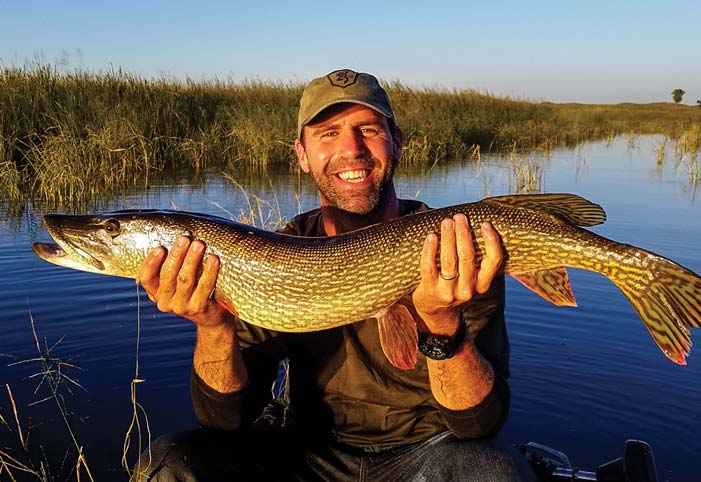
TAKE SCENERY/WILDLIFE SHOTS. Take some scenery and wildlife photos, for sure. Many people want to see something more than a big fish hero shot to feel the essence of your fishing trip. Get pics of sunrises and sunsets on the water as well as wildlife in and around the water like waterfowl, bald eagles, muskrats, beaver, etc. These are what comprise memories while wetting a line and make for more interesting fish/fishing photos.
FIRE AWAY! Remember, it costs nothing to fire away and shoot anything and everything when fishing. Wayne Gretzky, the great National Hockey League (NHL) hockey player once said: “You miss 100 percent of the shots you don’t take,” which applies to photography just as much as it applies to hockey. The more you shoot, the more you learn and over time, you’ll capture some fantastic images as well as some really funny outtakes.
Keep in mind that a camera at the ready is a camera that will be used! When an excellent shot opportunity presents itself on the water, you don’t want to be digging for it in the bottom of a fishing bucket or underneath a boat seat, right?
Good fishing and fish photography!
The post How To Take Better Fish Photos appeared first on NEBRASKALand Magazine.

