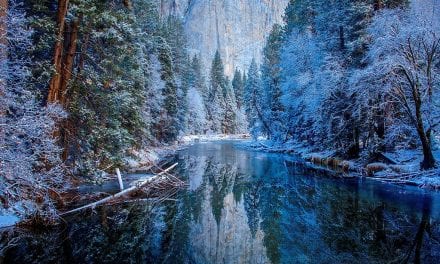
Last week, in part 1, I covered three important qualities of landscape light: side light, alpenglow light and front light. Because I feel that light is the single most important ingredient that determines the success of an image, I’m wrapping up this two-part series with three more lighting situations for landscape photography.
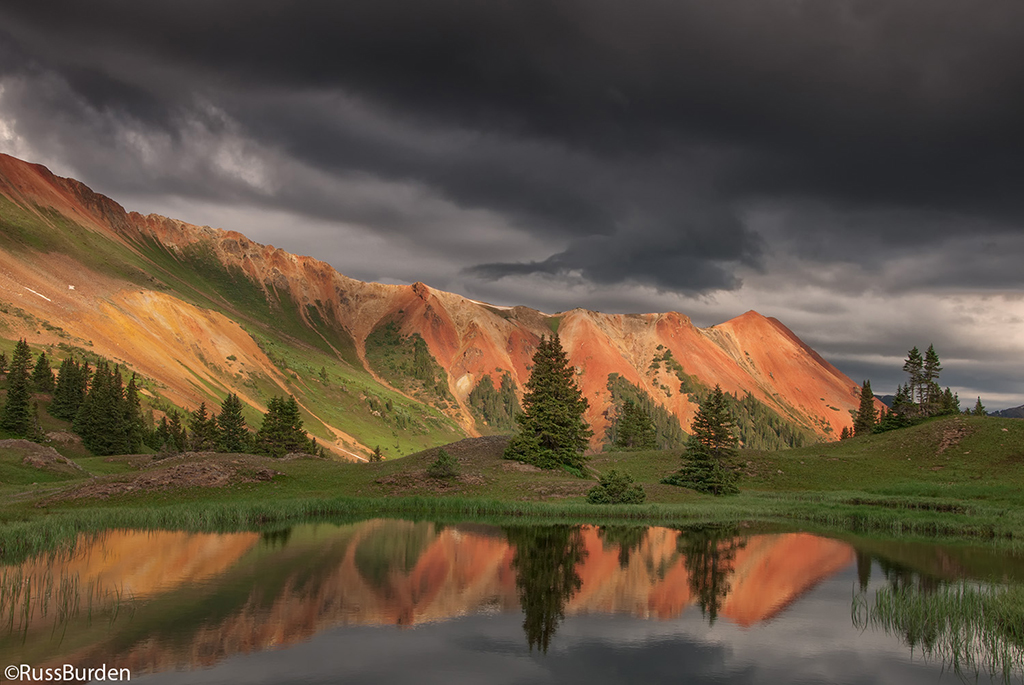
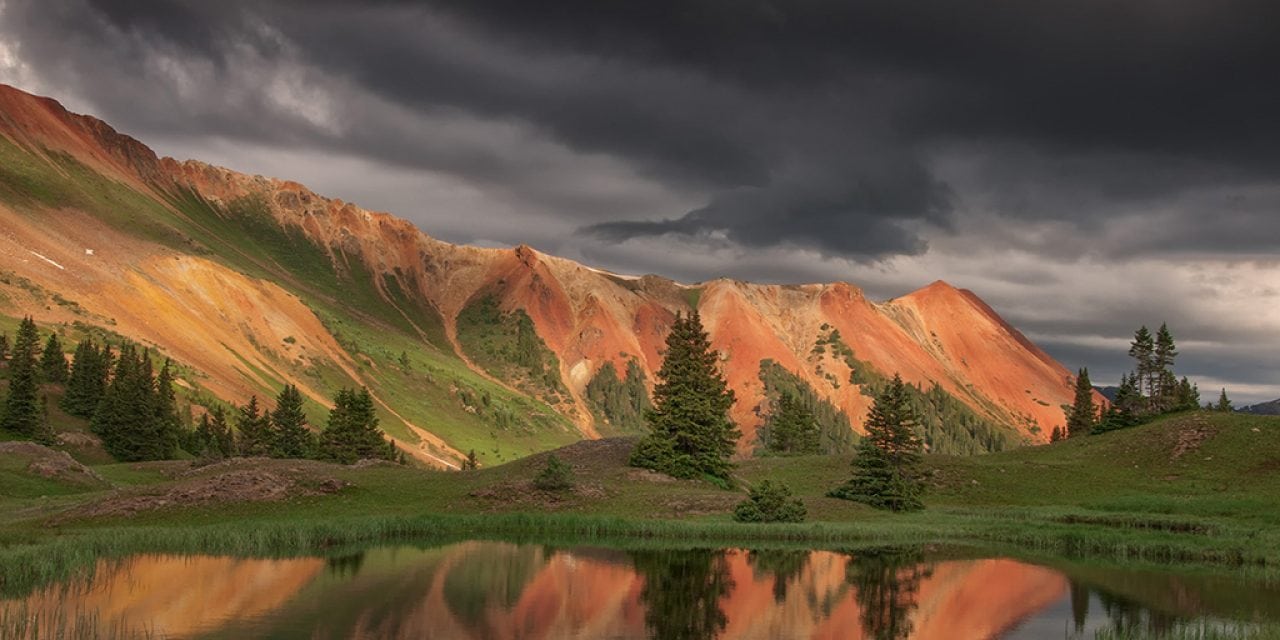
Storm Light: Storm light is extremely dramatic. It’s impossible to duplicate, the impact doesn’t last long and I wish I had the power to conjure it up at will. The reason it’s impossible to duplicate is that clouds must form around the subject, there needs to be a break in the horizon where the sun resides and all must happen when the sun is low in the sky. Clouds can never reform in the same way, the parting of clouds where the sun is may or may not occur and unless it coincides with early or late light, drama doesn’t unfold. When you’re lucky enough to experience storm light, optimize your shooting time as it doesn’t last long. Monitor the weather on the internet. Look for cloud and rain echoes. Find a site that provides zoomed in screens that show very local conditions. Look for breaks in between storms at the beginning of a front or at the end of a storm. These are the times when it will most likely be bestowed. It’s also the time when rainbows occur. Use your polarizer if there’s a rainbow, but be careful to orient it in such a way that you don’t make it disappear!
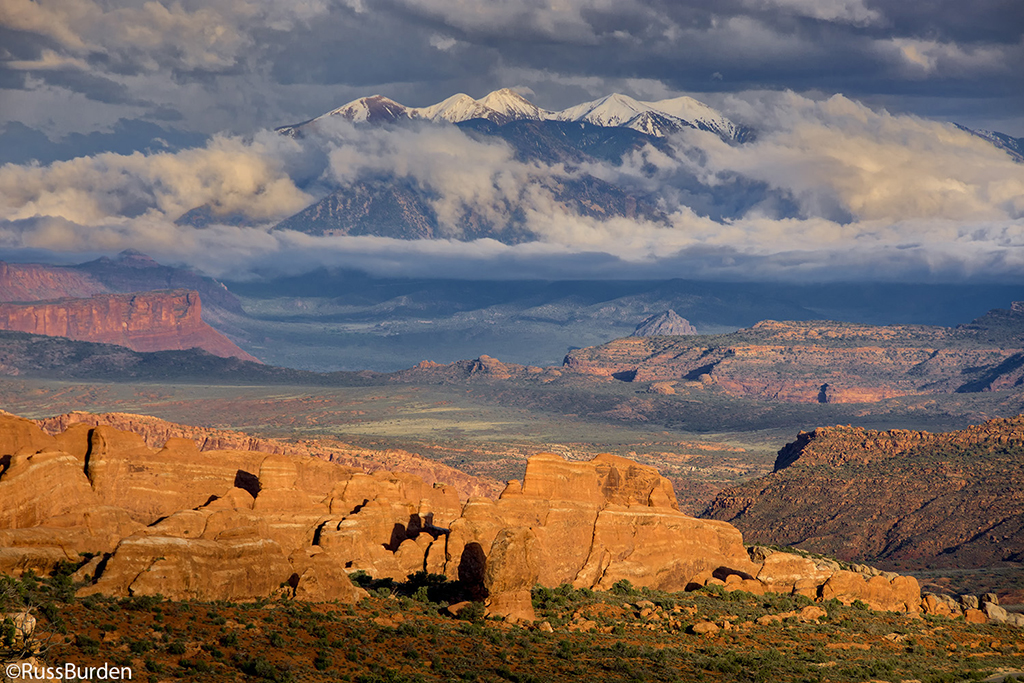
Spotlight: Spotlighting comes as a result of two conditions. It may appear when storm light occurs as explained above. When it does, take full advantage. Another time is when puffy cumulus clouds act as a gobo (otherwise known as a go-between) that directs light onto small sections of your subject. A gobo is used in studio photography to direct light to a given spot. In essence, this is what the clouds do. Watch how the light and shadows of the clouds constantly change to illuminate given portions of the composition. When the light hits the primary element of the composition, press the shutter. Ideally, the shade covers insignificant portions of the composition. If not, wait until it all falls into place. The number and size of clouds in conjunction with how fast the winds aloft push the clouds determines how long you may have to wait for the spotlight effect to be correct.
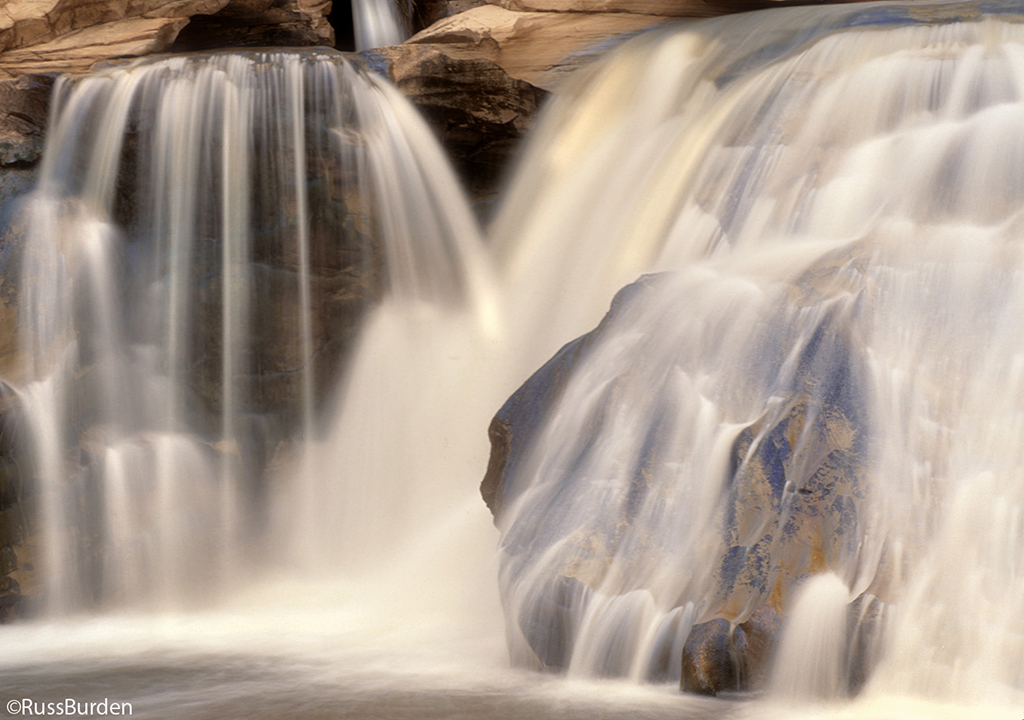
Diffused Light: For a grand scenic, diffused light isn’t the best. Every part of the composition receives the same illumination and intensity, which results in an image that lacks the depth a great landscape requires. When I encounter diffused light, I refer to it as “make lemonade” light. I shift my gears from the grand scenic and turn to making macros, looking for details and simply making the most out of the situation. But, if my subject matter is a waterfall or moving river, I welcome diffused light. Photographers can be fickle when it comes to the kind of light we desire. It’s all based on the subjects in front of us! If diffused light is bestowed, head to the nearest river to photograph cascades and welcome it. Lower your ISO, set your shutter speed to at least one second, attach a polarizer to remove glare and fire away. Thank the clouds above for the soft light and great conditions. While you’re at it, invite your travel companions into the scene, as diffused light works well for portraits.
Visit www.russburdenphotography.com for information about his nature photography tours and safari to Tanzania.
The post Landscape Light, Part 2 appeared first on Outdoor Photographer.

