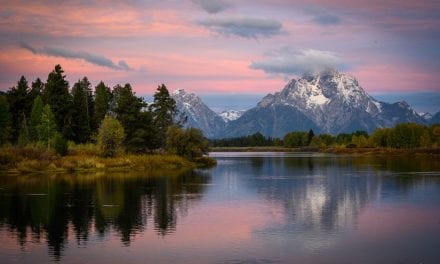
I’d like to share with you lessons in wildlife photography, learned from my experience, on a range of topics, from practical matters like gear and technique, to more intangible insights that guide my work.
Gear
First let me say I am not a gearhead. I don’t keep up with the latest trends. I find what works, and I use it. I feel like there is too much attention on always having the very latest and greatest, and the art and the soul of photography get lost in the discussion. But there is no denying that good gear is critical to wildlife photography, so I will first touch on what I see as the essentials and mention what I have (though remember, I am a working professional, and my needs are more extreme than they may be for non-pros).
Camera. In general, I think the most important features of a top wildlife photography camera are: an accurate, fast autofocus system; a high rate of frames per second (at least 8 fps); high ISO capability (as so many of wild animals are most often seen at dusk and/or dawn); very good image quality that can handle moderate cropping (at least 20 megapixel resolution); and weatherproof build quality. I have a Canon EOS-1D X Mark II. For me, it’s the best Canon camera currently on the market for quality images of fast-paced wildlife action. My camera is full frame, but APS-C and smaller sensor cameras can be a big asset for wildlife photography, as the magnification factor of a smaller sensor enhances telephoto reach. I am hoping to someday have all of these features in one camera, plus a silent shutter.
Lens. A telephoto lens is essential for wildlife photography. I usually use my Canon 600mm f/4, often with a 1.4x teleconverter attached, especially when working on birds. Shorter lenses are also necessary for larger animals or to include more of the animal’s setting. Other wildlife photographers I know also tend to reach for their 400mm, 500mm or 600mm lenses most of the time. There are a number of zoom lenses that I know many have success with as well, available from a wide range of manufacturers now. Always keep in mind that the larger the maximum aperture of any lens, the more light it will allow in. For wildlife photography, look for lenses that open up to f/4 or even f/2.8. Teleconverters are also an essential part of your arsenal, to extend your reach when you need it. I have both the Canon 1.4x III and the Canon 2x III.
Tripod and head. Don’t skimp on the tripod. If you care about producing sharp images, a tripod is just as important as your camera and your lens. If you skimp on your first tripod, you will actually spend more money when all is said and done, as I promise you will eventually decide you need to buy a good one, which isn’t cheap. So skip the first step and spend wisely on an excellent tripod upfront, one that is well reviewed, well regarded, and weighted for your telephoto lens. I have a carbon fiber Gitzo 3530LS. Make sure to take good care of your tripod, especially when it comes to salt water, disassembling and rinsing it thoroughly as soon as possible after exposure. As for a head, I highly recommend a gimbal; no other kind offers the articulation, flexibility and stability this style does for long lenses. I use a Wimberley WH-200.
You don’t really need all the gadgets. When I first got into photography, I spent a lot of time reading photography magazines and online photography forums, taking note of all the camera accessories that it seemed I needed to possess to be a “serious” nature photographer. My drawers and cabinets are crammed with long-forgotten items that I never really found a reason to use. Now I try to head out with as few accessories as possible. I want to be able to move swiftly and unobtrusively, and bring only what I can carry.
Know your camera. I’ve learned that few people actually read their camera’s manual. If you don’t know the ins and outs of your camera, and how to use it to its fullest potential, you are limiting yourself. If the language is too hard to decipher, see if a dummy guide exists for your model. Or, if you’re a visual learner, look up a YouTube video on how to operate an aspect of it, such as the autofocus configuration. I guarantee you, a free YouTube video exists on how to use pretty much any feature of just about any digital camera. Look it up.
Memory cards matter. A lot goes into your photographs: time, money, sweat. Entrust your hard-won images to quality memory cards that have the fastest write speed available and a known track record for reliability. I use SanDisk and Lexar. There are 256GB and even 512GB cards available now, but I get nervous and don’t like to put all my eggs in one basket, so I typically use 32GB cards, though I do have a couple of 64GB.
Buy equipment insurance. It’s worth it for the peace of mind, and for the inevitable, sometimes very costly, mishaps. NANPA (North American Nature Photography Association) offers a special program and rate to its members, including worldwide protection and 24-hour claim reporting.
Techniques
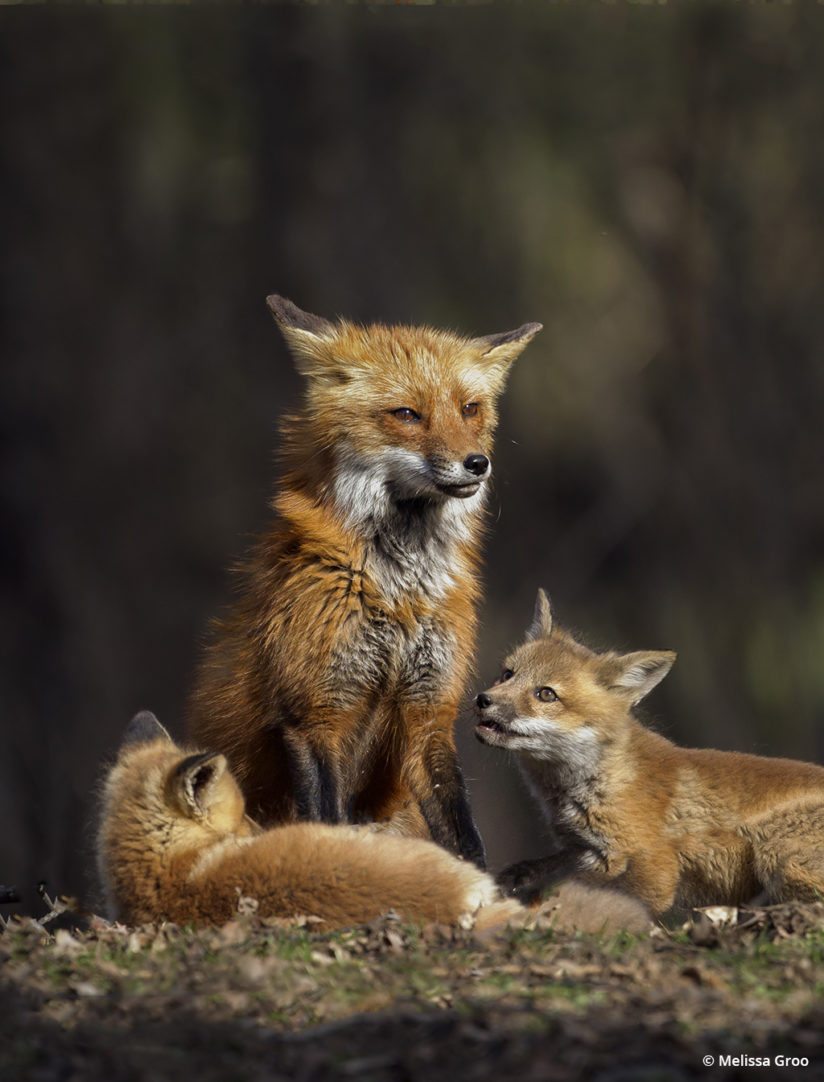
Get low. Doing so brings you and the viewer into the animal’s world and will yield much more engaging, powerful images. It’s also a great way to appear less intimidating to your subject, increasing the likelihood it will stick around. Spread your tripod low to the ground or use a skimmer pod. Be prepared to get messy.
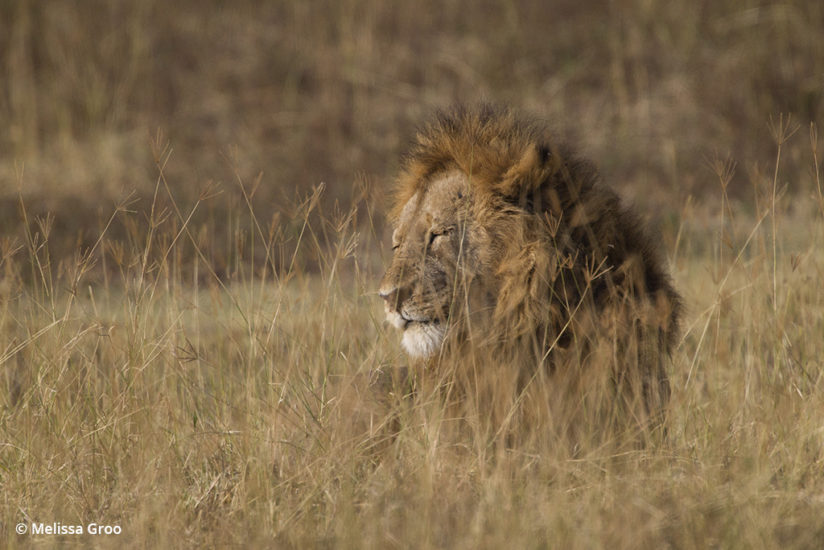
Background is everything. OK, not everything, but it’s almost as important as the animal you are photographing. Most of the time I shoot wide open, at the largest aperture, so that I have a very narrow depth of field, which means the subject is sharp and the background is blurred out. I also look for uncluttered backgrounds and am always considering whether moving a few inches or feet to the right or left, or slightly lower or higher elevation, will look cleaner. Run your eye around your entire frame as you shoot, and be aware of distracting elements poking in.
Break rules. Knowing the basic rules of composition, light and traditional camera settings are a must. But then use your unique creative vision to depart from those rules when called for. This oft-used quote is apt for photography: “Learn the rules like a pro so you can break them like an artist.” Absolute statements are thrown around a lot, like, “the sun must always be directly behind you, with your shadow pointing at the subject.” I can’t imagine how boring photography would be if we all subscribed to such a thing. Sidelighting and backlighting are hugely creative tools.
Birds in flight. I have learned from many frustrating outings to not try to photograph birds in flight unless the wind is at my back. Birds fly into the wind. If the wind is not coming from behind you, all you will get are butt shots. Light is also best when it comes from behind you for flight shots, though backlit flight shots can be stunning and unique.
Be ready. Set and mentally register your baseline settings just before you head out. Do a few test shots given the light you are working with. Whether you are driving around looking for wildlife or heading out on foot, be fully ready to pick up your camera in a moment’s notice and photograph an animal that may only be still for two seconds. I have gotten some great opportunities because I was all set to shoot when I stumbled across something amazing. Wildlife is very quick and mostly wants nothing to do with us. Always be ready.
Shutter speed is king. For me at least. I shoot in manual mode, and I think about what it is I want to photograph and then set my shutter speed at what I think I will need. Even if the species is not very fast, the behavior I may be looking for happens very fast. I tend to handhold my camera, and I am very fond of action shots of birds, so I am always trying to put my shutter speed as high as I can, given the available light and my ISO setting. For birds in flight, for example, I prefer to shoot at a minimum of 1/2500 or 1/3200 sec.
Do what works. For you. Back button versus front button for focus. Nikon versus Canon. Manual versus aperture. People are fond of declaring one way as the only way, constantly seeking to pit one thing against another. Find what is best for you. In many cases, it’s what you do with a tool or technique that makes it successful in your hands. At the same time, don’t be afraid to try new things. Stretch yourself.
Finding willing subjects. Go where birds are used to people, like city parks, a well-used nature trail or the entire state of Florida. As much as I love to photograph in the boonies, far from signs of other humans, it is very difficult to get close to birds and other animals that are not used to seeing people and thus take off at the first sight or sound of you.
Intangibles
Train your eye. Look at work by photographers you admire. Look at what’s already out there for any given species. Try to photograph behavior or poses that haven’t been done to death already. It’s how you make your work stand out. But don’t just look at photos. Look at the work of great artists like Caravaggio and Monet, study the use of light, color and composition.
You don’t have to go far. I hit this note over and over. There are incredible stories and photo opportunities right where you live. I have traveled to many places, but my favorite photo I’ve ever taken is of bobcats two miles from my home. Make your yard a haven for wildlife. Plant native shrubs, trees and flowers in your yard to attract birds, bees and butterflies. Create natural cover for small mammals.
Go deeper. Become intimately acquainted with a location or with a species. This is how you end up with unique, meaningful photos. Whether it’s knowing how light will best illuminate the contours of a landscape you have come to know by heart or witnessing intimate moments in the life of a beaver that has become accustomed to your presence, this is the best way to build a portfolio and tell a story.
Know your subject. And work it hard. Read up all you can about the animal you are going to photograph. What kind of habitat can you find it in? Does it perform an interesting mating display? How sensitive is its nest or den, and should you forego the opportunity? Borrow from the wisdom of hunters and trackers on how to find and stalk wildlife. Take a birding class or a tracking class in your area. Join natural history and birding email lists.
Tune in. Be in tune with the seasons, the weather, the cycle of the sun. Knowing the natural history and seasonal rhythms of the particular region you live in will be an immense help to your wildlife photography. If you know that waves of migrating warblers tend to push through your area during the first week of May (like here in the northeast), clear your calendar that week and be out all day, every day, if you can. Know the weather and your light. Apps like Dark Sky or MyRadar make it easy to plan your day around weather events; TPE (The Photographer’s Ephemeris) is helpful for angle of light. If photographing shorebirds or wading birds, tide information is critical, too.
Integrity matters. Being honest with others about how you obtained your images is increasingly important in a world where fabrication is commonplace. If you want to be respected and have longevity as a nature photographer, your treatment of your wild subjects and your honesty with colleagues, clients and viewers is of the utmost importance. Now that we have the internet and social media, it’s very easy for others to uncover many details about you and your history.
Above all else, care for your subject. I truly believe that building ethics into our fieldcraft is just as critical as understanding our camera or how to use light. We all make mistakes as we learn and grow in this pursuit. The important thing is applying awareness and knowledge moving forward. If you’re a photography instructor at any level, I urge you to both teach and model ethical field behavior. The overarching principle for all of us as wildlife photographers must be that the welfare of our subject is more important than our photo. Every time. Never forget that these moments out in nature are just about photos to us, but to wild animals, every single moment is about survival. Keep it safe, keep it wild.
The post Lessons In Wildlife Photography appeared first on Outdoor Photographer.

