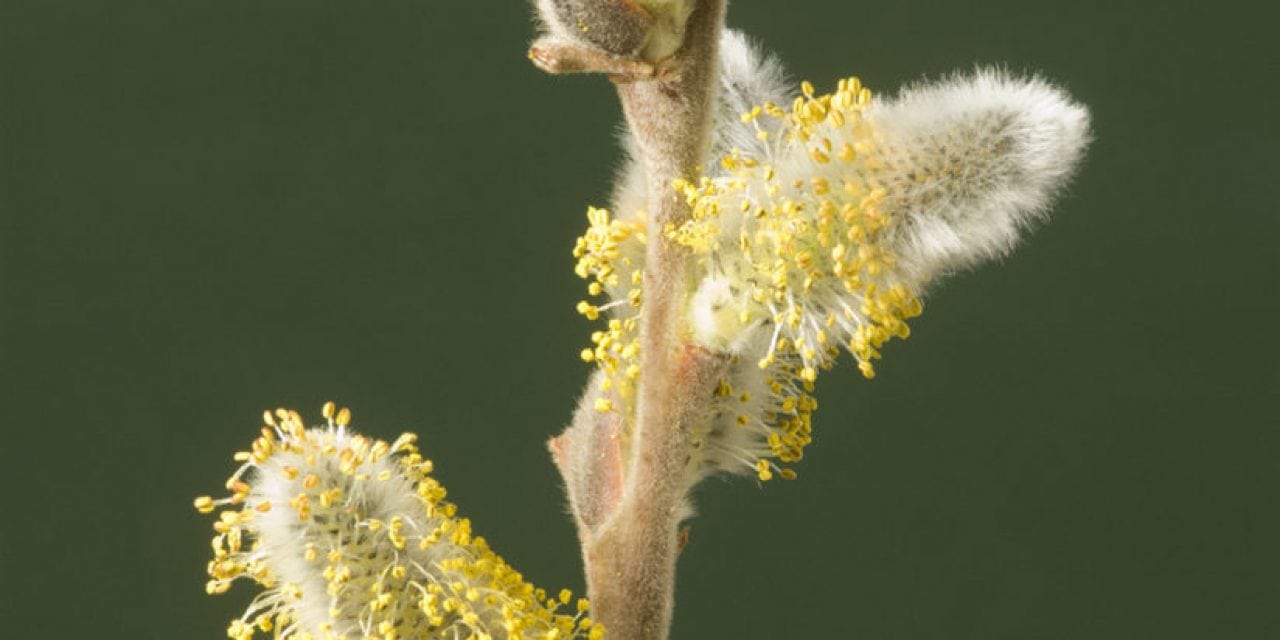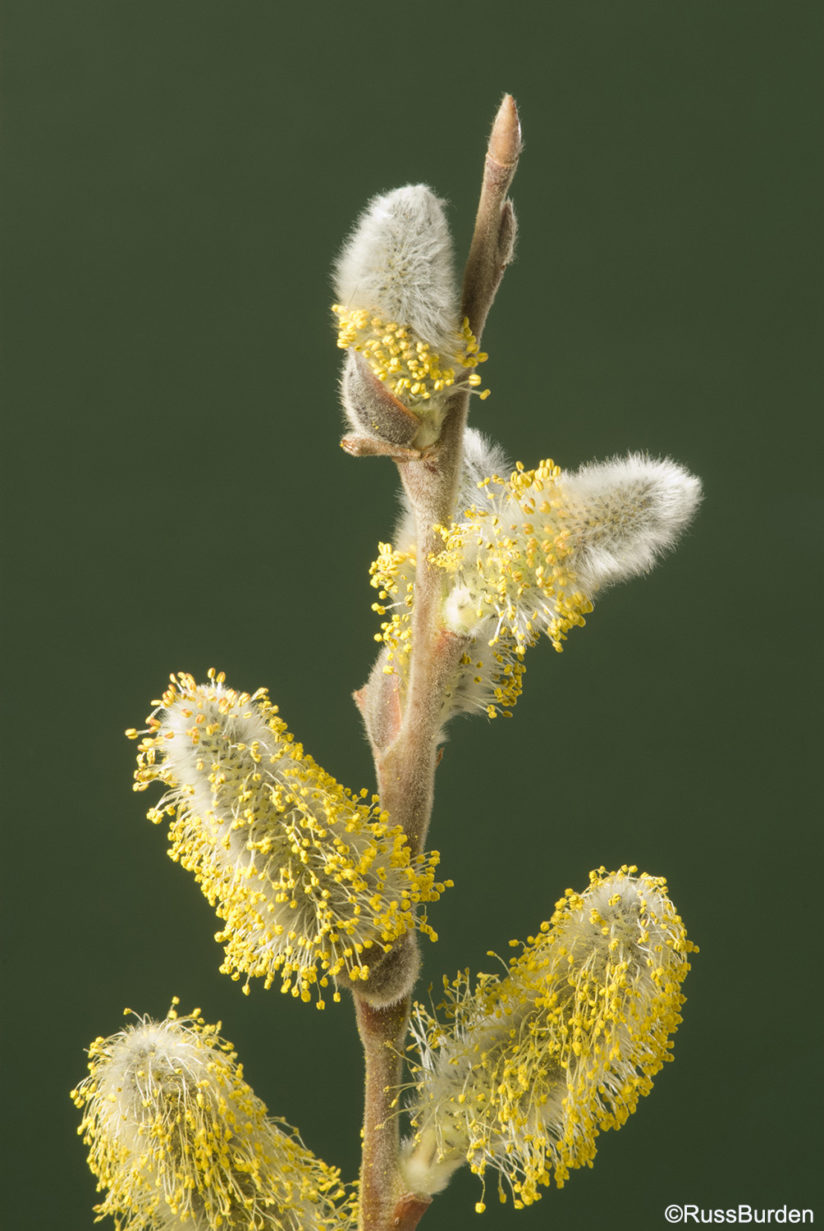
As the cold weather approaches, flowers are no longer abundant. Don’t let this impede you from making great flower images. Rather than go through floral withdrawal, make a trek to your local nursery, florist or major grocery store and purchase some of Mother Nature’s colorful blossoms. Don’t overlook the idea of growing indoor species specifically for photographic purposes. Once you have the colorful rainbow of petals in hand, create some macro studio close-ups indoors. Below are some tips on how to get better pictures of flowers in a simple studio environment.
Good flower photography begins with finding a prime specimen. If you grow your own, monitor them daily and pick your subjects when they peak. If you rely on a florist or grocery store, purchase an assortment. Preserve them in your refrigerator so they last a few days.
Lighting: There are many options from which to choose to light small subjects. Flash, window light, hot lights, softboxes, tungsten bulbs can all be used with excellent results. Each has its own advantages. The easiest is window light, and it works quite well. Specular, meaning direct sunlight, can be used. Diffused light can be used when the window is in shade. Each creates a different effect and works well depending on the desired end result. Add a reflector to the shadow side of the flower to soften the contrast. This works better when specular light is the main source. Use a gold reflector to add a warm glow to the shadow side. A silver one adds neutral and specular fill. For a subtle amount of fill, use a white card to bounce light back onto the shadow side of the flower. Regardless of the light source you utilize there’s no wind, so if you have to stop down to get depth of field, wind isn’t a factor. Exposures will be longer, but as long as the camera is mounted on a sturdy tripod, all is good.
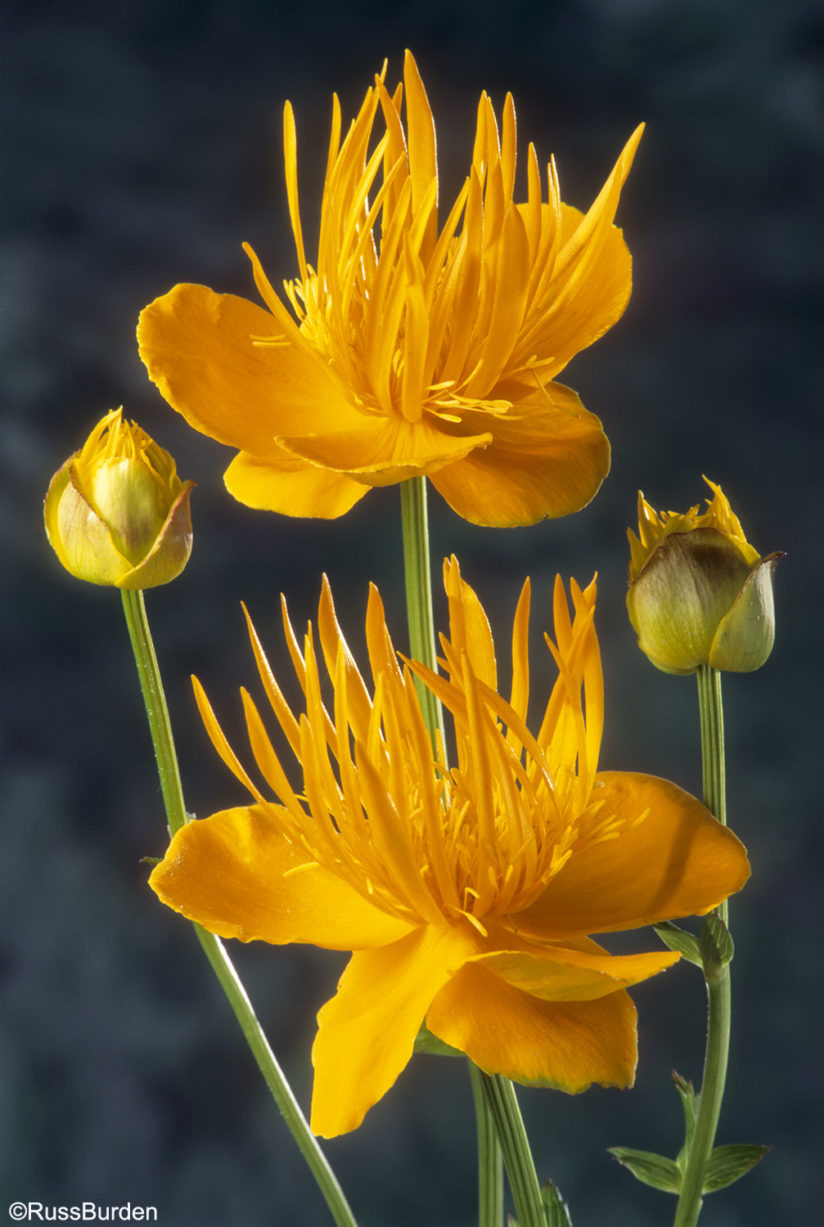
Hot lights and tungsten bulbs can be utilized, but be aware of your white balance settings, especially if you’re shooting JPGs. You can experiment and create some unique color effects. Mix window light with tungsten bulbs to get a warm orange glow to the part of the flower illuminated by the bulb. Hot lights will tax the life of the flower, so keep it moist and work quickly.
Flash: Straight flash creates contrast. Additional flashes can be added to act as fill lights to soften the look. An alternative is to mount a flash in a small softbox. It creates a light source similar to that from a diffused window. You’ll find that light from a flash tends to fall off quickly, which results in black backgrounds. If this happens, add an additional flash aimed at the flower from behind so if there are any dark parts, they won’t merge with the background. You can also add a flash that lights the background, but be sure the background isn’t busy or distracting.
Depth Of Field: Depth of field becomes an issue if you want to get the entire flower sharp. This demands apertures in the range of ƒ/16 or ƒ/22. As I already mentioned, wind isn’t an issue, so let the shutter run as long as needed. Place your focus point one-third into the flower to maximize depth of field. In regard to lens physics, you’ll attain maximum depth of field because sharpness falls one-third in front of the focus point and two thirds in back of it. This is known as the hyper focal point.
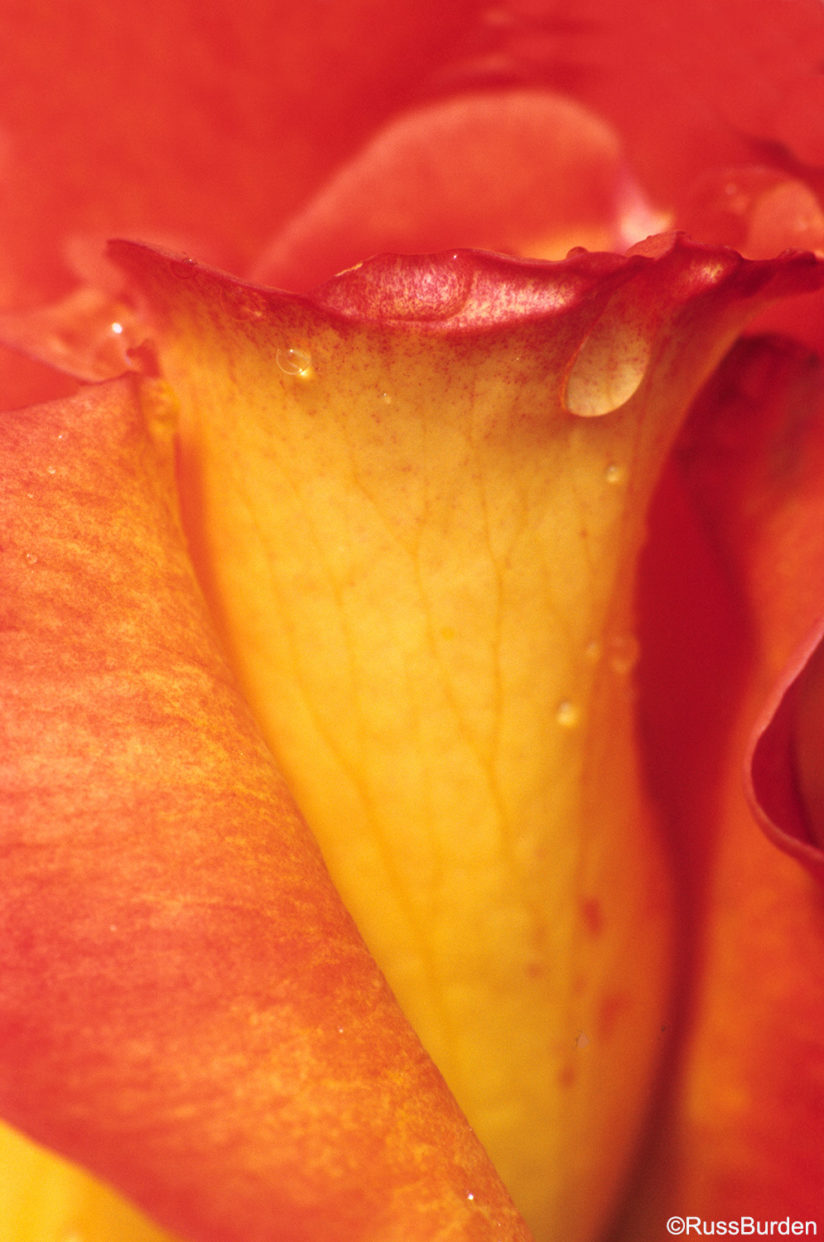
Get In Close: While full flower portraits can be dramatic, if you zoom in to just a portion of a single flower, you can create an abstract or intimate rendering of the petals. To get super close, a macro lens works well, but they’re expensive. Close-up filters also work and are a lot cheaper. Be sure to get achromatic ones that correct for edge sharpness. Extension tubes are another option. The size of the tube relative to the focal length of the lens determines how much closer the lens can focus. Try selective focus where you open the lens to its widest setting and focus on a single plane of the flower. Only the part on which the lens is focused will be sharp. Use this technique to great artistic renderings of the flower.
Visit www.russburdenphotography.com for information about his nature photography tours and safari to Tanzania.
The post Macro Studio Close-Ups appeared first on Outdoor Photographer.

