Have you ever made a “Slide Sandwich?” It contains no cold cuts or fancy dressings. There are no exotic veggies or seasonings in the recipe. Mayonnaise, ketchup and mustard are all out of the question. So, if all these items aren’t components, what kind of sandwich is this? If you used to make photos with film, you may already be smiling! If not, you may be even more confused. Photographically, the recipe for a slide sandwich consists of two chips of film, an unused slide mount, a canister of compressed air, a small piece of tape and a hot iron. The chips of film are taped together, air is used to remove dust and the combination is carefully aligned in a fresh slide mount and ironed shut. The resulting image is a creative new image formed from two separate photos on slide film. Having made many slide sandwiches in my earlier years, I share with you how to create them in Photoshop, which is far easier and faster than it was way back when.
The large majority of my “sandwiches” are subjects I know will make good silhouettes or ones into which I can swap a sky. While I’m in the field, I make images of dramatic skies and sunsets that I feel will make good companions for images I want to combine. When I combine the sky photo with the silhouette or landscape, it becomes my “meal.” The beauty is, you may already have a number of each of these types of photos in your files. You can also use your existing files and do the unthinkable, the outrageous, the out-in-left-field technique by coming up with something amazingly creative. Since my primary focus is nature photography, I try to make them look realistic. If you do choose to experiment and create your own montages, I implore you to be up front and don’t try to pass them off as originals.
Image 1: Tawny Eagle and Moon
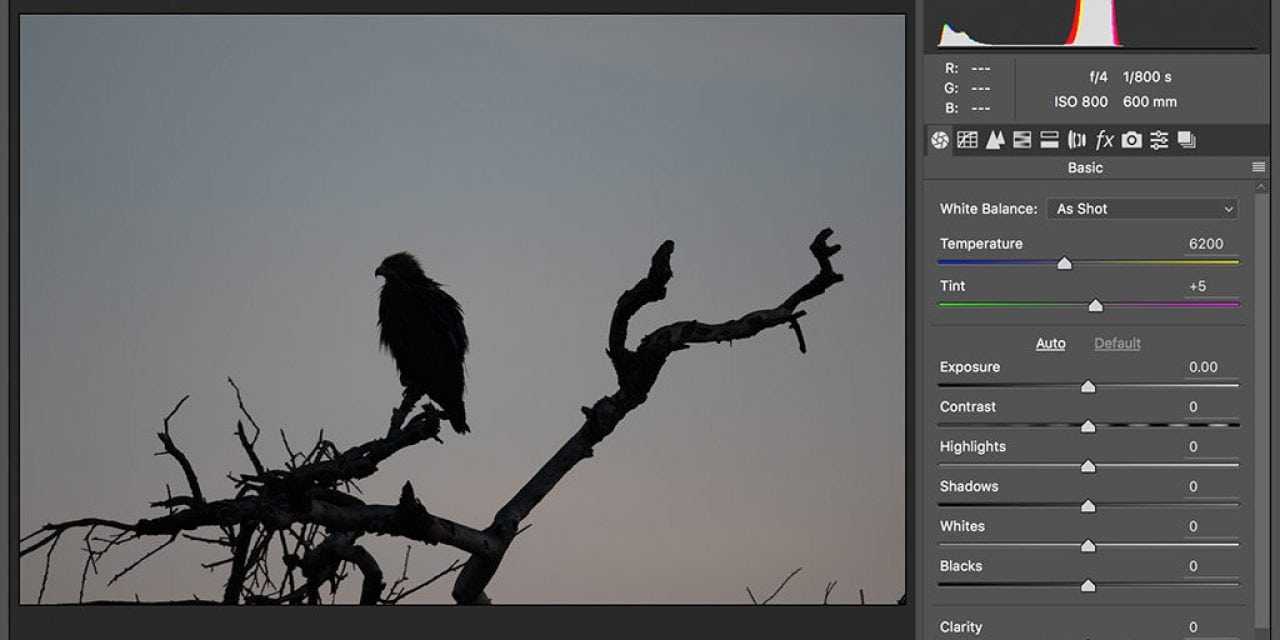
1. Open the “subject” file in camera RAW.
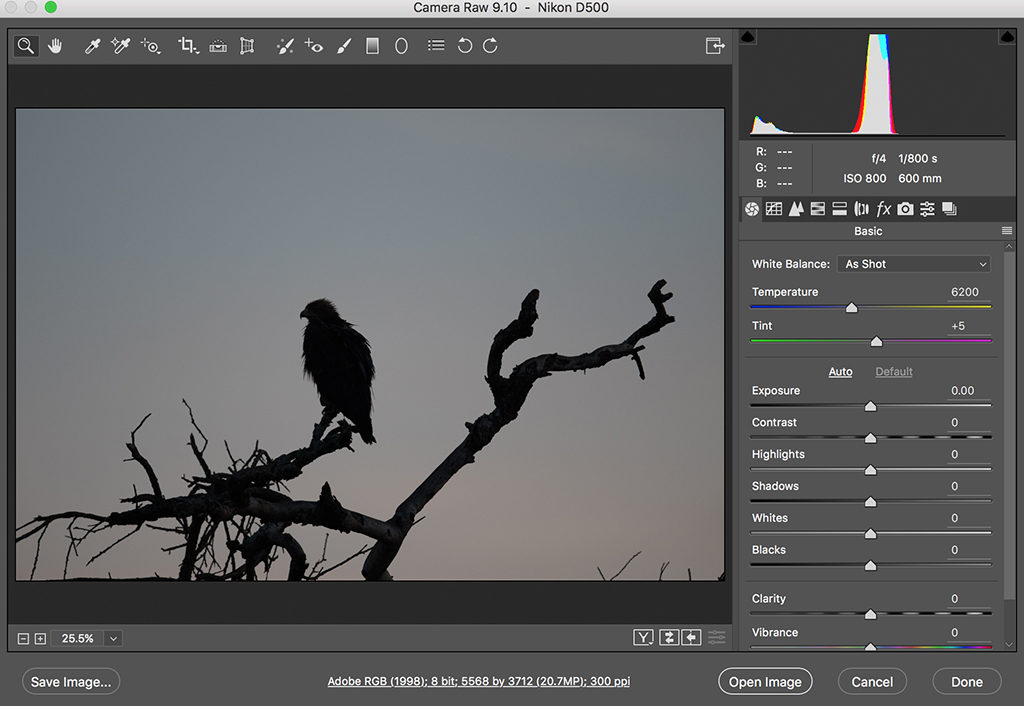
2. Move the adjustment sliders to create a silhouette and to make the background go as white as possible.
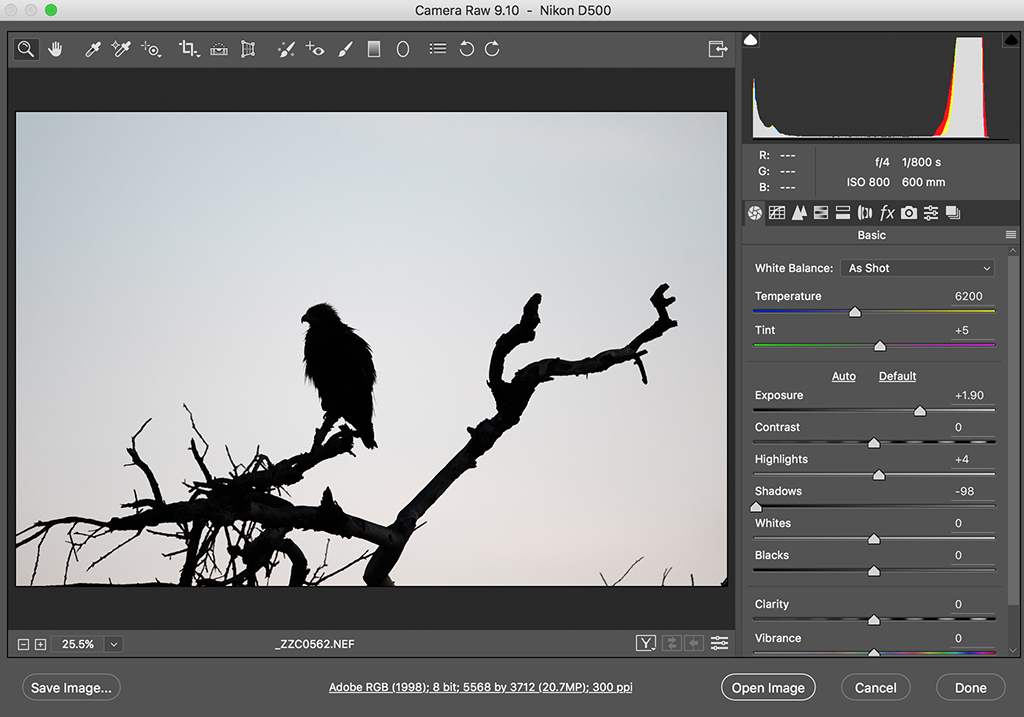
3. Open the tweaked subject file in Photoshop.
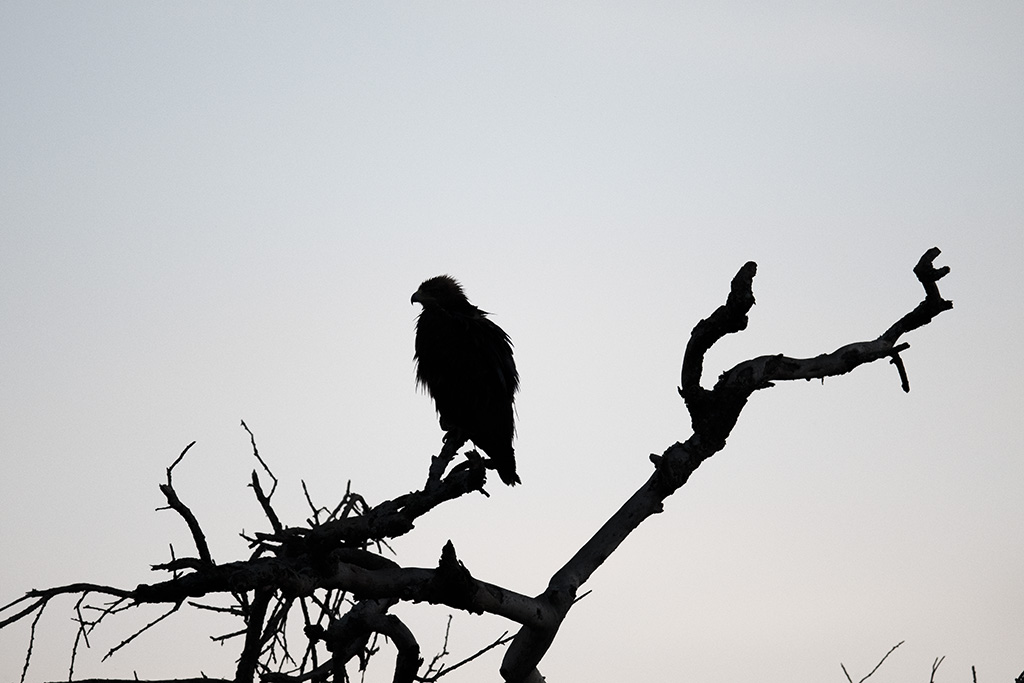
4. Open the “sky” file in Photoshop.
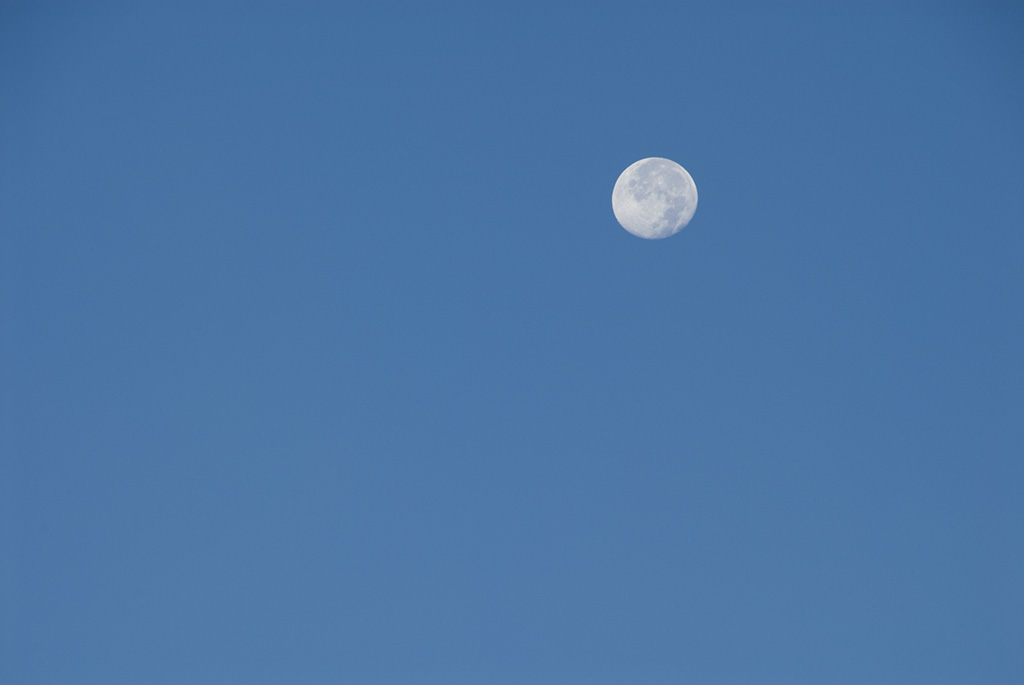
5. With the sky and subject files opened, separate the two into their own windows. With the move tool, drag the sky file over the subject file.
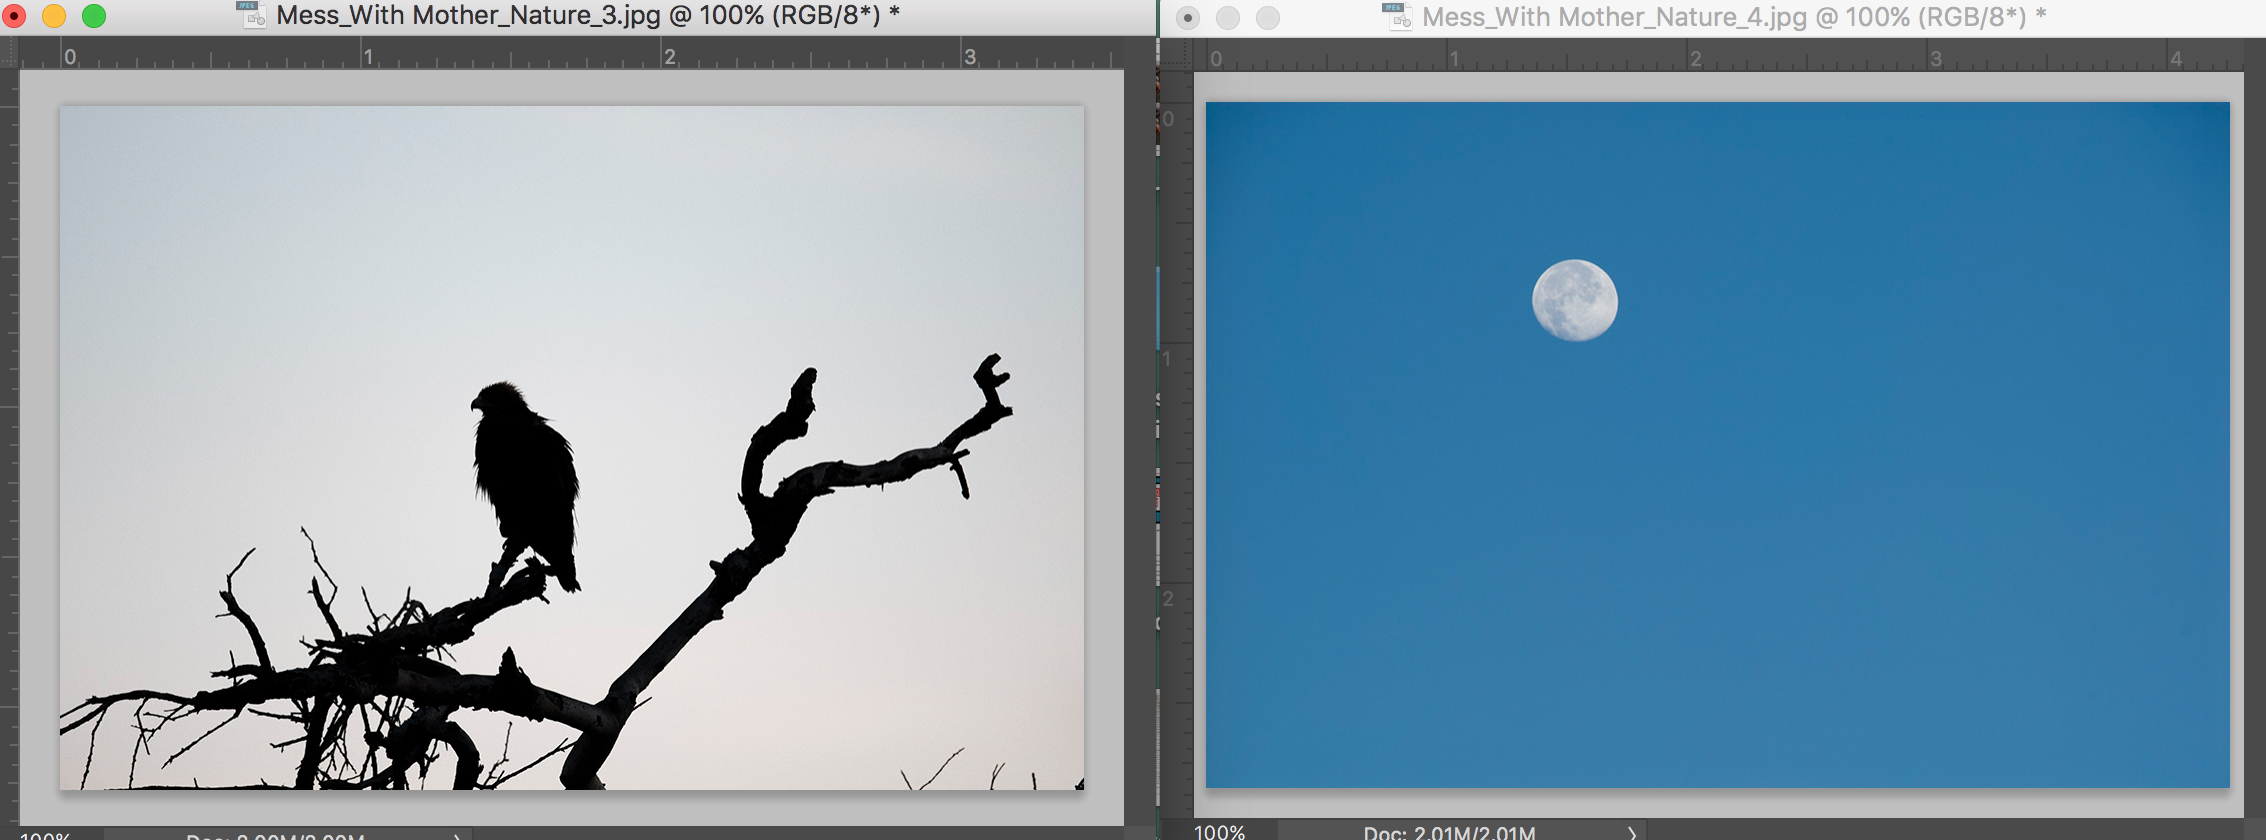
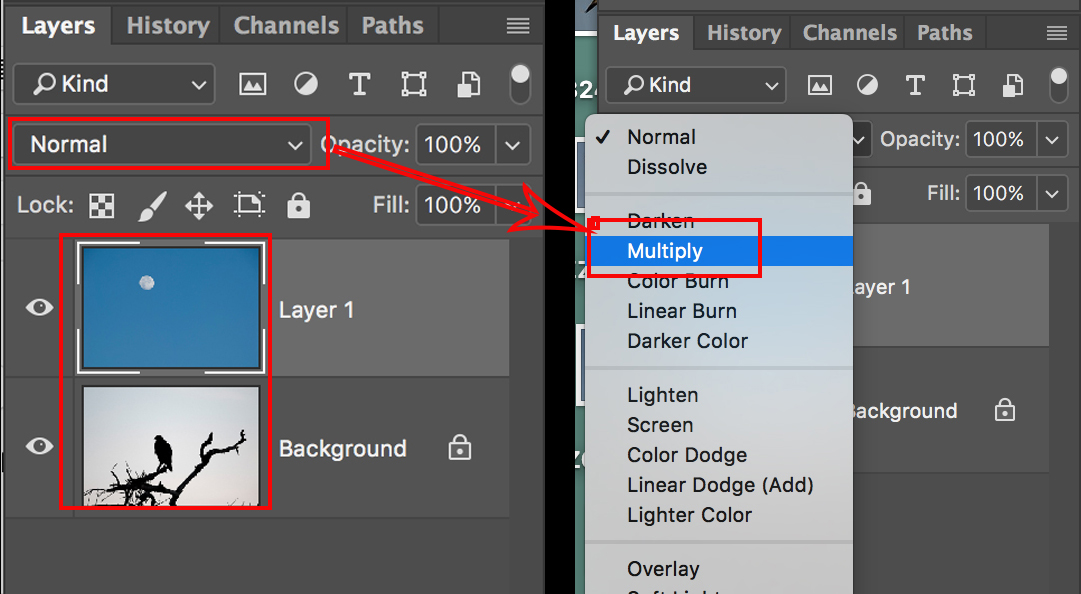
6. The subject file is now hidden under the sky layer and two layers appear in the layers palette. To make the subject file appear, go to the layers palette and change the BLEND MODE to MULTIPLY.
7. Now that both layers are visible, with the move tool selected, align the two layers to create the desired placement of each. Crop the file as you see fit.
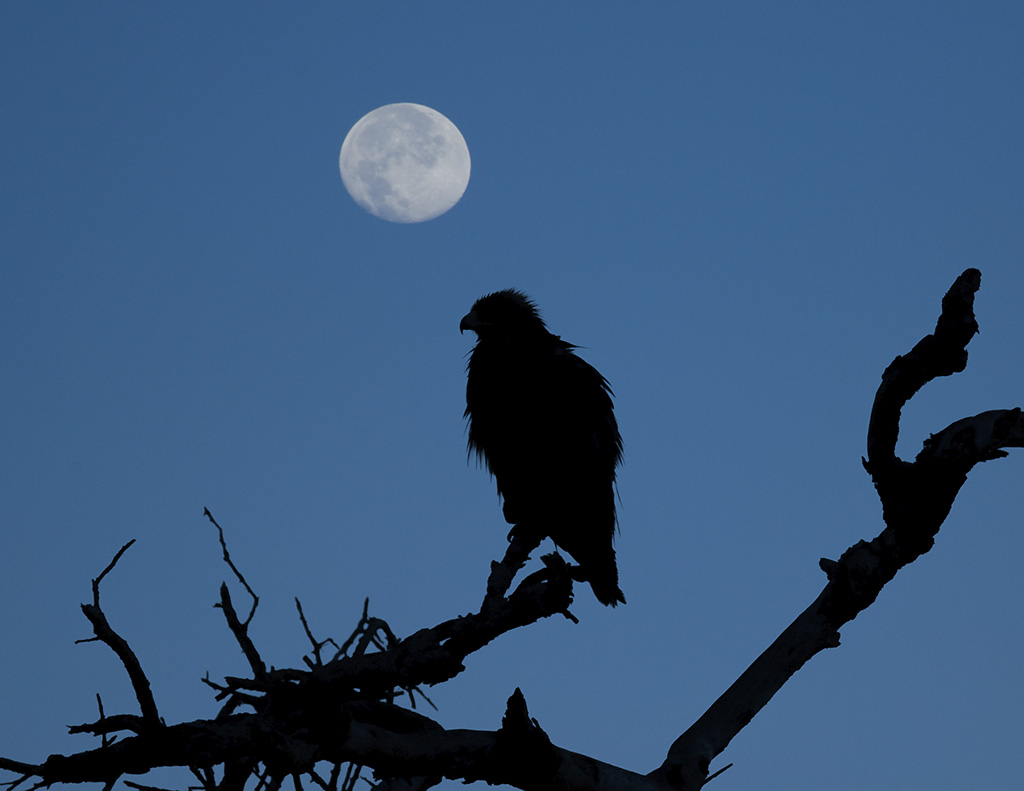
Image 2: Scenic With Swapped Sky
1. Open the “sky” file in Photoshop.

2. Open the “subject” file in camera RAW and make your desired adjustments, then open the tweaked subject file in Photoshop.
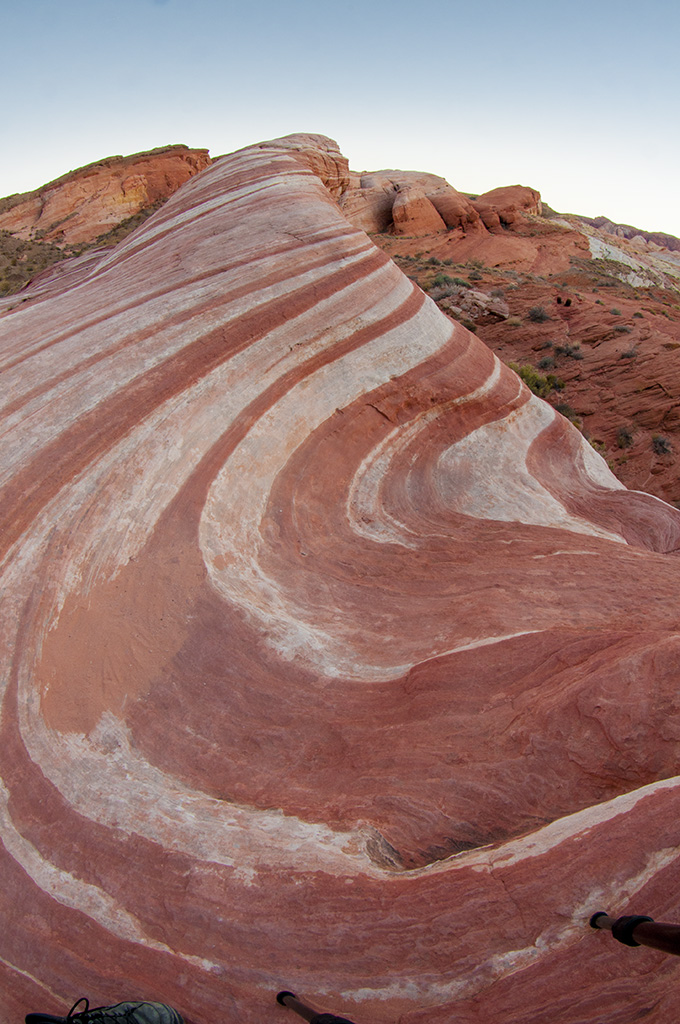
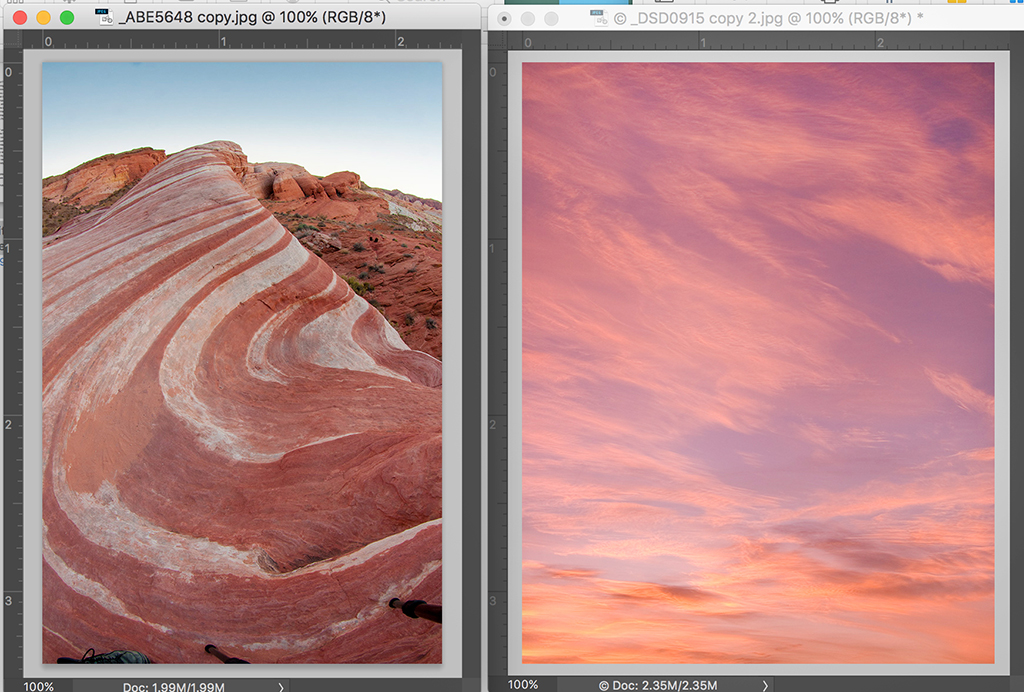
3. With the sky and subject files opened, separate the two windows. With the move tool selected, drag the scenic file over the sky file. The sky file is now hidden under the subject layer and two layers appear in the layers palette.
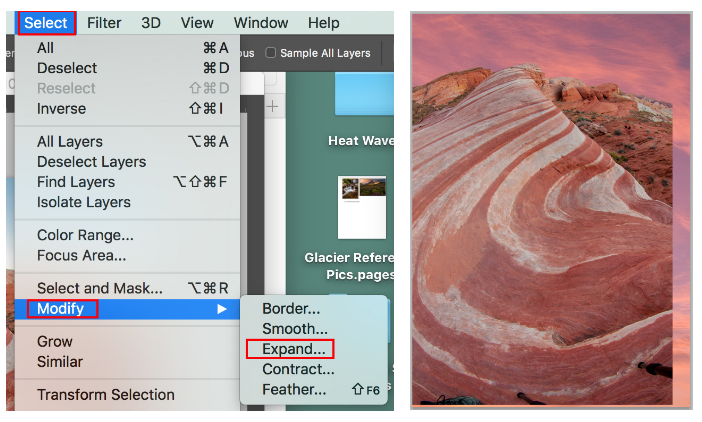
4. Go to the Layers palette and be sure the subject layer is active. Use the Magic Wand tool to select the sky. Then go to SELECT>MODIFY>EXPAND and expand the selection by 1 pixel to smoothen the transition between the two layers. Hit the DELETE key and the sky layer will fill in the selection.
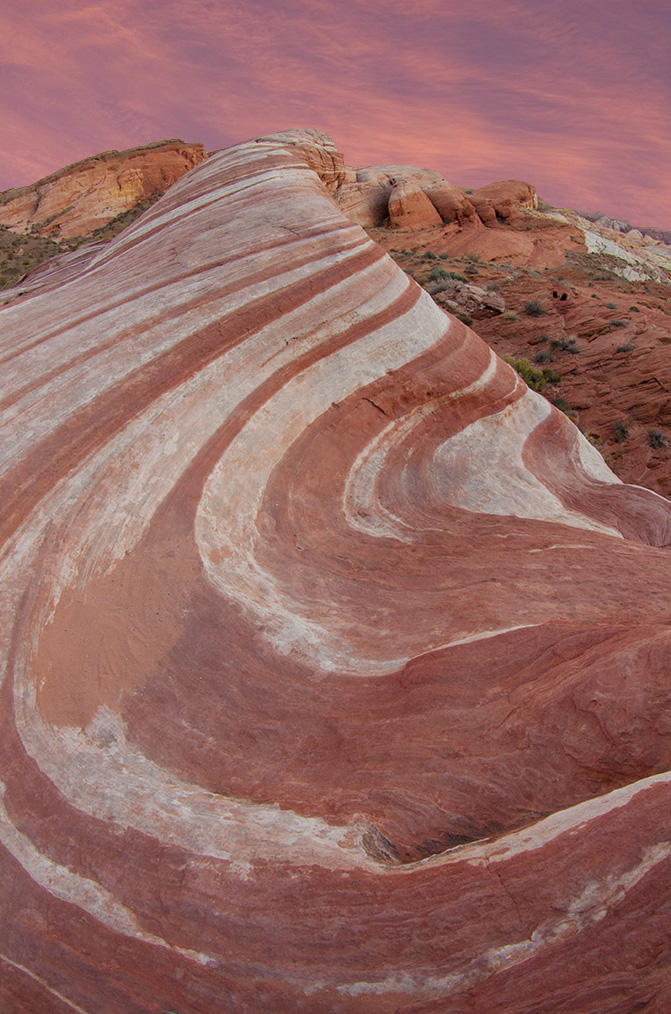
5. Now that both layers are visible, with the move tool selected, align the two layers to create the desired placement of each. Crop the file as necessary. Note I also cloned the legs of my tripod at the bottom of the photo.
Visit www.russburdenphotography.com for information about his nature photography tours and safari to Tanzania.
The post Mess With Mother Nature appeared first on Outdoor Photographer.

