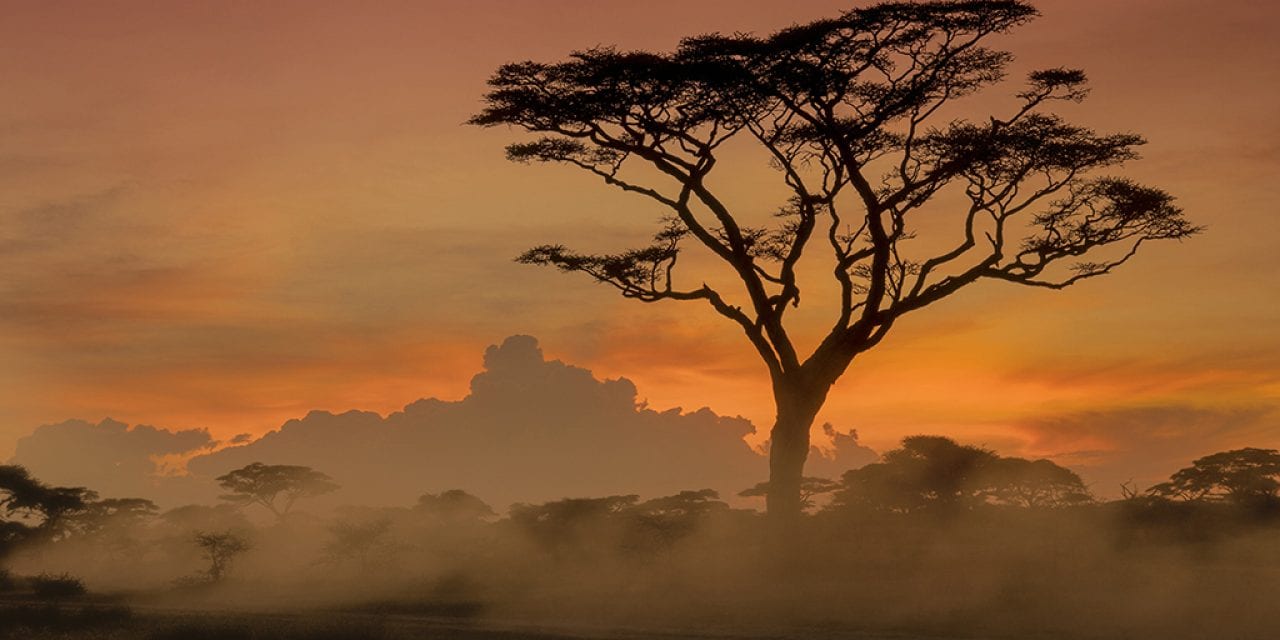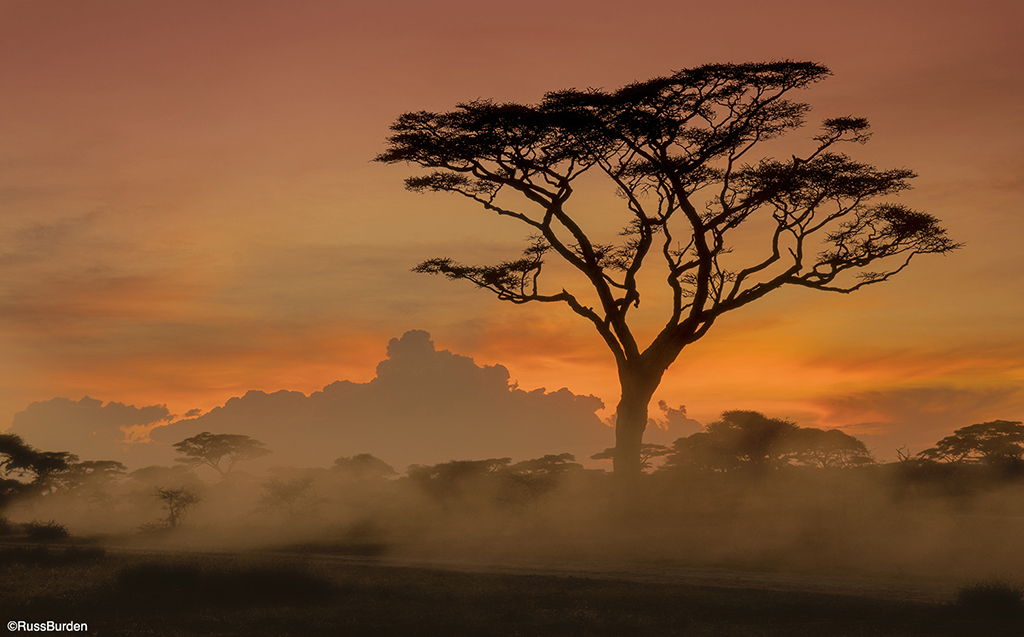
Depending on where you live, clouds may dominate your skies for 250-plus days of the year. This is more the norm around coastal areas and is governed by the seasons. I’m lucky to live in Colorado where I have just the opposite: 250 to 300-plus days of sunshine. But from a photographer’s standpoint, the word “lucky” can be deceiving. If my pursuit is wildlife, I’m ecstatic if I’m bestowed crisp bright mornings or afternoons of sun bathing my subject in warm golden light. But from a landscape photographer’s viewpoint, things are different. Where’s the drama in the light? Where’s the mood? Where’s the color? Since cloudy or severe, clear blue sky days are more the norm, I welcome days of fog, mood, haunting skies and drama with open arms. The rarity of these conditions is what allows landscape photographs to stand apart from those that are made under “ordinary” conditions. It’s with this in mind I devote this week’s and next week’s Tips of the Week to photos that resonate with mood.
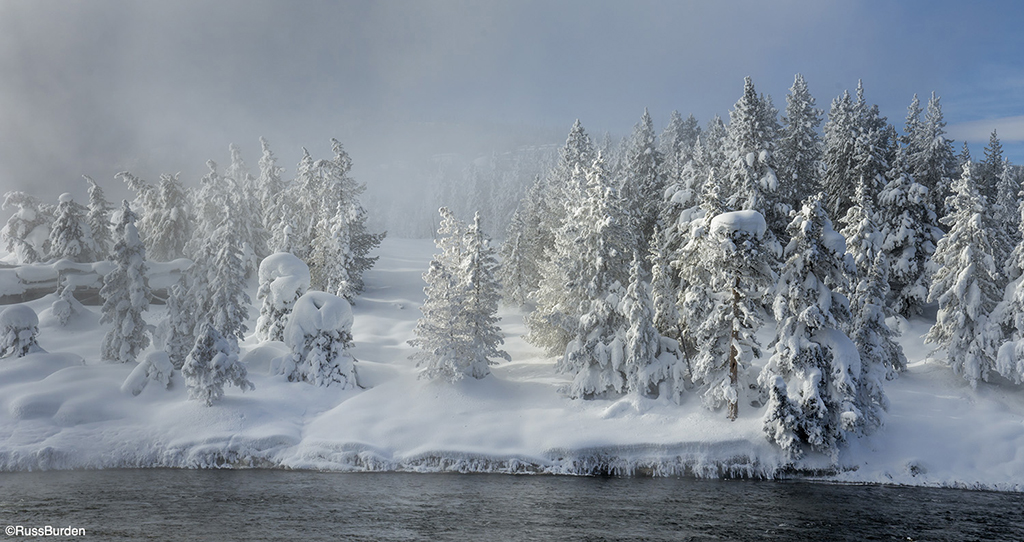
Photographs with mood can connote different visions to different people. For instance, “happy” can be a mood, but it’s a tough concept to depict in a landscape. The mood to which this week’s Tip of the Week relates is based on weather and sky conditions. It’s the kind of sky condition that draws you into the scene using light, color, contrast and atmospherics. These conditions occur more frequently at sunrise and sunset, so set your alarm or adjust your dinner time and get into the field. Use the following tips to help you get started on your journey.
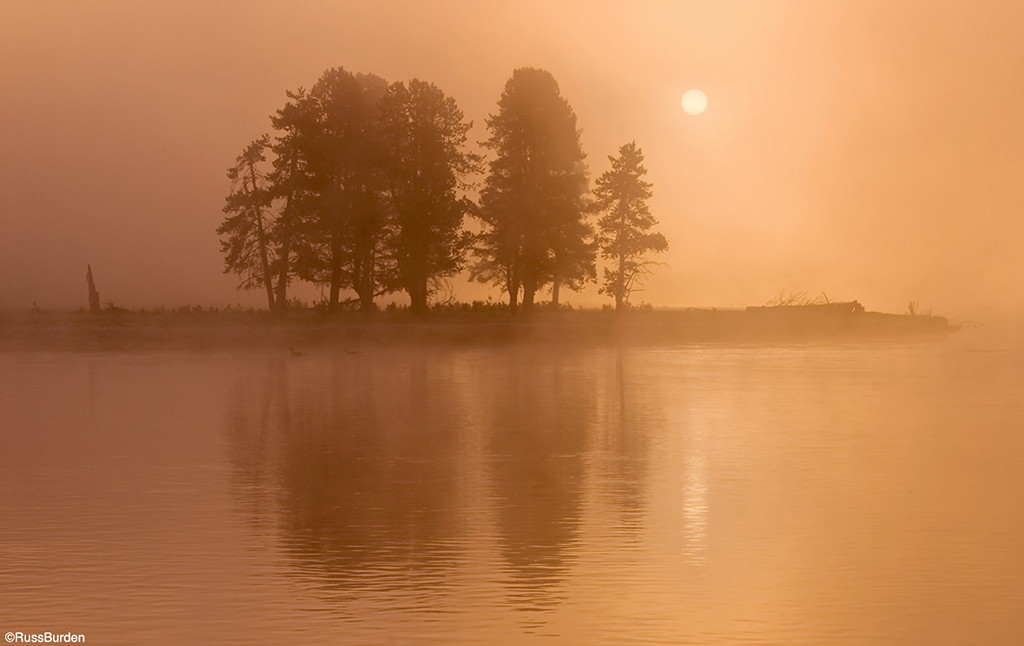
Fog and Mist: Let the Scene Draw You In
Fog is mostly an early-morning phenomenon. A warm day followed by a cold and crisp overnight and morning increases the chance the morning will have fog or mist. This is especially true around ponds, small lakes, rivers and other tinier bodies of water. When there’s a low ground fog, it’s great if the eastern horizon has some clearing so the sun can backlight the condensation. If you’re lucky enough, the fog will be thick enough where the sun can be included in the frame and won’t get burned out. Fog effects change by the second, so even if you experience this opportunity, quickly work the scene as the atmospherics can be totally different one minute to the next. As I often say, Exhaust All Possibilities.
Monitor the Weather
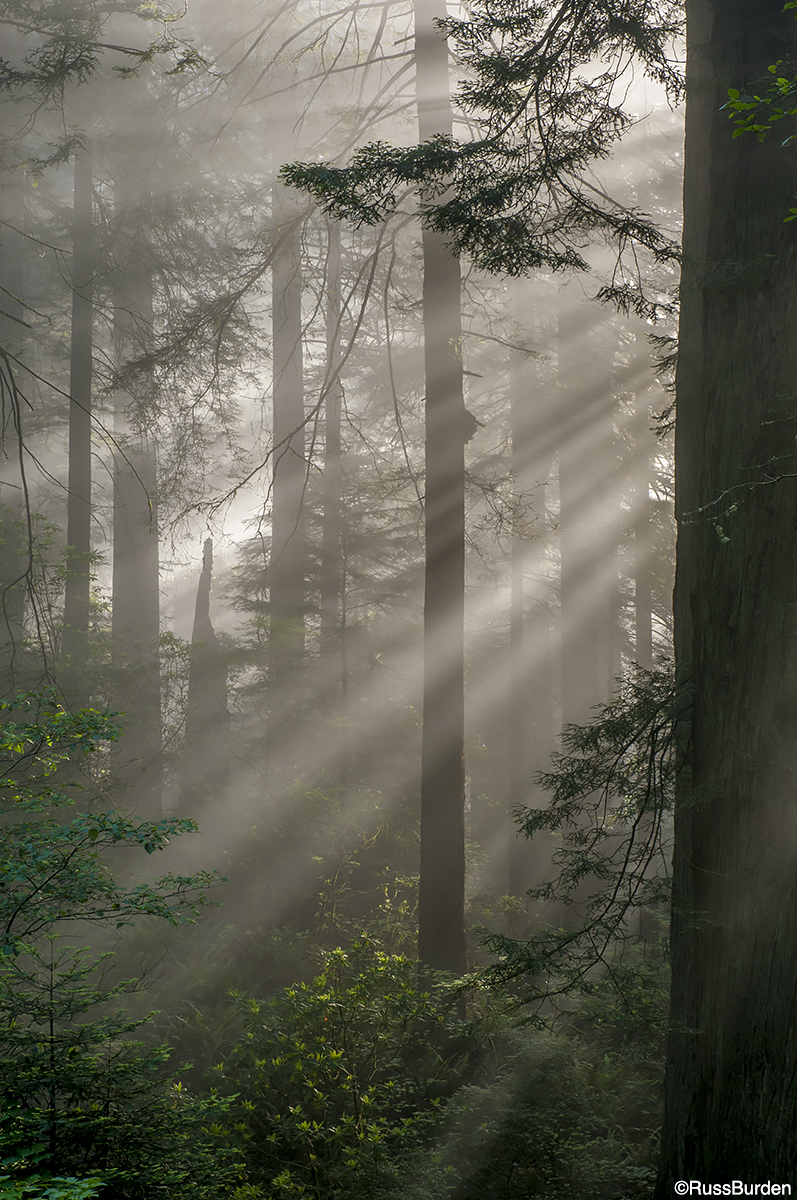
Weather apps that show hourly reports of cloud cover, impending snow or rain, a looming fog or any other weather phenomenon that occurs on the edge of the storm are an asset. Monitor when these edges occur and if they coincide with sunrise or sunset so you can be sure you don’t miss time in the field. It’s best if you know the area beforehand so it can be worked most efficiently. If it’s a new location, look for interesting silhouettes, leading lines, shafts of light that act as a dramatic foreground, light rays that filter through trunks of trees and include any object that adds to the mood of the photo.
Wide Angles and Other Photo Tools
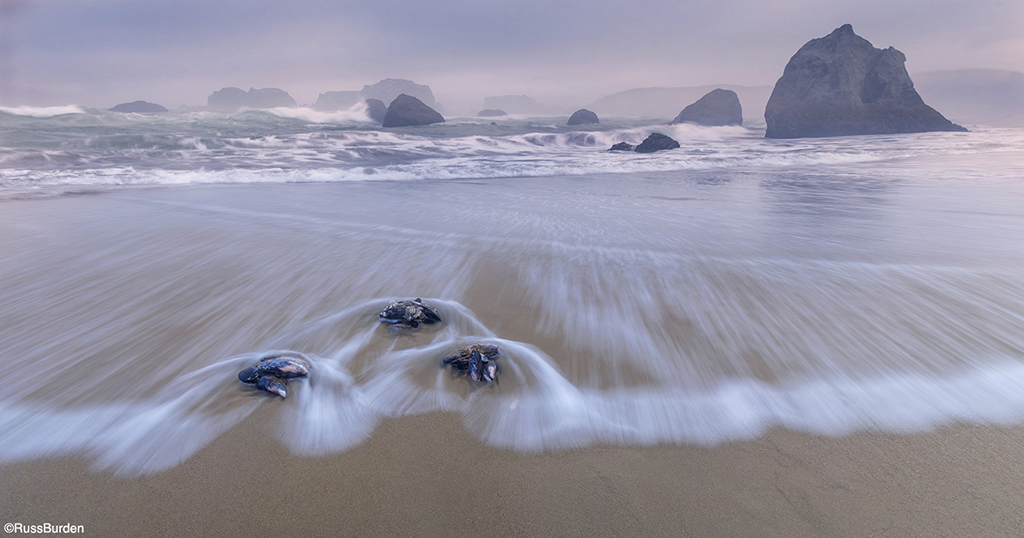
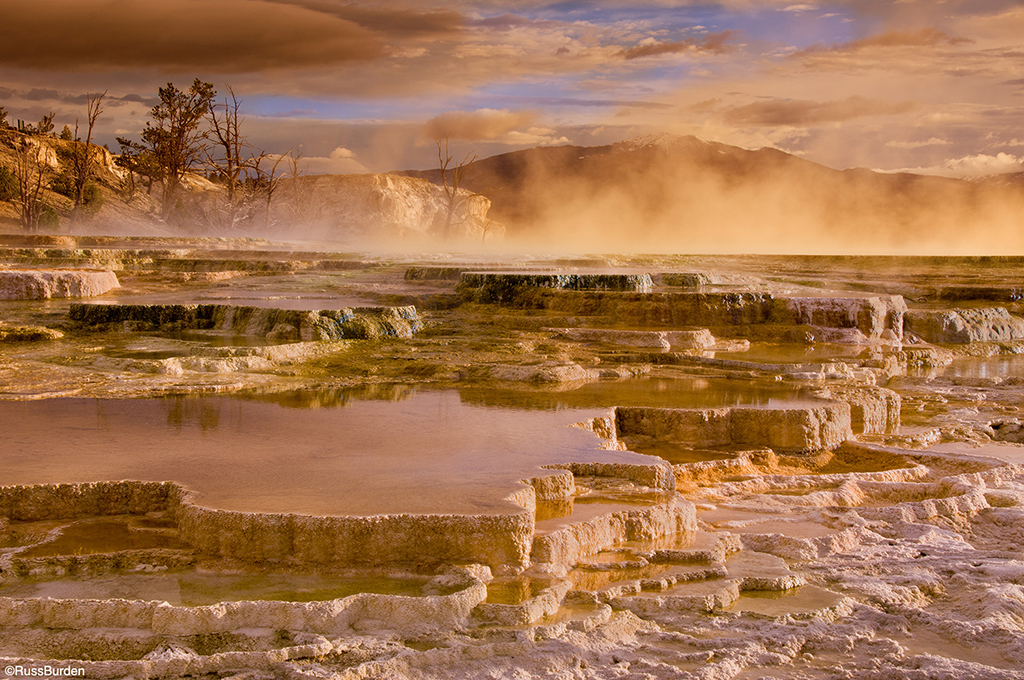
Wide angle zooms work great when you’re bestowed moody conditions. My favorite is a 24-120mm as it provides a wide range of options without having to constantly change lenses. I also use my 80-400mm to zero in on the intimate landscape. Regardless of the lens you use, be sure to use a stable tripod and cable release. When working in dense fog, exposures will be long and you want to ensure sharp files. Use long exposures to your advantage, especially if you have moving water in the composition—see the included image I made along the coast of Oregon. If the contrast is high, shoot a bracketed series and merge the files to HDR or blend parts manually via the use of layer masks to bring out a wide tonal range. If the land to sky contrast range is high, a graduated ND filter can come in handy. Polarizers can beneficial to remove bright glare or unwanted reflections and depending on your angle to the sun, can make the sky pop with more brilliance.
Importance of Post-Processing
If the file of the recorded scene is flat and has low contrast, expand the tonal range using Levels to bolster the highlights and shadows. Be careful to not clip delicate bright tones as it’s good to record their detail. On the other hand, experiment blocking up the shadows as deep rick blacks can impart mood on their own. An ominous overtone can be added to the scene. If the contrast range of the original capture is high, compress the highlights and open the shadows. Again, play with the sliders to bring out the mood you desire in the scene.
Visit www.russburdenphotography.com for information about his nature photography tours and safari to Tanzania.
The post Moody Landscapes appeared first on Outdoor Photographer.

