If you’re reading this, it’s hopefully because you want to improve your photography. It’s good to crave new information and review fundamentals. One of the great aspects about photography is that there’s always something new to learn, and one can never review the basics too infrequently. So whether you’re a budding new photographer or a seasoned pro, read on.
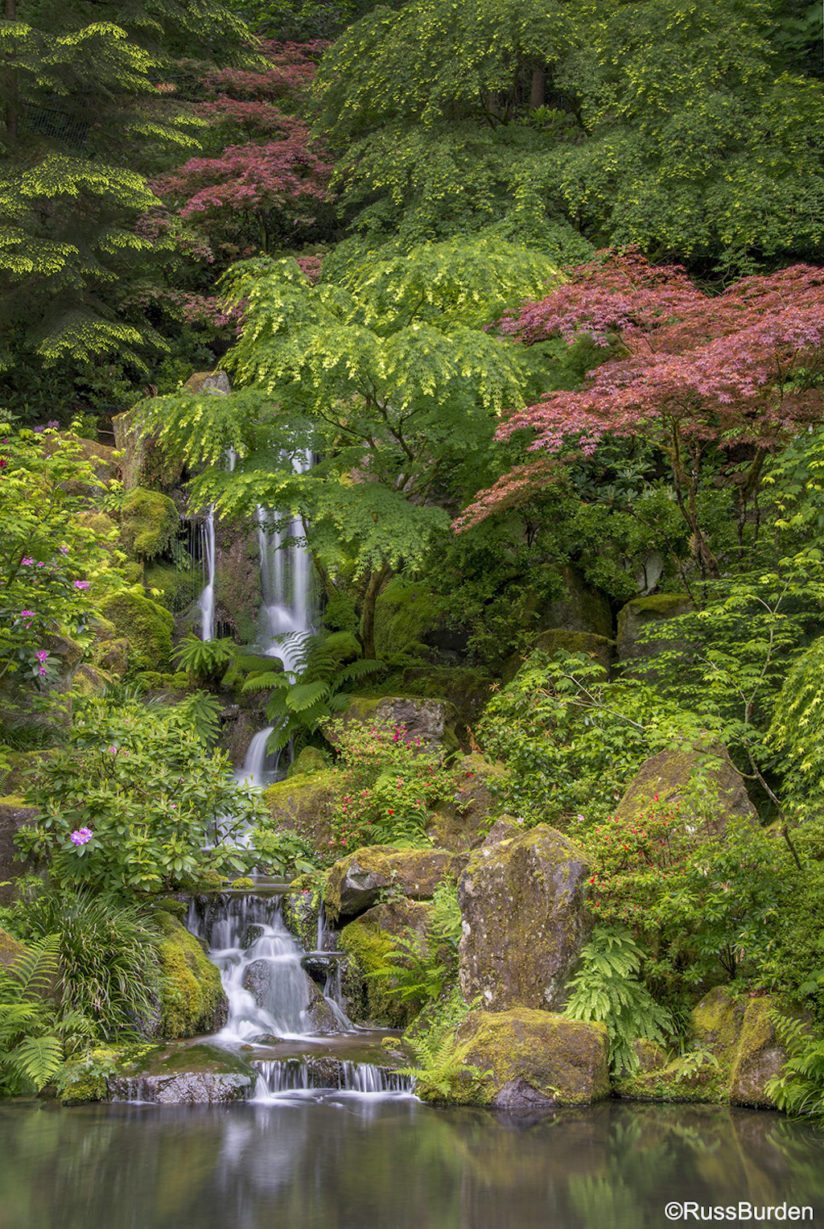
The Crop: No matter how often I think I have a composition perfectly framed, inevitably I tweak the crop in post production. Sometimes, I’ll crop to make a pano or square format, sometimes I’ll eliminate a distraction or straighten a crooked horizon. I may even crop the image because my lens was too short. Cropping allows me to finesse the composition after the fact. While it’s better to get it right when the shutter is pressed, cropping may be a necessity.
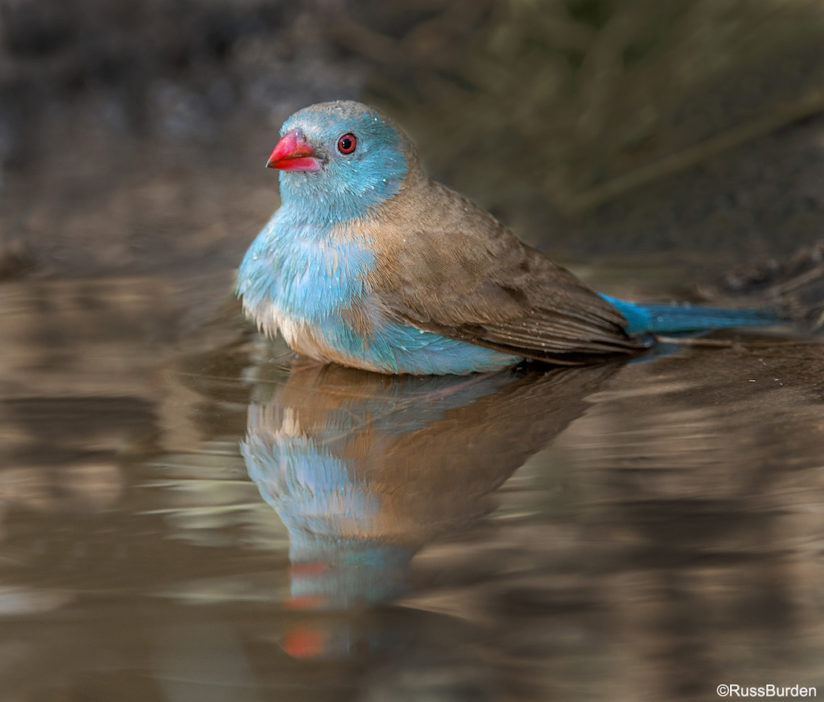
If It Moves, Leave Room: If a photo contains a subject that moves, compose the photo so it has room to traverse. The same goes for the direction in which the subject looks—leave room in the direction he or she faces. If you don’t, the viewer gets the sense that the subject will walk OUT of the photo as opposed to THROUGH it. If the subject’s direction of movement is near the edge of the frame, tension is created. In the image of the cordon blue above, taken in the Serengeti, note there’s breathing room to its left. This is the direction in which it was looking, therefore that side of the image has extra room so its gaze wouldn’t “bump” into the edge of the frame.
Focus Point: To obtain sharpness, it’s essential that the active focus point is placed over the primary subject. Auto Focus has become very sophisticated and fast, but if the active focus point is placed on the wrong plane, the important parts of the composition won’t be sharp. Move the focus point to the exact location you want the sharpest. Refer to your camera manual if you’re not sure how to move it around.
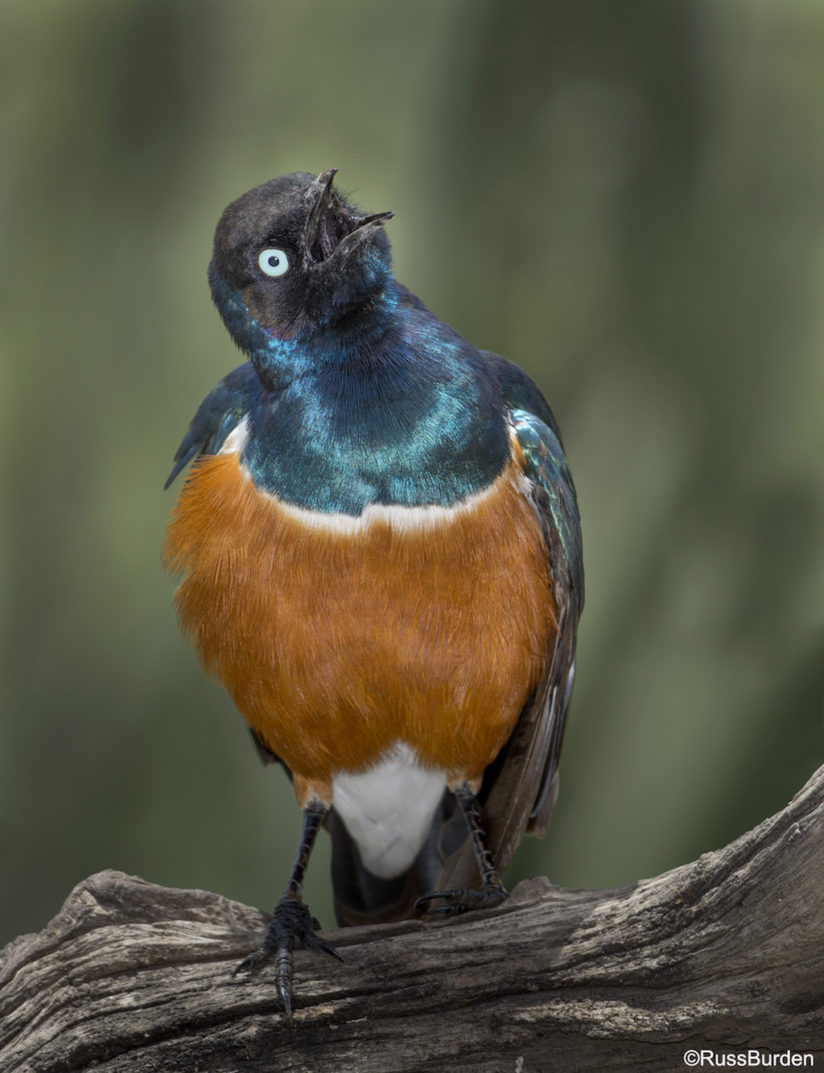
Use Flash Outdoors: The thought of using flash outdoors doesn’t always cross the mind of many photographers. It’s assumed ambient light is sufficient, so why would flash be necessary? Flash should be used outdoors to tame the contrast produced by bright sun. Deep shadows and bright highlights are the norms when it’s bright and sunny. The light from the flash softens the contrast range as it fills in the shadows. As a result, highlights are tamed because the camera no longer sees dark shadows and doesn’t increase the exposure that results in blown out whites. In the image above of the superb starling, also made in the Serengeti, I used flash to add light to the shadow side of the bird. Note the sunlight falling on the perch. Had I not used flash, the left side of the image would be very dark and detail around the head and eye wouldn’t be as prominent.
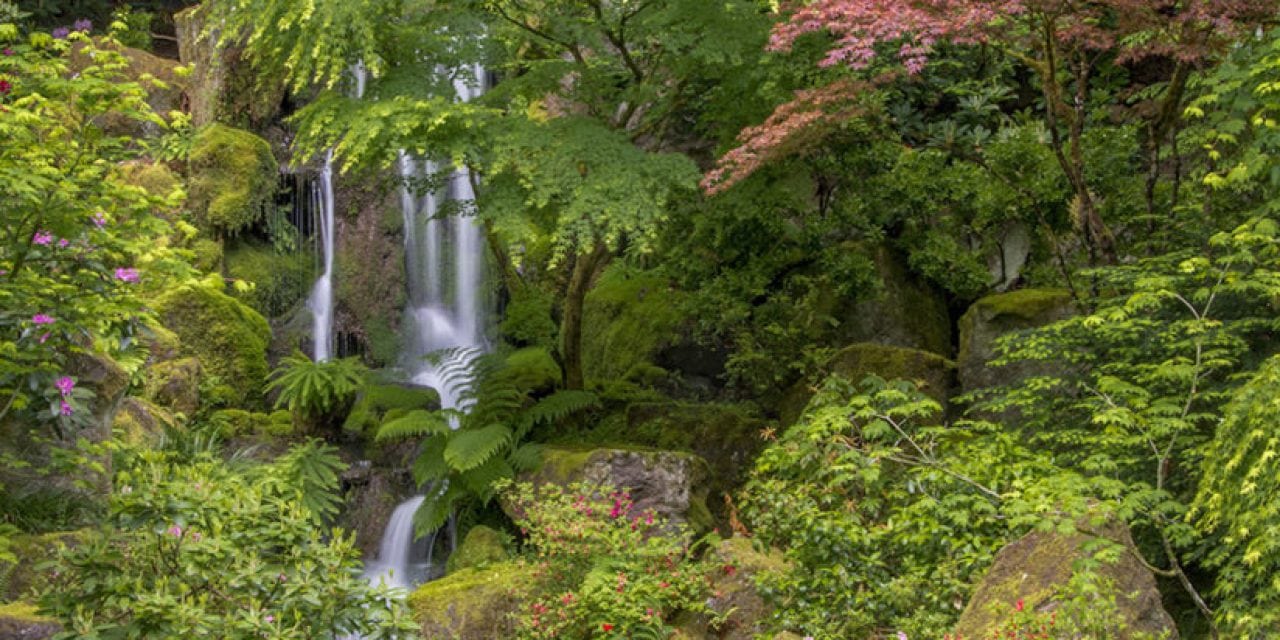
Better Composition: To create a successful composition, arrange the elements to produce balance and simplicity. Don’t simply raise the camera to your eye and press the shutter. Look for distractions that may live in a corner, create total balance, examine the composition so the background doesn’t merge with the main subject, or try to move to your right or left, or get higher or lower, to piece everything together. Before pressing the shutter, STUDY the entire viewfinder. Press the shutter and then look at the image on the LCD—you’ll be surprised at how much you didn’t notice looking through the finder.
Visit www.russburdenphotography.com for information about his nature photography tours and safari to Tanzania.
Looking for more photography tips from Russ Burden? Find them here.
The post Often Overlooked Basics For Better Pictures appeared first on Outdoor Photographer.

