Time for word association:
TOP / bottom
HARD / soft
CAR / drive
CAMERA / digital
APERTURE / shutter speed
ACTION / freeze it
ACTION / stop-motion
ACTION / High ISO
ACTION / SLOW SHUTTER
“Slow shutter—are you crazy? The picture will be blurry—what are you thinking?”
That’s right, there will be blur!
“Blur in an action shot—what’s up with that?”
Bear with me and read on to learn how to pan like a pro.
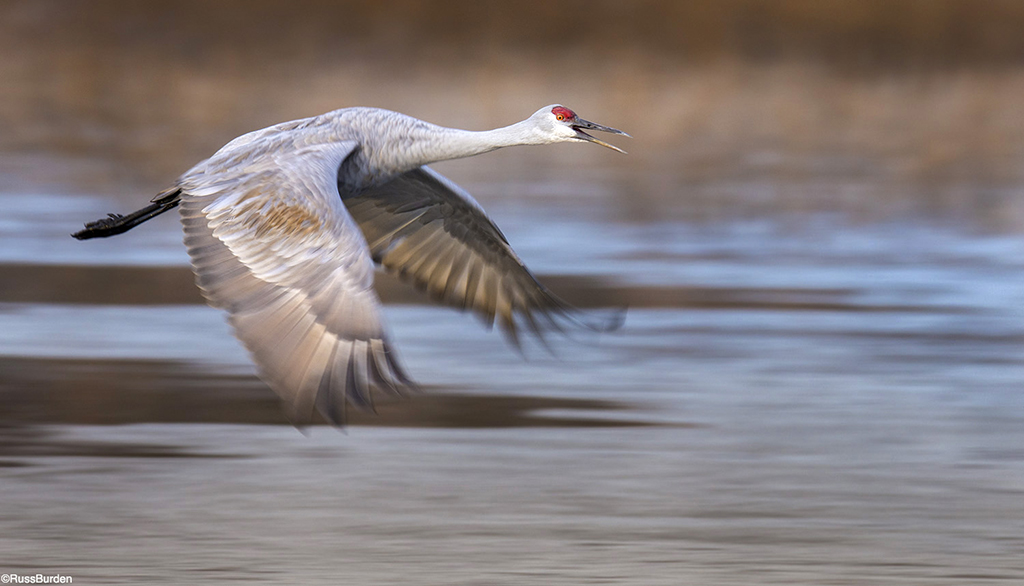
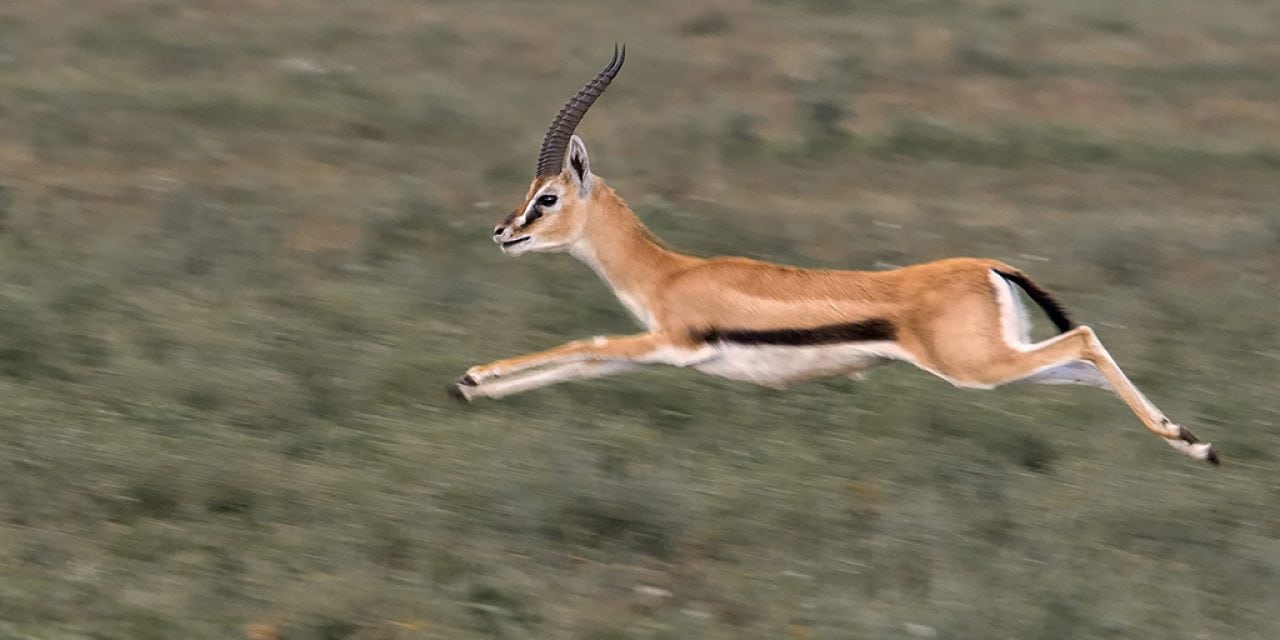
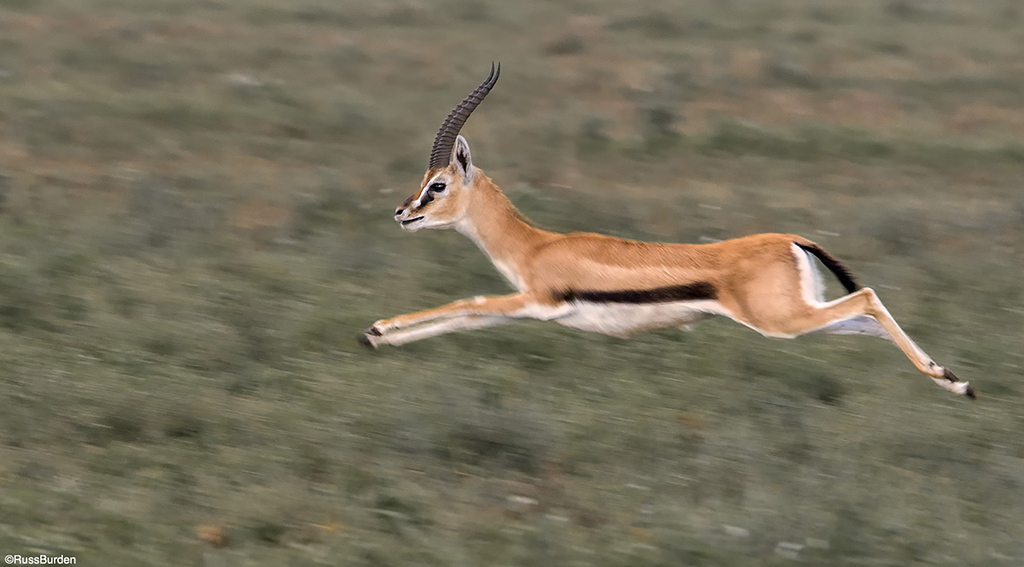
If I were to estimate, I’d say that 95 percent of all action photographs are portrayed with every aspect frozen in time. This dictates high shutter speeds, fast lenses, high ISOs and sometimes flash. I’ll be the first to admit the results can be dramatic, but if every action photo you make is made that way, they’ll lack diversity. One of my photo mantras is “Exhaust All Possibilities,” and it should be applied to action photography. To do this, use a slower shutter speed and pan with the action. When done correctly, the end result is a blurry background with a sharp subject. The blur of the background is created by moving the camera. When the camera is moved smoothly and at the same speed of the subject, the goal is to record it with sharp edges. If the subject is an animal, leg motion will be recorded but the body and head should be sharper.
Action that’s frozen often gives the impression the subject never moved and could have been posed. Depending on the outcome, it can rob the image of its drama and excitement. When panning is applied to a moving subject, the image takes on a creative and artistic feel. The motion is obvious and can’t be mistaken.
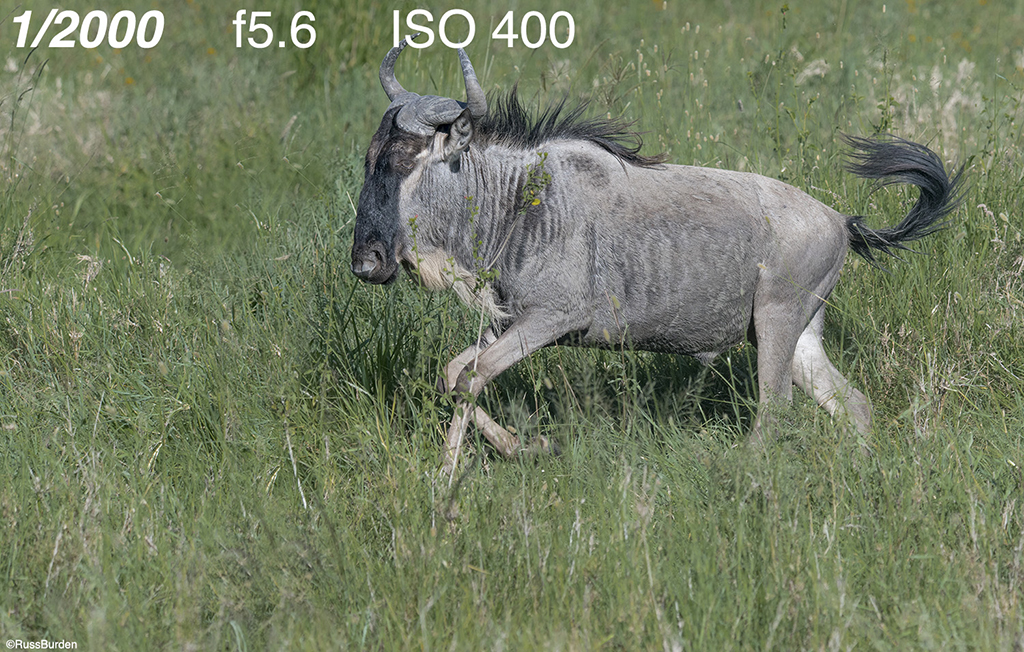
To create a successful pan use a slow shutter speed, track the subject as it moves across the film plane, and gently press the shutter to avoid up and down movement. The smoother and more perpendicular you keep the camera to the subject, the greater the chance of acquiring a sharp one. If practical, mount your camera to a tripod, make sure it’s level and loosen the panning knob on the head. As the action crosses in front of you, press the shutter. Start before it gets 90 degrees to your position and, once it gets to that point, stop unless you want photos of the butt end. The speed of the subject dictates the “proper shutter speed.” While there’s no right or wrong one, you want to use one that portrays a blur to the background yet nets a sharp subject. Start at 1/60th and evaluate the effect on the LCD. Experiment using different speeds for different effects—remember my mantra of “Exhaust All Possibilities.”
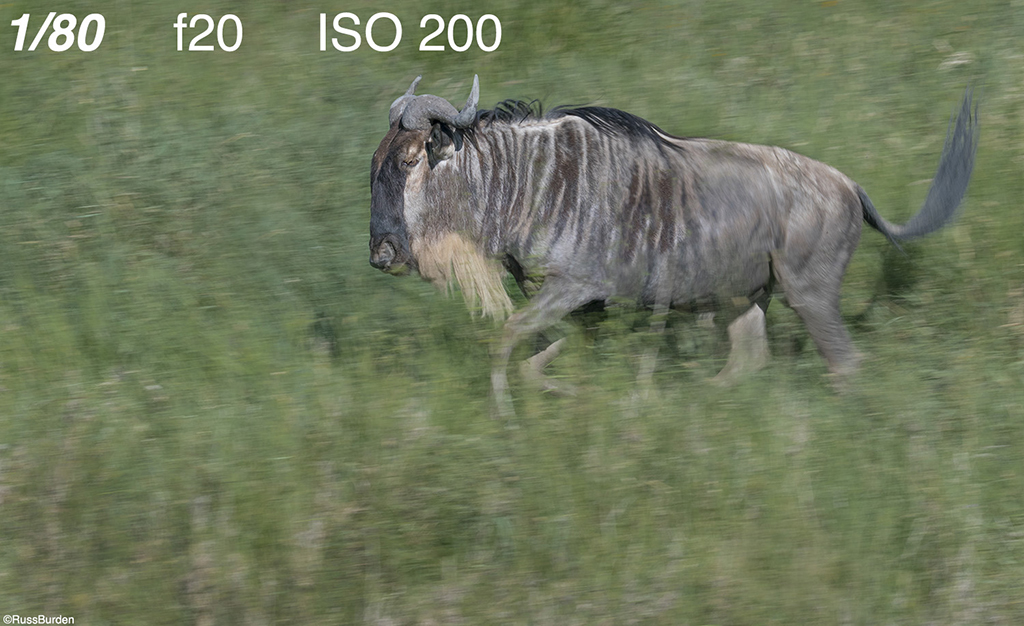
Subjects that follow a predictable path make panning easier to get a good final product. If it moves both horizontally and up and down, it’s more of a challenge because the up-and-down motion makes it more difficult to get a sharp subject. Good subjects on which to practice are cars, bicyclists, skateboarders, roller skaters, etc. Joggers, horses, soccer players, etc. are a bit more difficult given the variable of their up-and-down movement. The important thing is to practice. Don’t expect every press of the shutter to net a winning photograph. If you get one really good one out of 50, you’re doing well. Get out, exhaust all possibilities and pan like a pro.
Visit www.russburdenphotography.com for information about his nature photography tours and safari to Tanzania.
The post Pan Like A Pro appeared first on Outdoor Photographer.

