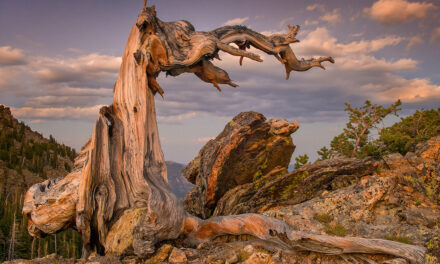
Prior to directing my focus to wildlife photo tours, I ran numerous trips that were 100-percent scenic. Doing this for a great number of years, I returned to the same iconic locations where everyone wants “that shot.” As the years went on and I saw each photo hot spot once again, I began to think about what unconventional way I could capture the scene before me and still have it look like a nature photograph. Additionally, in always wanting to share new ideas with my participants, if I came up with a new strategy, I could contribute something different that could be added to their repertoire. A win for all. In pursuing my quest to change it up, I share with you a few of the ways I went the extra mile that I’ve since adopted for my own image making in addition to providing new ways for others to create their images.
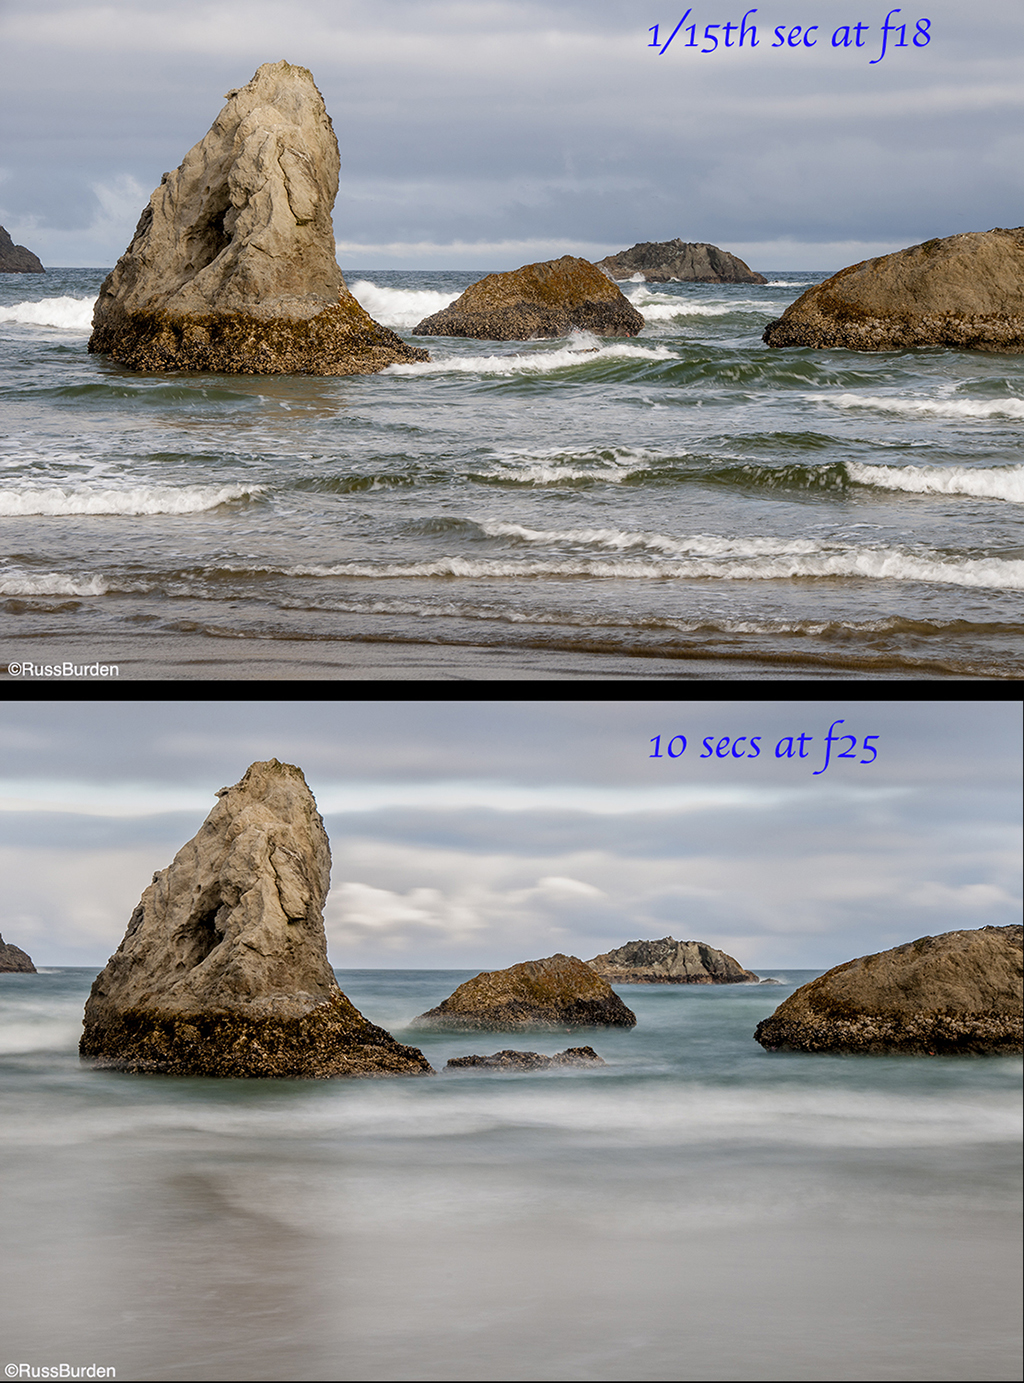
Freeze It / Slow it Down: Every spring, I’d head to the coast of Oregon and bring people to my favorite places to photograph the waterfalls along the gorge, sea stacks, state parks, lighthouses, formal gardens and more. Hands down, the most iconic of all sea stack locations is Bandon Beach. But unless the sky did something spectacular, as the years went on, all my captures looked the same. I wondered what could I do to change it up, then it hit me! I had participants bring neutral-density filters to photograph the waterfalls to give the flowing water the cotton candy look. If it worked for moving water of a waterfall, what would happen if I attached an ND filter and captured the moving ocean waves and clouds in the sky? Ever since trying it, I made it a regular thing and every year, smiles came to each person’s face when they looked at their LCDs after making 10, 20 and 30+ second exposures of the Pacific swirling around the sea stacks. To be even more unconventional, I took it a step further and whenever we encountered moving subjects, everyone attached their ND filter and let the movement happen. Each shot was different and we started a new craze.
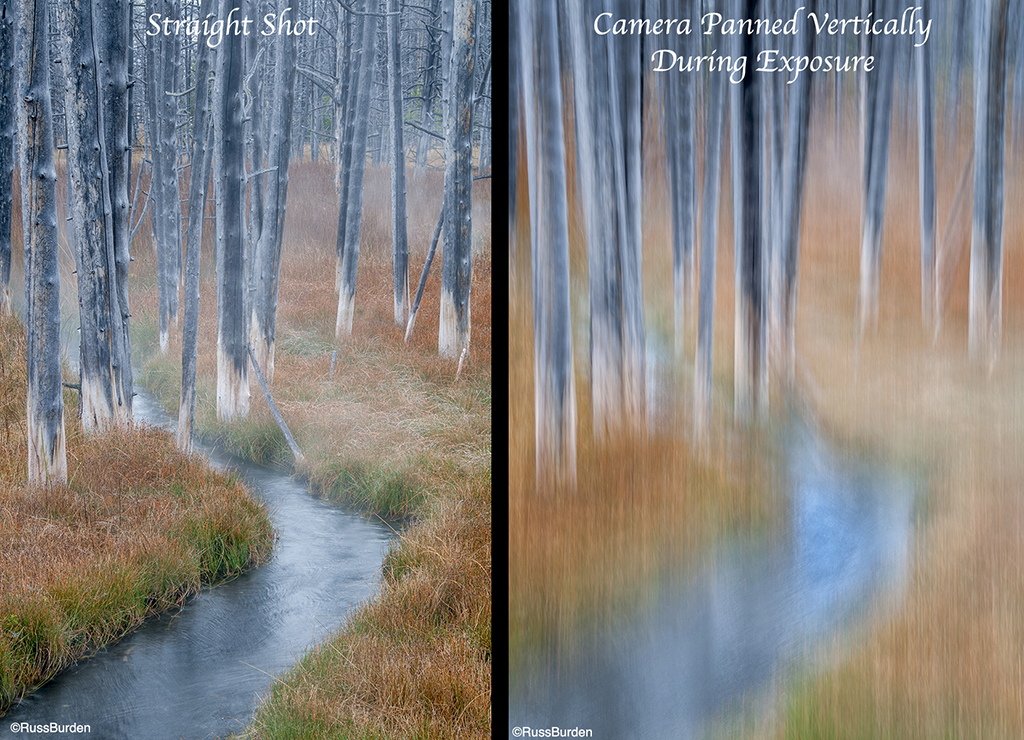
Pan It: Each year I brought a group to Yellowstone, I drove to my favorite stand of trees that has a small thermal creek running through it. I called it the Bobby Socks trees because the bottoms are always white. In fall, the grasses turned golden yellow, which contrasted nicely with the blue sky reflected on the creek. We’d spend a lot of time there working the entire area. Being primarily a landscape photographer at the time, I always used a pan and tilt head although I was in the minority—most people use a ballhead. In thinking of a pan and tilt’s virtues, I turned the conventional way of once again making the same composition unconventional. I loosened the vertical axis knob of the head and over the course of a 3-second exposure, I very slowly moved the camera upward. Since doing this, I’ve repeated the technique on aspen trunks and also the huge redwoods along the California coast. I’ve even experimented with architectural subjects—heck, anything that’s vertical is fair game. Give it a go to see what you come up with.
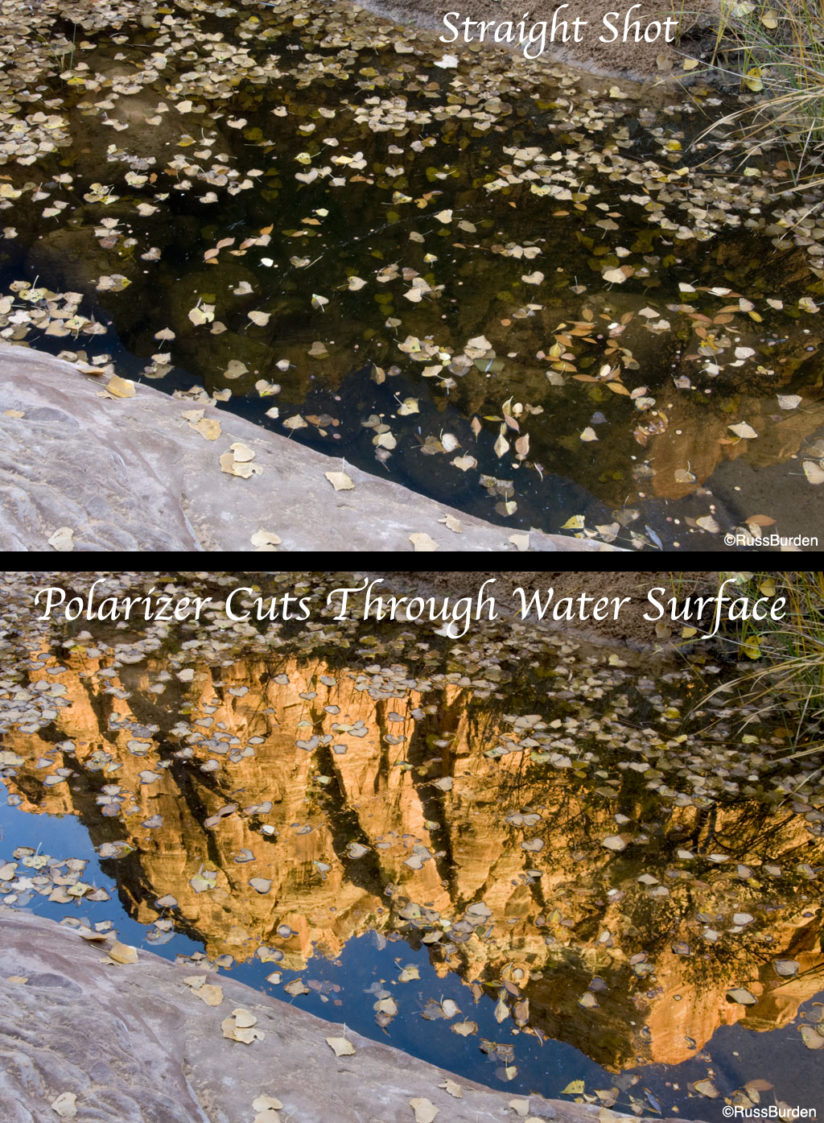
River Awareness: Another place I visited every year was Zion National Park. During one of our sessions, we’d always walk the banks of some of the tiny tributaries of the Virgin River. One of my favorites was lined with cottonwoods along with a few maples. We’d concentrate on making images of the fallen leaves in addition to capturing intimate abstracts of the swirling sandstone along the river’s edge. During one year, I set up the photo of the leaves that had fallen onto a small pool and told people to be on the lookout for such images. Upon looking at the LCD in live view, you could see the participants kind of questioned why I had them do this—the composition was a bit boring. In that sun broke free from some clouds, I had everyone gather around and told them to watch the LCD closely. As I spun my polarizer, smiles were everywhere and each person jockeyed into position to make the shot. While spinning a polarizer may not be all that unconventional for some, if you don’t know that it cuts through glare, you’ve just been enlightened. I hope you get to use this new info the next time you head into the field.

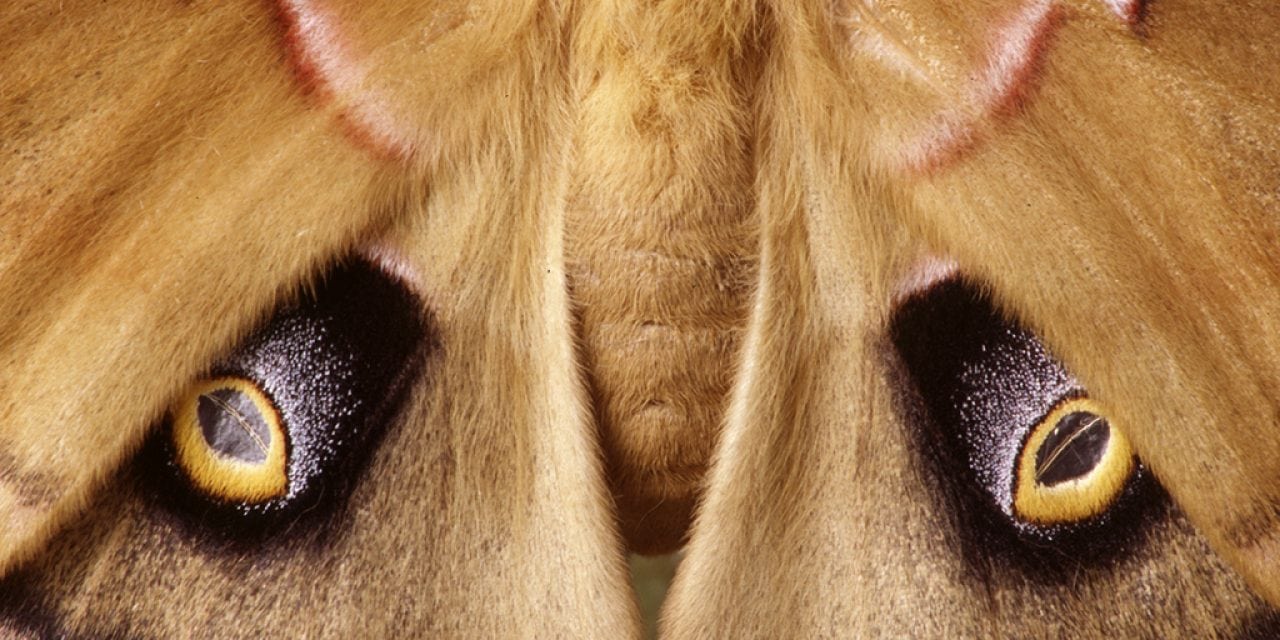
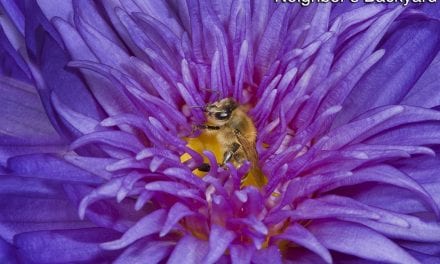
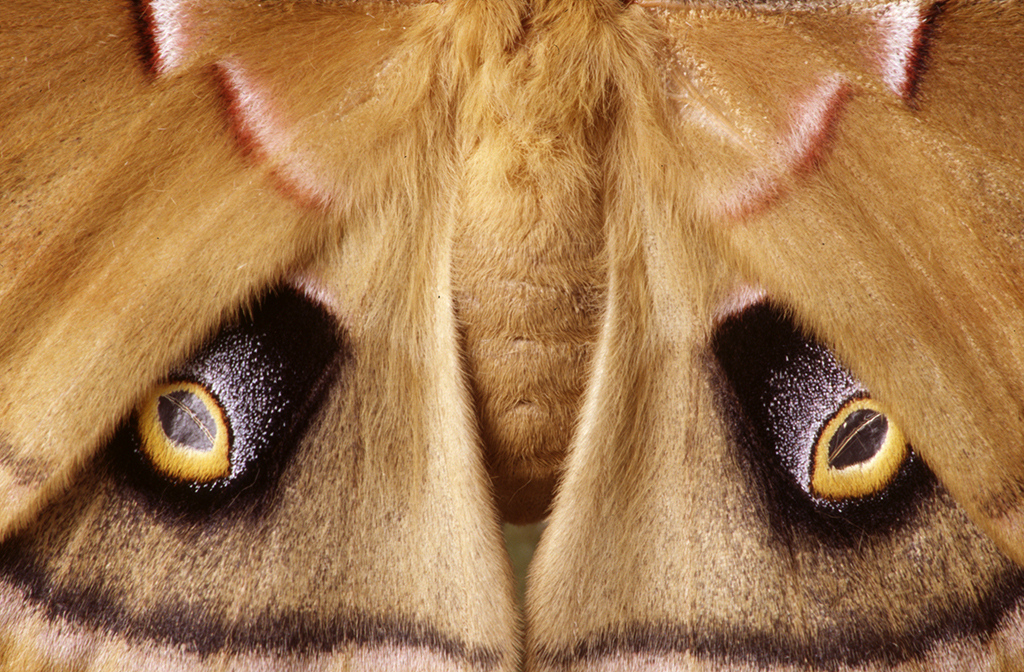
Macro Your Macro Images: I went through a period of photographing every insect that flew or crawled through my backyard. It got to the point where I’d order a chrysalis or cocoon and wait for each to hatch. When all of my butterfly, moth, bee, beetle, etc., pictures began to look the same, I knew it was time to go the extra mile. The timing coincided with my reading about dual element close-up filters. They’re high quality, dual element filters that screw onto the end of my dedicated 150mm macro lens that allowed me to get really close to my subject. I could now go “more macro.” Depth of field at these magnifications is measured in millimeters, so I needed a lot of light to use very small apertures to acquire the necessary range of focus throughout the image. To achieve this, I incorporated the use of flash. Armed with my dual element filter and a system of two flashes, I went deeper than what my straight 150mm macro lens would allow and therefore entered a new and tinier world.
Visit www.russburdenphotography.com for information about his nature photography tours and safari to Tanzania.
The post Photograph The Conventional Unconventionally appeared first on Outdoor Photographer.

