Over the past nine years, I’ve written numerous Tips Of The Week for the Outdoor Photographer website. I’ve covered topics from macros to abstracts to landscapes to architecture to portraiture to… For the next few weeks, I present to you a three-part compilation called Shoot Like A Pro. The information on the topics I chose to disseminate can be applied to any subject you wish to photograph.
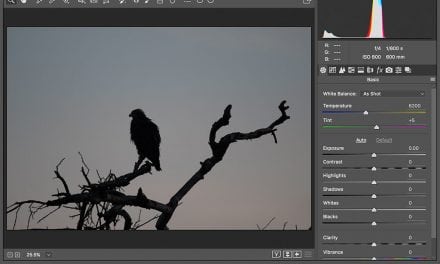
Do A Pre and Post Shoot Check of Your Settings: There are many great features that make today’s DSLRs amazing. One such feature is auto-bracketing, which allows you to create a series of bracketed exposures to make an HDR shot. This being said, here’s a scenario where those amazing features come back to bite you in the butt. Your session has you photographing a cityscape at sunset, so you set the camera to a five-image bracket starting from minus two to plus two stops. You make the final series with a huge smile because of the gorgeous sunset you just photographed. You pack the camera away and head home to process the bracketed HDR images. You wake up the next day to make street portraits. When you check the first exposure, it’s significantly underexposed, so you dial in + compensation to overcome the “incorrect exposure.” The problem is there’s nothing wrong and you’re compensating incorrectly! The camera is behaving the way you instructed it to. What you neglected to do was cancel out the auto-bracketing from the HDR series you created the previous night. Similar nightmares can occur relative to high ISOs you set but didn’t change back, exposure compensation you dialed in but never reset, flash compensation you never zeroed out, filters you forgot to remove, self-timer you engaged, exposure delay you didn’t cancel, autofocus you turned off, a specific color temperature you set, mirror lockup you enabled, etc. This is why it’s SO important to do a pre and post check before and after every session so you start from square one for subsequent sessions. It may save that once-in-a-lifetime shot from being ruined.
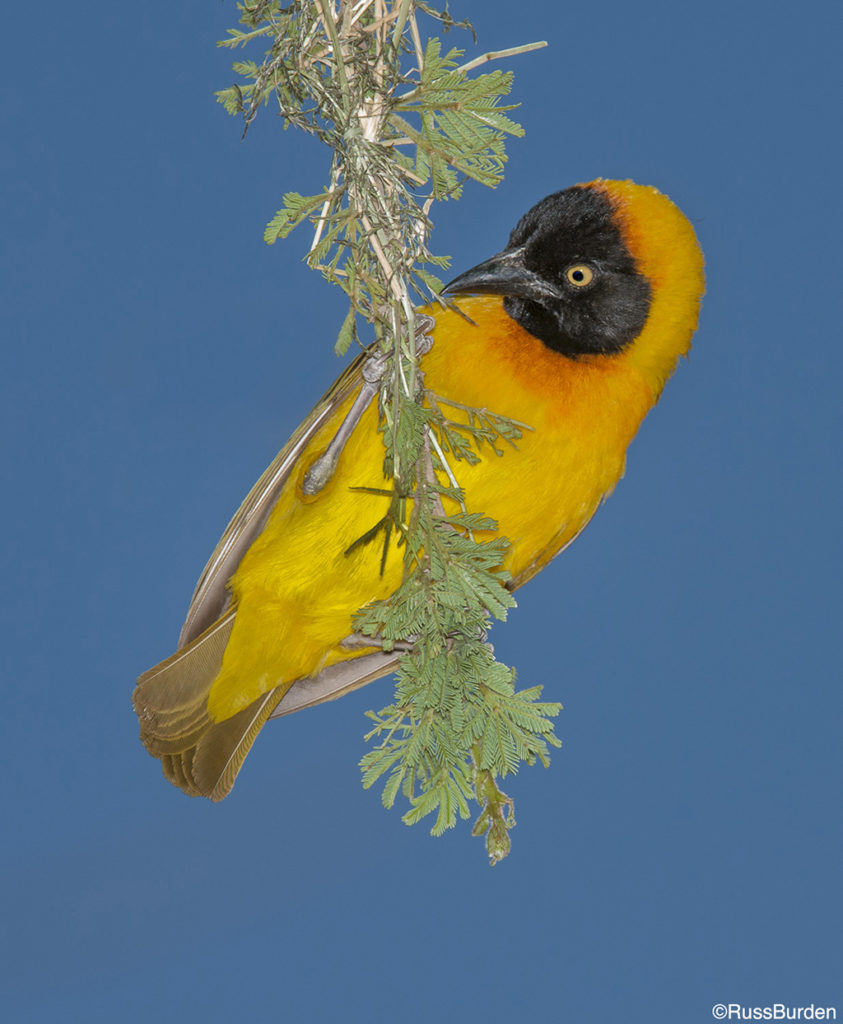
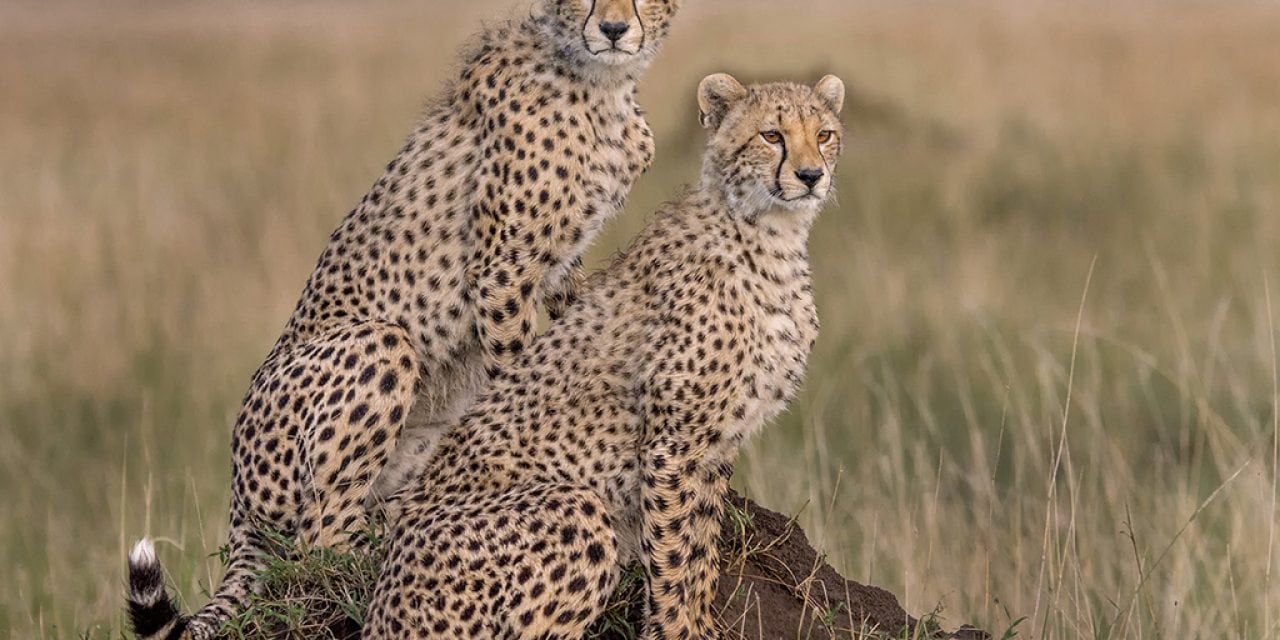
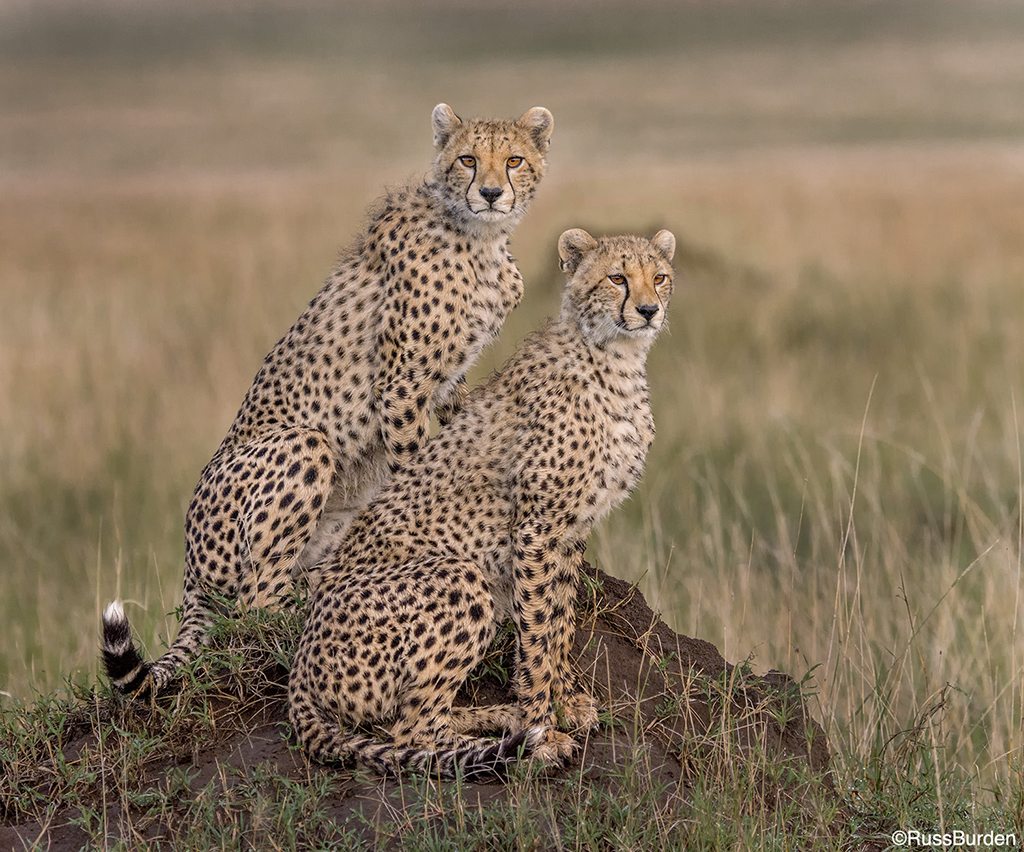
Simplify: There’s no photographic prize awarded to those who pack a huge number of elements into a composition. I’m actually of the belief of the fewer elements the better. I like to keep my compositions simple and clean. Get rid of what’s not needed. Creating a good composition in a photo is a subtractive process. Photographers are presented with an entire canvas when they look through the viewfinder. It’s our job to whittle away at the enormity and reduce what we see to the essentials. Some strategies to accomplish this are to shoot from a different angle—get lower, higher or move to the left or right. Zoom the lens to eliminate the peripheral unimportant elements that don’t make the image strong. Decide what’s important and include only those items. Before you press the shutter, study the entire viewfinder to make sure you examine the top, bottom, left and right borders. Quite often, the edges aren’t accounted for because tunnel vision takes over, so you concentrate more on what’s in the center of the frame.
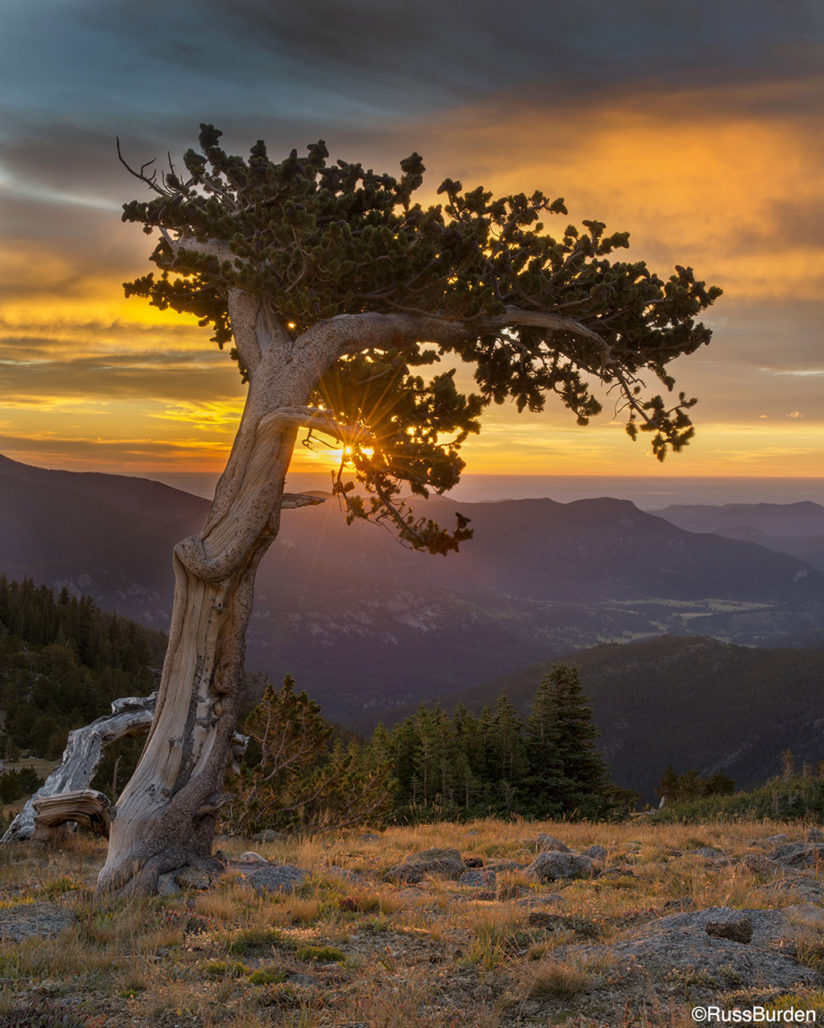
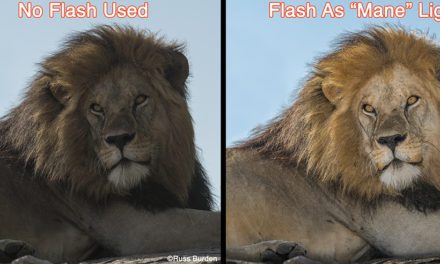
Modify the Light: Many images suffer from too high a contrast ratio. This is especially true if you make images from late morning through the afternoon. The light is high, it’s harsh and contrast works against you. If your subjects are small, the existing light can be altered through the use of a number of photo accessories. Flash is a great tool as its output can be adjusted. If you dial in flash compensation, different light ratios can be applied to your images. If the subject is small enough and you can get close enough, it can overpower the sun to become the main light. Another means to modify the light is with a reflector. Use gold to add warmth, silver to create a hard source of fill, or white to create a soft source. A diffuser can also be used to soften the light to impart the look of a studio strobe or bright overcast daytime conditions.
Be sure to follow the next two Tips Of The Week to learn more, and if you get a chance, go through the archives to check out what’s been previously posted.
Visit www.russburdenphotography.com for information about his nature photography tours and safari to Tanzania.
The post Pro Results Anytime, Anywhere, Part 1 appeared first on Outdoor Photographer.

