Sunlight is important for photography. As a matter of fact, it goes deeper. If it weren’t for the sun, life as we know it wouldn’t exist and there’d be nothing to photograph! Plants rely upon it for energy, its gravity holds the planets of our solar system in orbit, it provides UV rays and heat for warmth and, most important for all of you reading this week’s tip, light to create the images we cherish.
Think about every dramatic sunrise and sunset you’ve witnessed that made your landscape images glow. Reflect upon those times when very first light kissed the horizon and resplendent gold tones bathed your favorite animal. Summon those instances when pastel storm clouds brought you to your knees as you made image after image. Flash back to that time when a double rainbow bridged the sky and framed your favorite landform as your smile grew in immensity.
The focus of this two-part Tip of the Week is “sunscapes.” Sunscapes take into account landscapes or wildlife images. Regardless of the subject matter, the key is it includes the sun somewhere in the composition. Unto itself, the sun can be a good photographic subject, but if you aim your lens directly at it, it presents obvious problems.
Essential conditions must align for the photograph to be successful. Time of day, atmospheric conditions, careful technique and common sense all impact the success of a sunscape. Flare, strong contrast, improper exposures and safety issues need to be addressed. Thankfully, techniques can be easily learned to contend with them.
Whether it involves the sun on the horizon, high in the sky, diffused by fog or bounced off reflected surfaces, I share with you what I’ve gained from experience so you can create them on your own. As you begin to incorporate these techniques into your photography, you’ll look at the sun in a whole new light.
London Calling
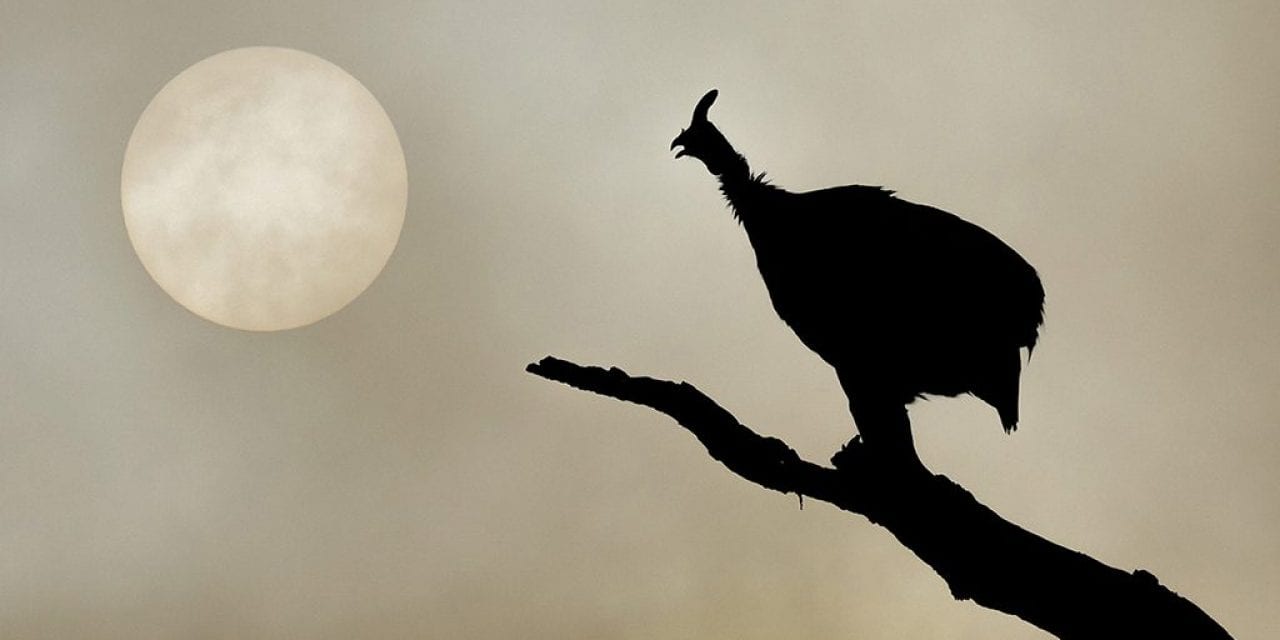
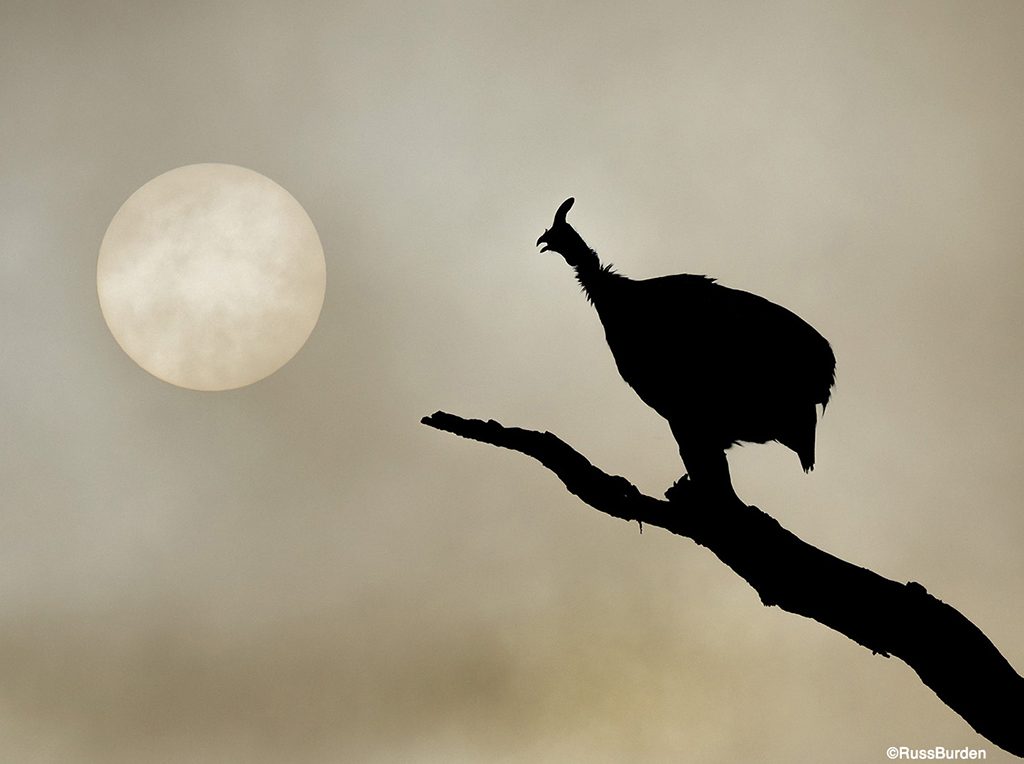
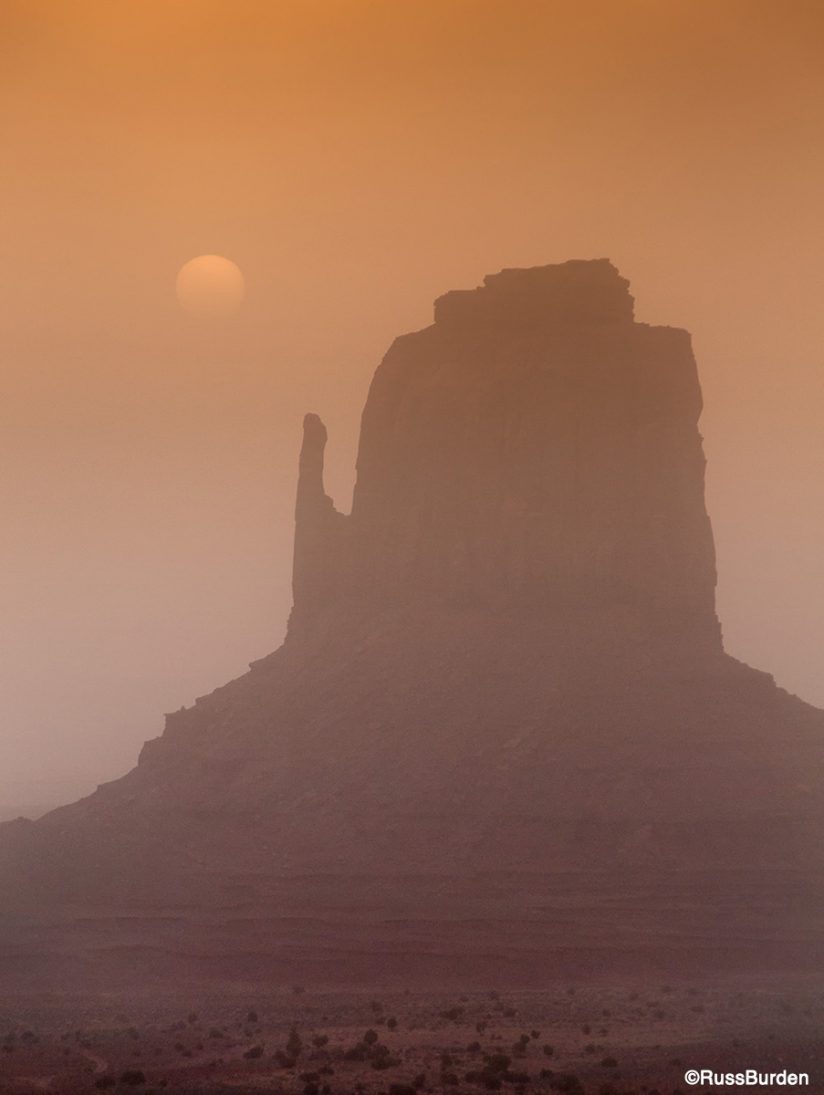
Fog is one of my favorite conditions in which to shoot. Its ethereal quality lends itself to getting great mood shots. It acts as a natural diffuser. This allows you to include the sun in the frame and experience few flare or contrast problems. The density of the fog determines how the sun will be recorded. It also determines the mood of the image.
The sun’s intensity varies with the thickness of the mist. As the fog moves across the sun’s face, its brightness increases and decreases. It may appear as a subtle round disk, be almost obscured or appear so bright a photo can’t be made. Within a matter of seconds, it can dramatically change. When you photograph fog, overexpose up to one stop from the meter reading to prevent a dull gray file.
Hide It
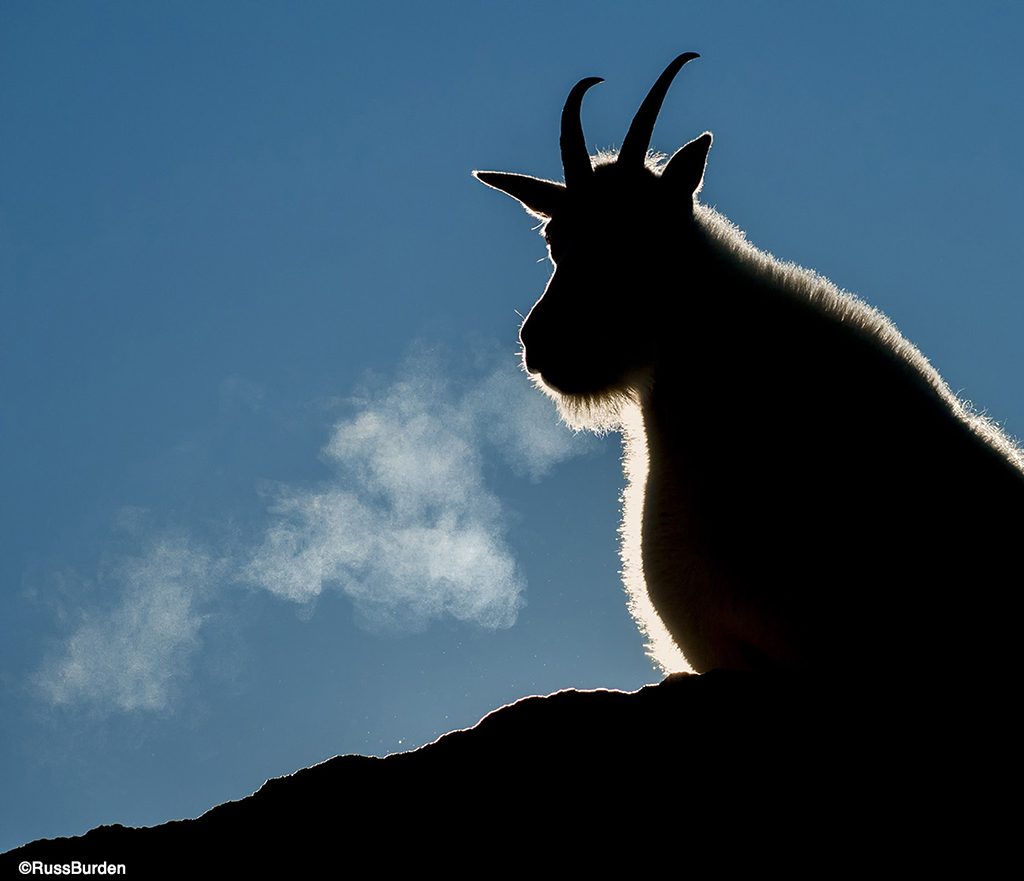
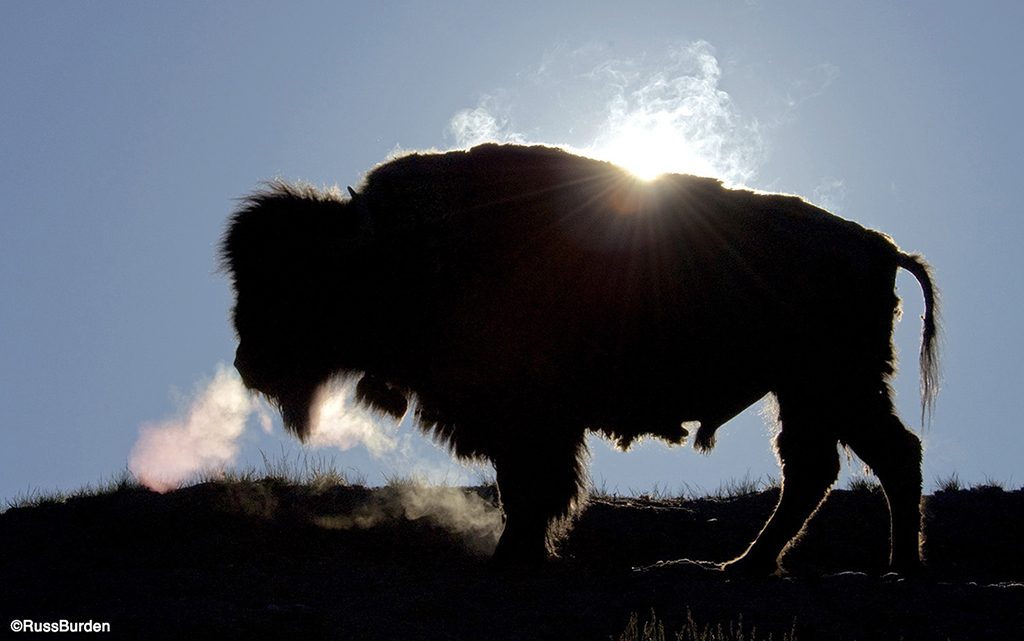
Position the sun in the frame, but hide it behind a landform or animal. As a result, the item in front that hides the sun takes on a glow. An implied sun can produce a very dramatic shot. Most of the compositional elements will appear as silhouettes due to the strong backlight.
When you incorporate this technique, use a subject that has bold and easily identifiable forms. The shapes should be dramatic and have no distractions. The cleaner it is, the better. The more the subject blocks the sun, the easier it is to meter, but always check the histogram to be on the safe side.
Sunburst
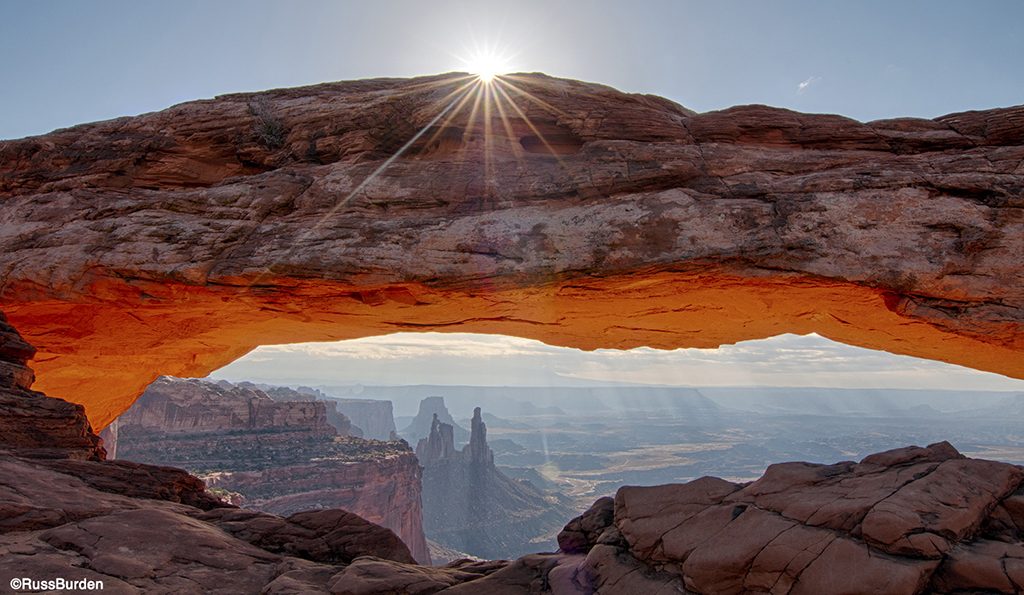
Cross star filters are used to create radiating lines from pinpoint sources of light. Depending upon their design, varying numbers of lines are created. The stronger the source of light, the more pronounced the effect. Similar results can be made by shooting into the sun at apertures of ƒ/16 or smaller.
The key is to use a solid object in the composition that blocks out all but a very small percentage of the sun. It’s a fine line between destroying the image with flare and producing a naturally created starburst effect. Wait for just a hint of sun to peek out from what obscures it. Because the earth rotates so quickly, the camera position needs to be changed often or else the effect is lost.
Flare
Lens flare is caused when a strong light source hits the front element and bounces around the glass elements in the lens. It’s a problem most photographers try to avoid. It often winds up destroying many pictures. Although negative, at times it can be used creatively. Flare can appear in two forms—a bright globe of light somewhere on the photo or as a misty fog that softens the contrast of the photograph.
To control flare, avoid shooting directly into a strong source of light such as the sun, shadow the front element with your hand, always use an accessory lens hood and avoid the use of filters as they add surfaces to bounce more light. With the above being said, try getting creative and cause intentional flash. I do warn you to avoid looking directly at the sun with your eye to the camera, especially if you use a telephoto.
Focus On The Sky
Colorful skies are good subjects unto themselves. The best time to take advantage of them is sunrise, sunset, dawn and dusk. During these four times, clouds assume the most color. Be sure to isolate cloud patterns, key into spots of dramatic color and always look for sun rays.
The color can often be enhanced in post-processing, but be conservative to avoid an oversaturated, unnatural look. The same way fog behaves, clouds will reveal varying degrees of the sun’s intensity. Be sure to monitor your histogram after every photo.
Stay tuned for next week’s tip to learn more about sunscapes.
Visit www.russburdenphotography.com for information about his nature photography tours and safari to Tanzania.
The post Rays Some Hope: Sunscapes, Part 1 appeared first on Outdoor Photographer.

