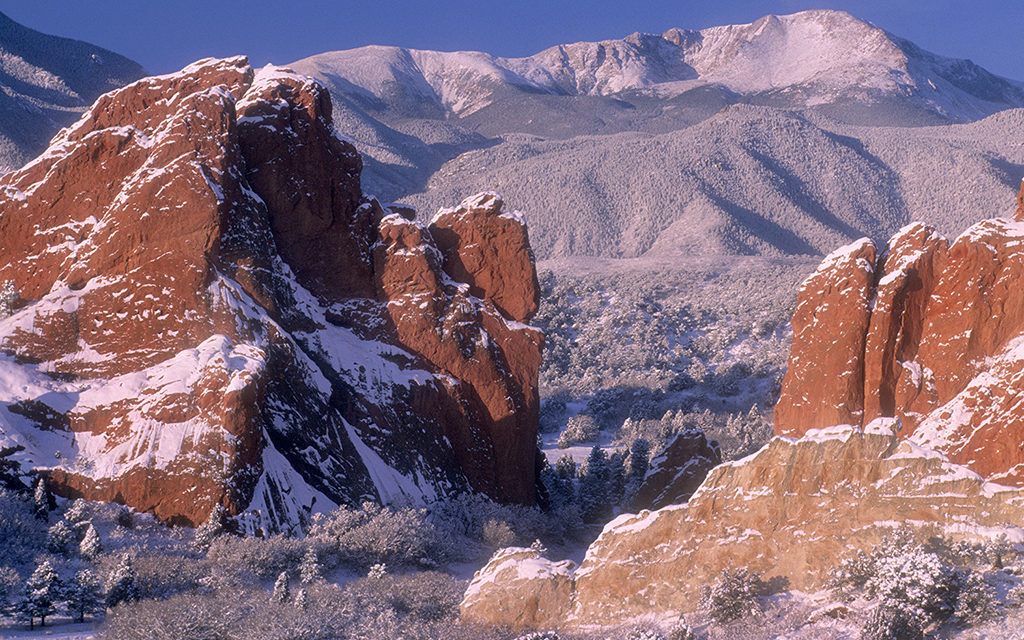
In this week’s tip, I present to you some seldomly discussed, positive aspects of nature photography. Learning all its nuances will never be attained as there’s always a new trick, an advancement in technology or a new technique you’ve yet to utilize. Visits to new places are unique and net new photos. Whether you reinforce what you’ve done in the past or do something you’ve never done, “aha” moments will never cease. Regardless of the subject matter toward which you lean, it’s advantageous to have lots of tricks in your repertoire. It’s even better when new ones can be added and applied. I share with you five ways to make sure you stay on top of your game. And yes, continue to enjoy each new advancement that comes down the road that enhances your learning
Make Your Exposure / Check Your Histogram
My outdoor photography started when slide film was the norm. Its exposure latitude is very narrow. This dictated exposure bracketing whenever possible. When action was involved, the perfect exposure was hit or miss. This dictated knowing how to critically read and interpret light. Along comes digital photography, playback capability and histograms. I can now ensure I obtain proper exposure if I check my histogram. Here’s where the irony lies and my sadness surfaces. So many of today’s nature photographers ignore the histogram and rely on post-processing to “correct” the image. Don’t be “that person” for the following reasons: a) a perfect exposure allows you to maximize the complete potential of the RAW image; b) overexposed highlights are not recoverable—lost detail is gone forever; c) underexposed shadows become noisy and muddy when attempts are made to correct them; d) don’t use the LCD to make visual evaluations—use the technology of the histogram, which is spot on.
Check Your Backgrounds
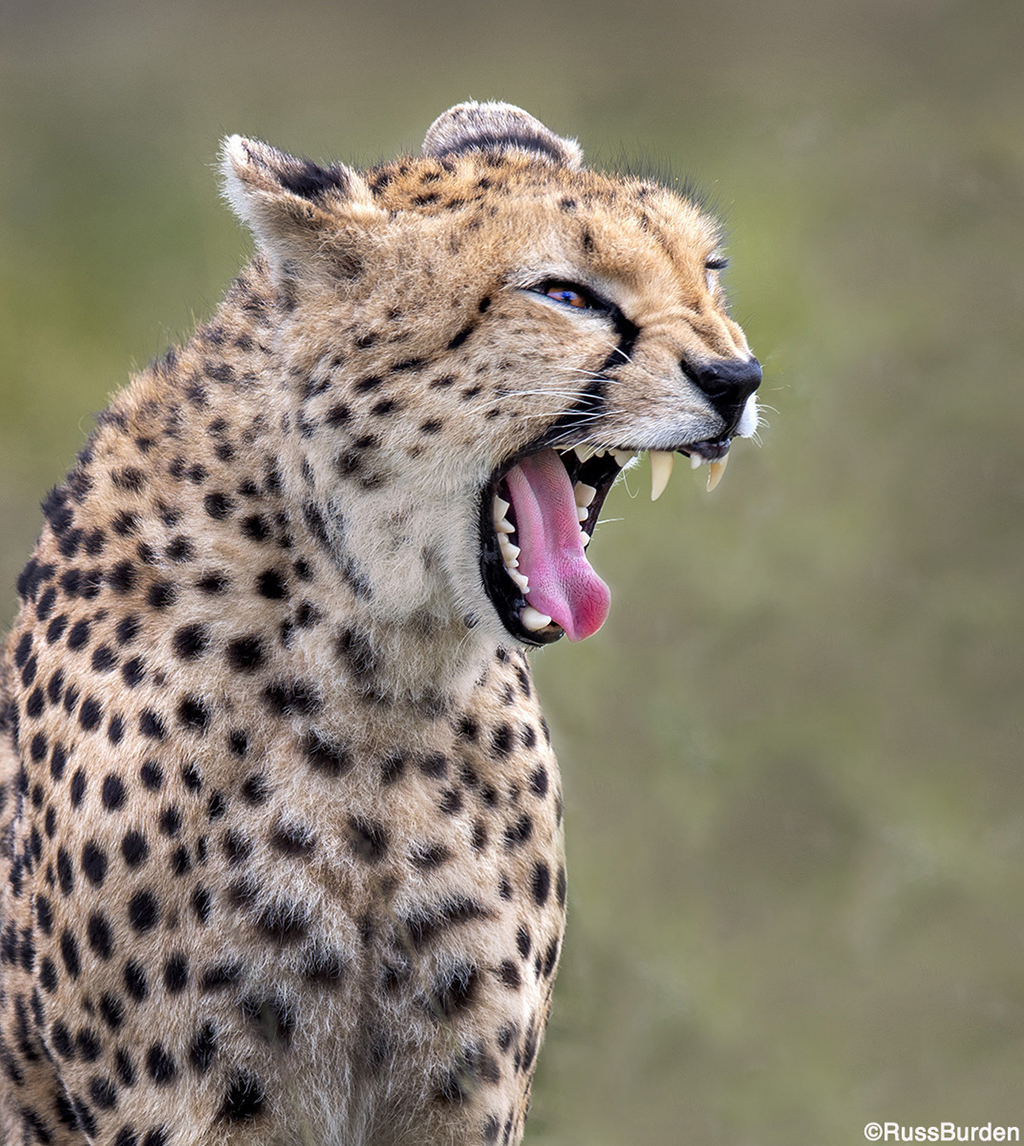
Regardless of the subject matter you photograph, the background is critical to the success of the image. If the background is cluttered, messy, contains distractions or is too bright or too dark, it becomes an eyesore. A good guideline to follow is if you want to include the environment to show context, increase the depth of field and use a wide lens. If you want a wildlife or outdoor subject to pop off the page, use a long lens and limit your depth of field. This being said, the amount of light on the background is critical. If the subject is in shadow and the background is bright, unless you want to create a silhouette, the light is backward. Be conscientious how clouds illuminate both the subject and background and have them work in harmony as opposed to dueling each other. Be patient and wait for the light to be advantageous. Lastly, compose the image where the subject is in front of a clean background that doesn’t compete with the subject. You want the viewer’s eye to go to the subject in your nature photography, not to any clutter or chaos behind it.
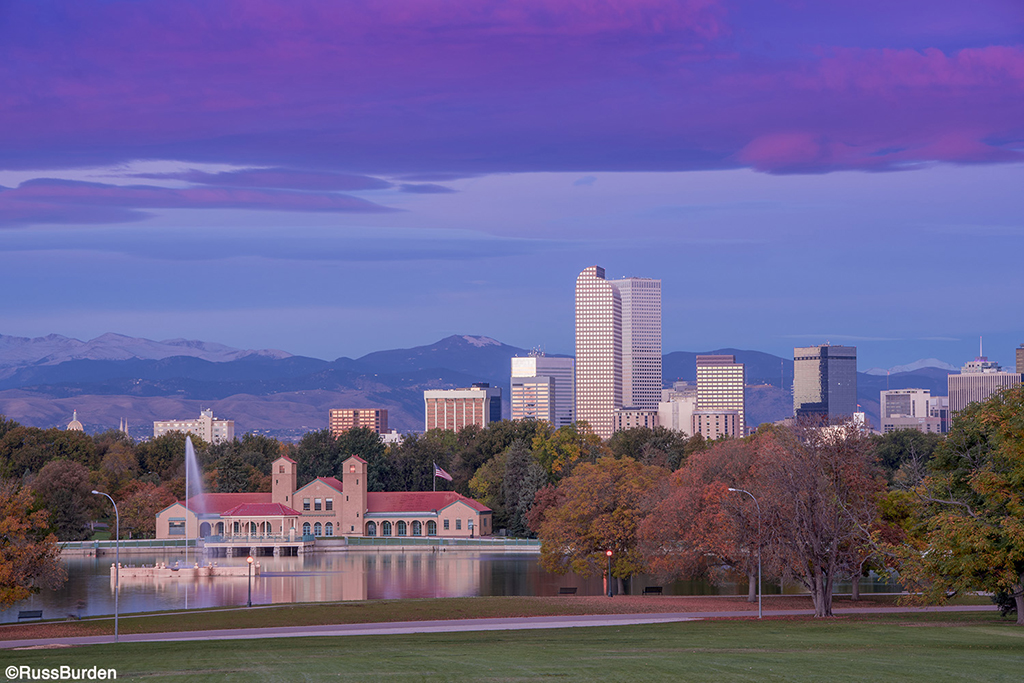
No Regrets
Don’t fall victim to not coming home with the image. Don’t be the person who uploads a session, evaluates all the images, becomes despondent and says, “Why didn’t I make a vertical of that scene, why didn’t I use my wide angle, why didn’t I try to pan with the action?” You get the idea. When the situation allows, try every option so you return with choices. Be sure to photograph everything you confront as a vertical, horizontal, with a wide angle and telephoto. When you’re in the field, don’t just focus on a single technique, lens, composition, angle, etc. and ignore the options that exist. It’s imperative you incorporate all variables into your repertoire so you don’t beat yourself up because you forgot to include one of the above.
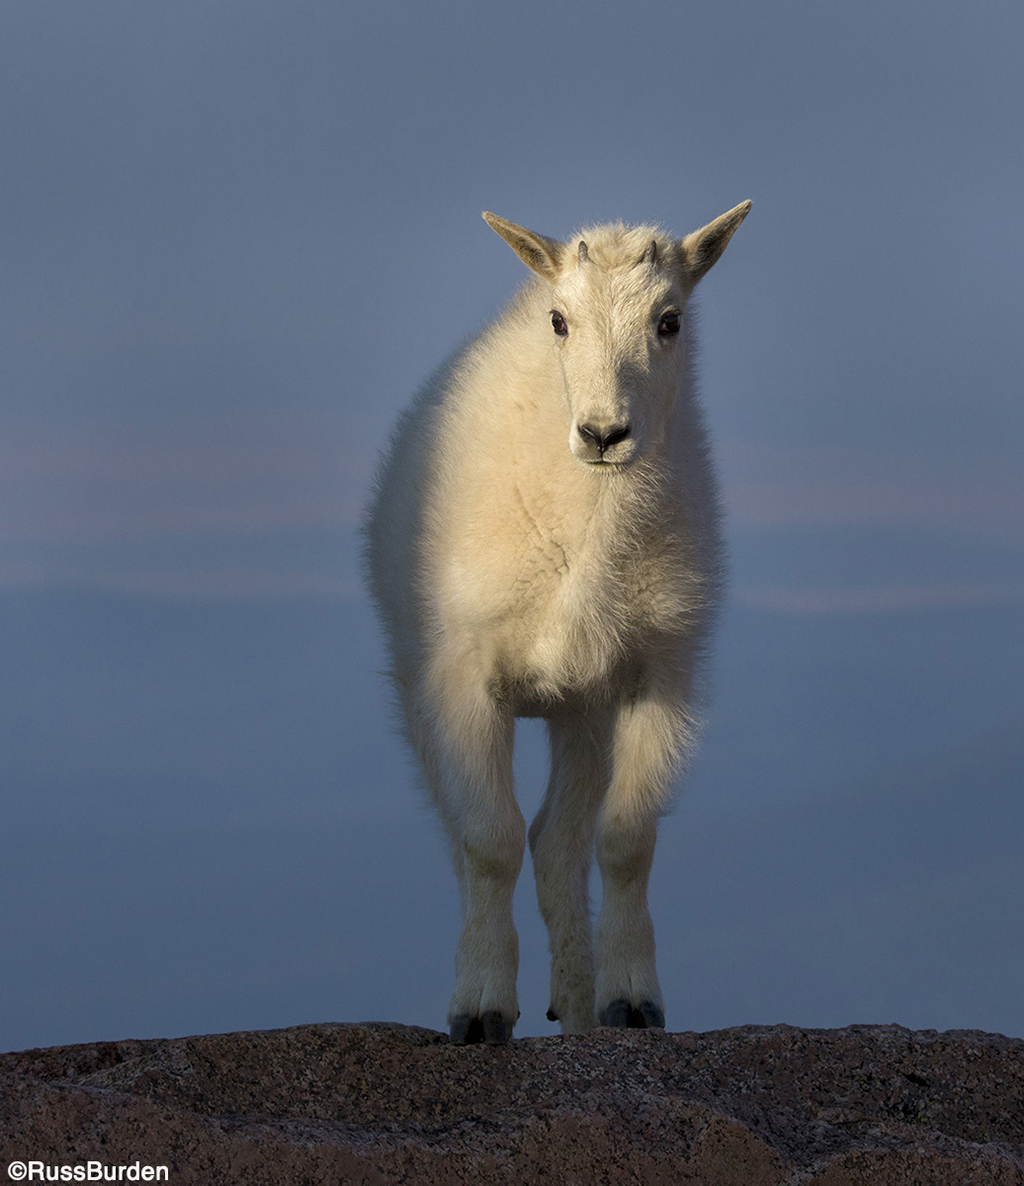
Simply Have Fun
Go out and have a “let down your hair” day of nature photography. Don’t make the outing a “must come back with a winner” session. If your normal lens is an 80-400mm, leave it at home and attach the 24-120mm that often collects dust. On a winter’s day right after a good snowfall, move in close on a clump of snow that clings to a lone branch. Grab a different setup and go to a dog park and practice your wildlife action photography with both fast and slow shutter speeds. You may even come across an inquisitive owner who asks what you’re doing and make a sale of the image. Simply do something you don’t normally do and don’t worry about the results.
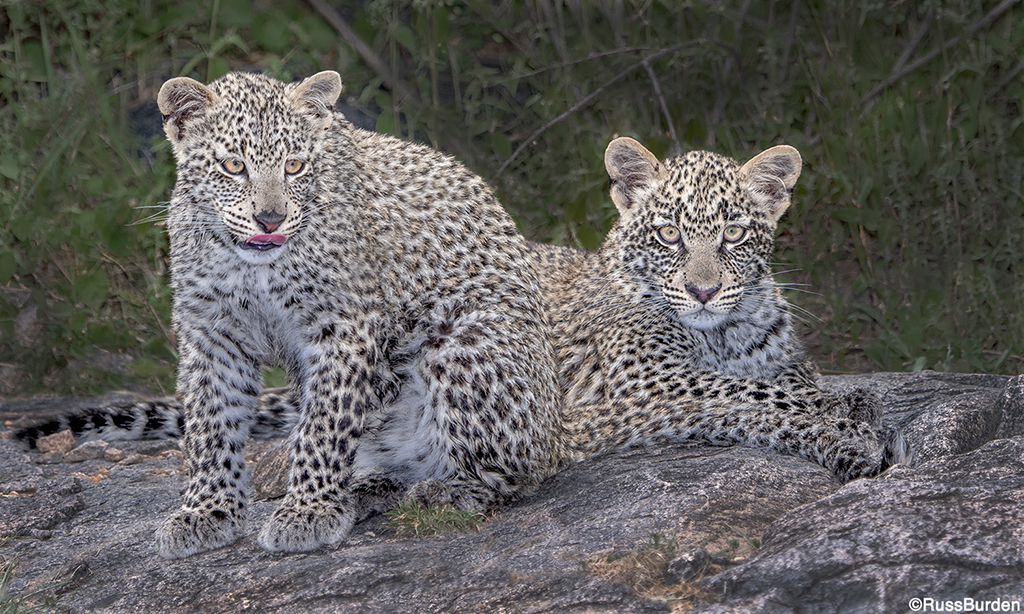
Don’t Forget The Flash
Over the past number of years, I’ve been incorporating flash into much of my nature photography. As one who’s a huge proponent of good light, if I can augment ambient light with an additional controllable source, so be it. I use it to light up a dark foreground that’s either yet to be illuminated by the sun or falls into shadow. I can control the contrast of harsh light if I use it to fill in shadows. I incorporate my MagMod attachment and project a narrow beam of light up to 80 feet away to light up the subject that sits in the shade of overhanging branches. If you’ve yet to experiment with outdoor flash, I encourage you to get your feet wet using the tool.
To learn more about this subject, join me on a photo safari to Tanzania. Visit www.russburdenphotography.com to get more information.
The post Step Up The Level Of Your Nature Photography appeared first on Outdoor Photographer.

