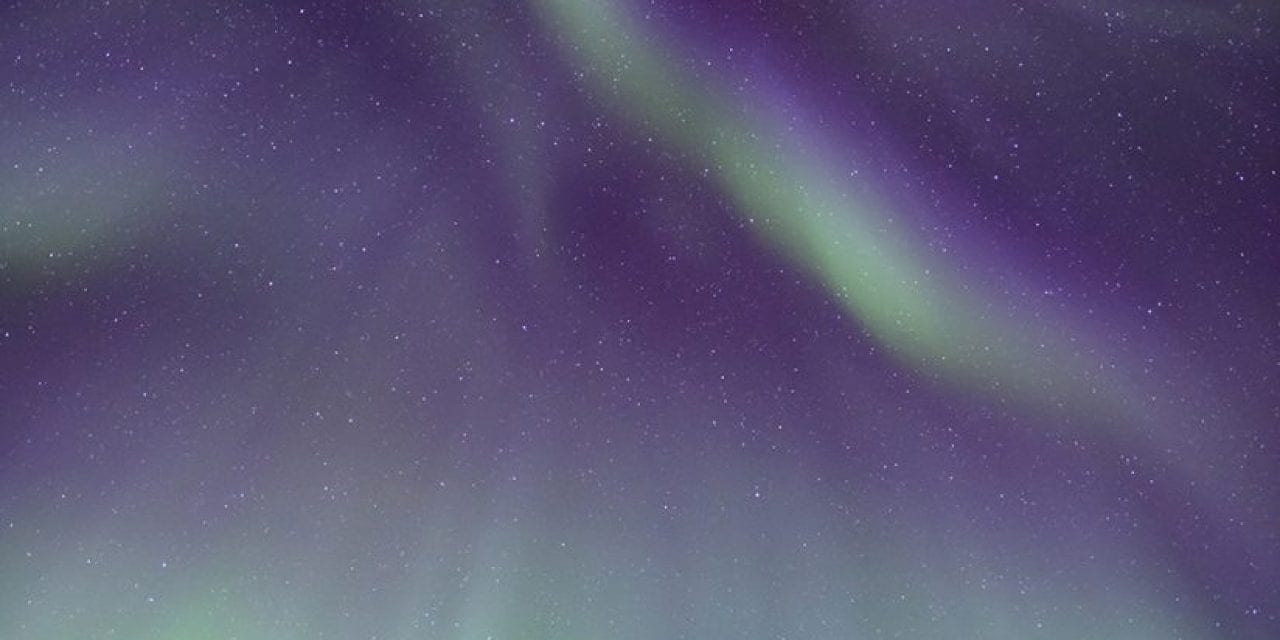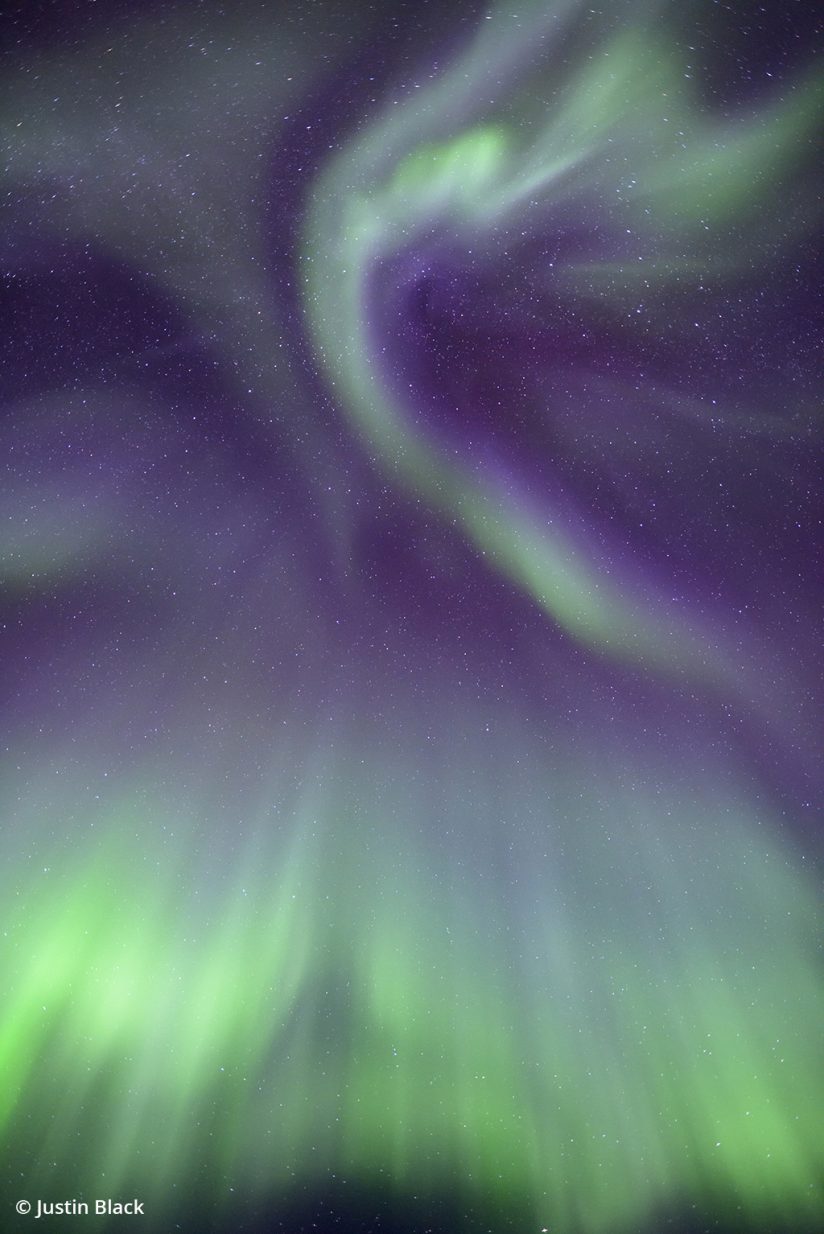
Aurora borealis, Scoresbysund, Greenland. Nikon D810, Sigma 24mm F1.4 DG HSM Art, Really Right Stuff TVC-24L tripod and BH-55 ballhead.
Imagine a painter—say, Georgia O’Keeffe—staring into a blank canvas. Working from an image in her mind’s eye, she steps to the canvas and sketches out the basic composition. Then she adds paint, in various colors, tones, layers and blends, building up the composition stroke by stroke. When she decides the image is complete, she stops adding paint to canvas.
Now imagine a 26-year-old Michelangelo, contemplating a massive rectangular block of white marble weighing several tons, from which he has been commissioned to complete a sculpture of David for the city of Florence within two years. Every move he makes will involve carving away, removing unwanted material, in order to extract the form he visualizes as “trapped” inside the raw rock. Once he has removed all the material that isn’t David, his creative work is done.
Though photography and painting on canvas are both two-dimensional art forms that function according to the same fundamental principles of composition and design, I would argue that most photographers operate rather like subtractive sculptors—like Michelangelo.
The painter’s work is additive, beginning with an idea and a blank canvas and rendering an image with the addition of content. A painter with the skill to do so can draw from the full scope of his or her imagination to render, with the application of paint to canvas, a novel image that emerges entirely from within the artist.
In contrast, rather than a blank canvas, we photographers begin with a very full canvas indeed—the universe—or at least the parts of it that we can see. Channeling our intellect, imagination and emotions into creative goals for making a picture, our job then is to apply perspective, juxtaposition, framing and timing—our “visual chisel”—to carve away at space and time until we are left with only the subjects, quality of light, graphic elements, relationships and the decisive moment of our choice.
Michelangelo had it easy with his block of marble. To make our art, we have to subtract most of the universe! And, though a photograph can be made in an instant, the process leading to the creation of a true masterpiece often takes years, whether we are talking photography, painting, sculpture or any other art form.
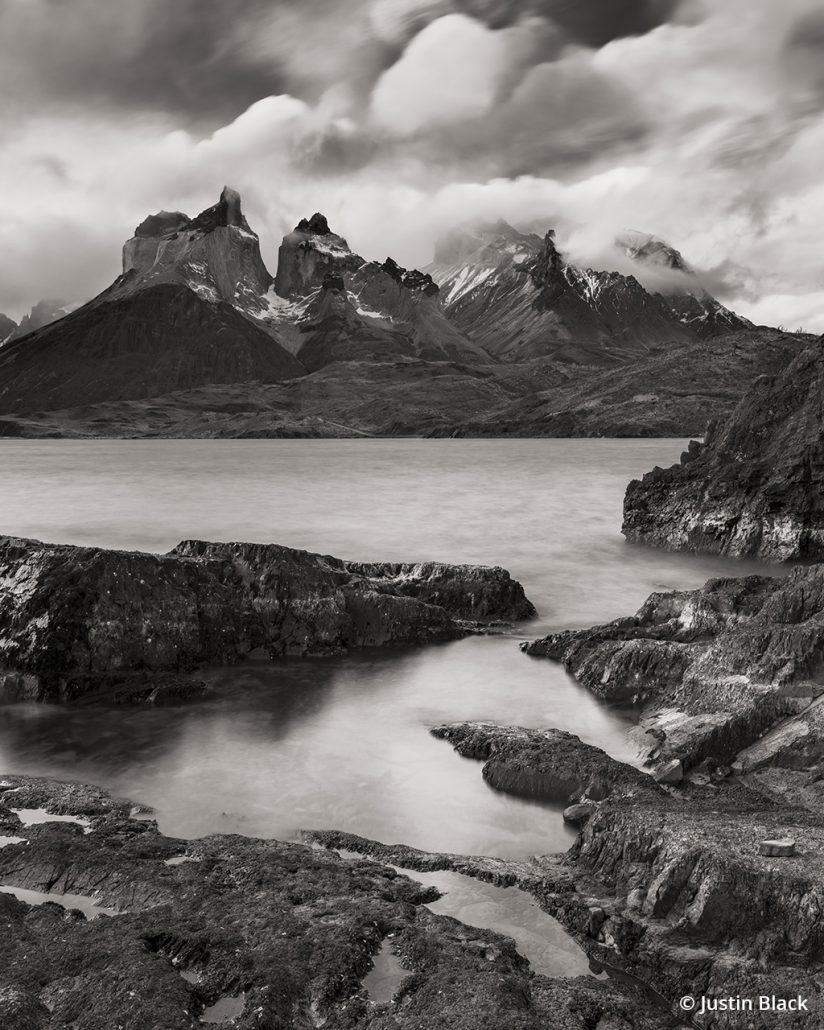
The Cuernos del Paine over Lago Pehoe, Torres del Paine National Park, Chilean Patagonia. FUJIFILM GFX 50S, FUJINON LENS GF32-64mmF4 R LM WR, Singh-Ray LB Polarizer and 5-stop Mor-Slo ND filter, Really Right Stuff TVC-24L tripod and Arca-Swiss D4 geared head.
The notion of subtraction can be usefully applied to virtually all steps of the photographic process and workflow, from initial concept to visualization, pre-editing, photo composition, decisive moment, selection of keepers and trashing of rejects, image development and processing, picture selection for specific applications and final edit by end users of photographs. In all cases, it’s a matter of distilling down, cutting away the extraneous, refining the best possible expression of the photographer’s vision and the purpose or function of the photographs.
Conceptual Development & Visualization In Photography
Beginning with the initial conception of a single photograph or body of work, we can consider what we wish to express, what stories we want to tell, what vision of the world we want to share with others. We prioritize some ideas, abandon others or hold some in reserve for additional conceptual development. Then we can proceed to considering what can be photographed in order to achieve our conceptual priorities.
Visualization of imagined pictures not yet seen with the eye helps us as we consider possibilities, practicalities and the suitability of various subjects, settings and locations, as well as factors such as conditions of light and weather. As we eliminate options from consideration because they are inferior to others or logistically impossible, we are left with a concise list of picture possibilities that are—we hope—strong in concept and vision.
Pre-Editing: Learning When Not To Shoot
Once we have narrowed our concepts and vision, we can further hone our efficiency by pre-editing on location. I don’t know about you, but I’ve never particularly aspired to be the proverbial “monkey with a camera,” blazing away indiscriminately at 12 frames per second, hoping to find a few frames among the chaff that can be cropped into a meaningful picture. I only care about making a relatively small number of strong photographs, and my personal standards are high.
On our wildlife photography trips, I often remind the participants that if you care about quality and uniqueness in your photography, there is little point in flying halfway around the world to make a mediocre portrait of, say, a jaguar sleeping in harsh midday sunlight (though understandable if it’s your first-ever jaguar). We don’t go there to make the greatest volume of pictures; we go to make a few great pictures. So rather than wasting limited time and energy making pictures that we can anticipate will be either mediocre or even outright failures, we can learn to skip sub-par photographic opportunities, moving on to something more interesting and productive. I’ve spent many hours of my life trying to optimize compositions that I ultimately realized were just never going to work out, but with the benefit of experience, I am now able to look at a situation, evaluate its potential and make a sound judgment as to whether it is worth my effort. If there are stronger images waiting to be made, why waste precious time on a marginal situation? Once again, this subtractive process makes us more efficient and effective as photographers.
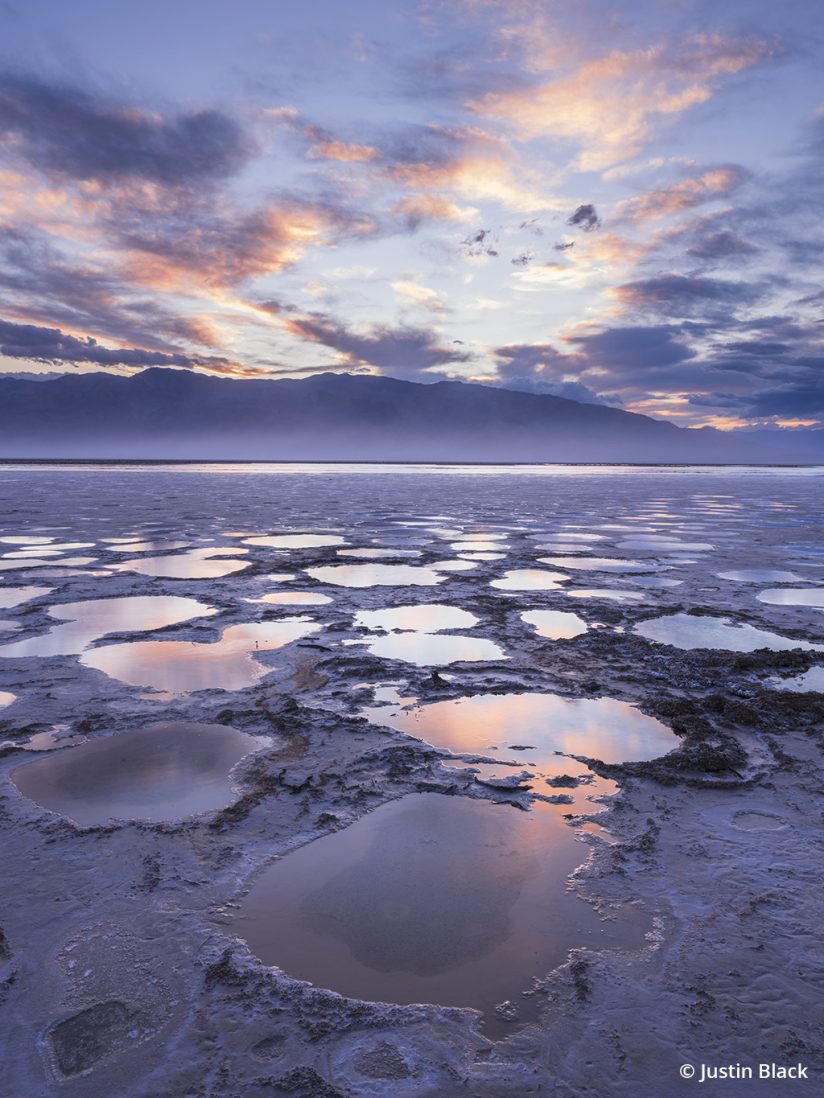
Sunset over saltpan pools, Death Valley National Park, California. FUJIFILM GFX 50S, FUJINON LENS GF32-64mmF4 R LM WR, Really Right Stuff TVC-24L tripod and Arca-Swiss D4 geared head.
It can be useful to ask oneself, “What qualities of light, weather, atmosphere or other circumstance do I choose to avoid when photographing this scenario?” For instance, one might avoid photographing inside a forest on a sunny day because the dappled sunlight creates hot highlights and deep black shadows that break up the elegant line and form of trees and plants in the scene, making the graphics overly complex and cluttered. It follows, of course, that photographing the same forest when the light is more diffuse—such as in fog, overcast or in twilight—will solve the problem.
Principles Of Photo Composition
A major component of photographic composition is subtracting complexity—moving in the direction of simplicity, distilling essence, imposing order on chaos, and thereby directing the viewer’s attention and perception. Beyond the subjects, quality of light and graphic elements that the photographer chooses toinclude in the frame, the timing, camera position and framing are equally defined by what the photographer chooses to exclude. We begin with a broad set of available visual raw materials, select a more limited set from among them (subtracting, therefore, those that we choose not to use), and apply the creative tools at our disposal to organize a composition and render a work of art from the more limited set.
Likewise, one might ask, “What objects, forms, lines, tones and other elements present here do I want to eliminate from the scene?” Perhaps it’s a landscape that is about the relationship between the foreground and a mountain range in the distance, while the sky is not really part of the statement the photographer is trying to make. In that case, one might choose to place the top edge of the frame just above the mountains, leaving only enough sky to frame the peaks, with a bit of room for the eye to comfortably traverse the top of the frame without feeling like the peaks are pinched tightly against the edge. This reinforces the intended juxtaposition, rather than dividing the viewer’s attention between foreground and sky in relation to the mountains.
By the way, one compositional aid that I recommend for seeking and refining compositions is what I call the “Universal Subtractor Tool.” It’s free, and there’s a very good chance you have one already. To find it, make a fist, stick out your index finger straight, and then bend your middle finger down, so it forms an “L”-shaped 90-degree angle with your index finger. Do the same with your other hand. Overlap the two “L”-shapes to make a rectangle. Your left hand forms the top and left side of the box, and your right hand forms the bottom and right side of the box. You have just created a very effective crop tool, which can be made to fit any image proportions from square to panoramic in both horizontal and vertical orientations, as well as zoomed by moving it in and out in relation to your eye. I use mine regularly to find the precise perspective and framing of a composition before I bother to set up my tripod or pull my camera out of the bag, which saves a great deal of time in the field.
Subtraction By Focus
Focus is inextricably linked to composition but in two different ways: focus of attention and placement of focal plane. The first type refers to defining a specific primary point in the scene to which the photographer wishes to direct viewers’ attention. This involves the second type: positioning the optical plane of focus within the scene, which determines what is resolved with the greatest acuity in the picture and also what areas get softer with increasing distance from the focal plane. Thus, placement of focus helps create a hierarchy of content, making clear the primary subject and establishing other elements as secondary subjects in regions that are somewhat less in focus. By throwing areas farther away from the focal plane greatly out of focus, we can also define content that is not important in terms of detail but that still provides important context, mood or background field.
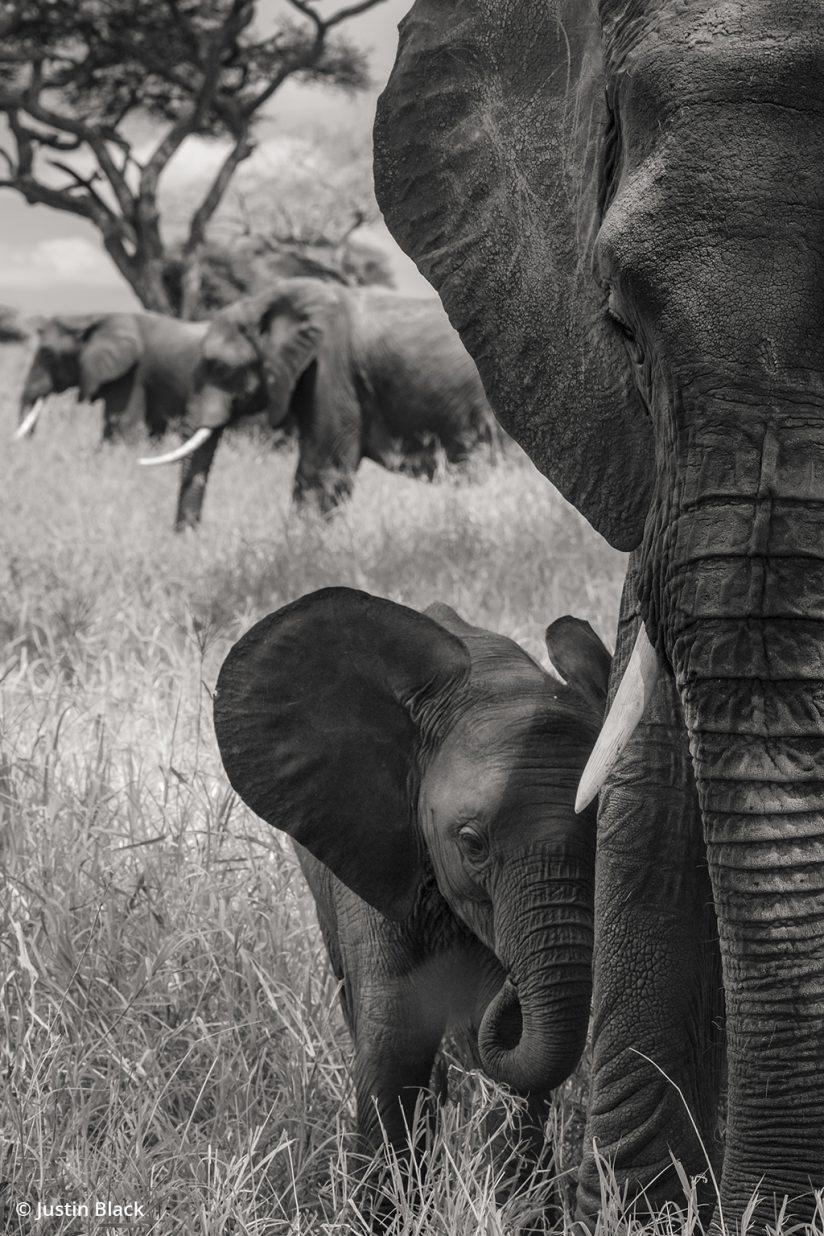
Mother elephant and calf, Tarangire National Park, northern Tanzania. Nikon D810, AF-S NIKKOR 70-200mm f/4G ED VR.
You often see this selective focus technique applied to reduce visual complexity in the background, which aids in directing viewers’ attention to the main subject. Just as we can subtract elements from a composition using perspective and framing (either eliminating them or reducing their importance in the visual hierarchy), we can do the same with blur.
The Decisive Moment
A popular romantic notion about landscape photographers is that we are so committed to our art that we regularly wait ages until the light is right to make a single perfect exposure, whiling away the hours by stroking our beards and waxing poetic about the fluttering of aspen leaves, the marching of ants or the murmur of a nearby stream. Smart landscape photographers, however, figure out in advance when and where the conditions are most likely to be right to make the pictures they have visualized. Doing so determines the time by which they need to be set up and ready to make a given picture.
While it can be wonderful to peacefully contemplate the universe while waiting for the light, as long as we are ready to trip the shutter at the right moment, we don’t need to spend valuable time waiting around. The important thing is determining the right time to make the exposure, discarding other possible times. Embracing this form of pre-editing, we avoid shooting hundreds of frames that were destined for the trash can from the get-go.
Initial Picture Edit
The notion of subtraction applies once we’ve finished a shoot as well. A painter wouldn’t create thousands of new works with the intent of discarding the bulk and keeping only a handful of the best, though photographers do this all the time. A photographer’s unedited shoot is a bit like Michelangelo’s block of raw marble. The most successful fruits of the artist’s labor have yet to be separated from the chaff.
Photo editing is an art in itself. To master it, study photography and two-dimensional art through history, learn what the real state of the art is today in whatever genres you favor, maintain high standards for your work, and practice brutality when deciding which images make the cut. Your work will ultimately stand out in stark relief above the crowd.
As I review a new set of images for the first time, my priority is to identify top selects and images that are candidates to become limited-edition prints. These get backed up to an additional hard drive immediately. The next round identifies any other images that I consider worthy of keeping for my archive. All the keepers then get backed up, and everything else gets deleted.
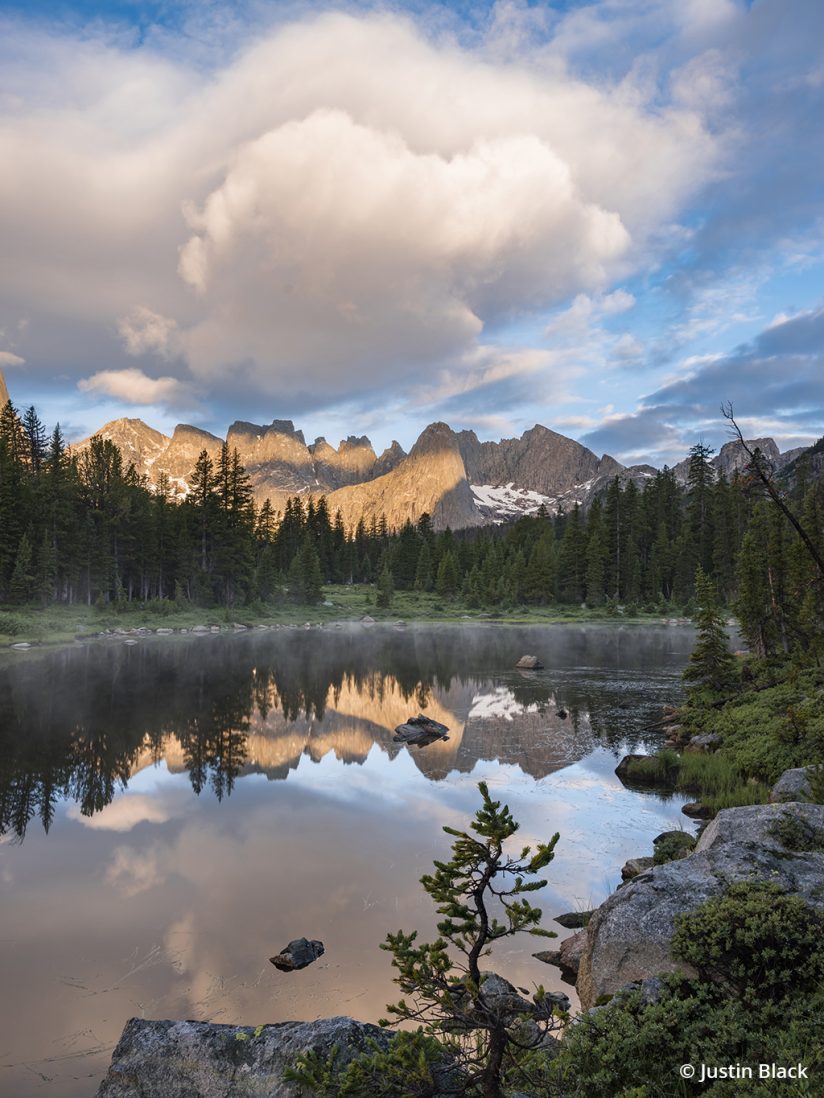
Morning light on the Cirque of the Towers from Horseshoe Lake, Wind River Range, Wyoming. FUJIFILM GFX 50S, FUJINON LENS GF32-64mmF4 R LM WR, Really Right Stuff TVC-24L tripod and BH-55 ballhead.
Development Of Select Images
In the processing stage, too, I typically ask myself which elements of the picture I wish to call attention and which do I want to diminish in visual priority? Do I want to darken the edges of the frame slightly to enhance the visual prominence of content nearer the center? Do I want to burn in an area to pure black to eliminate distracting texture or form in shadows, or make a background pure white, to render a minimalist composition that focuses all attention on the main subject? Rendering background as black or white is subtractive, eliminating unnecessary information from the photograph and creating negative space.
Last Steps
If you’ve ever traveled with me on a Visionary Wild expedition, you might have heard me say, “You only need one.” Personally, if I come away from a dawn landscape photography session with just one image that meets my high standards for inclusion in my limited-edition print portfolio, then I consider the outing a success. If I make two or more print-worthy images in a session, then I am over the moon.
The process of incorporating an image into my print portfolio takes quite a while. First, I “live with” the image for a matter of weeks or months, reviewing it periodically to determine whether it truly is worthy or if I am simply emotionally attached to it. If it makes the final cut, then I carry out final color-managed image development to create the fine-print master file.
Over time, some images that I’ve made available as limited editions have been retired, either by selling out the edition or because I’ve decided that they no longer represent my best work—another round of subtraction. From millions of exposures I’ve made in my lifetime, my active Lightroom library has been edited down to approximately 300,000 images, and my current portfolio of limited edition images totals only about 300 photographs that remain after carving away the universe.
Beyond that, the winnowing process continues as pictures get selected in sets from my portfolio or library for specific projects, whether a print exhibition, a book project, a magazine article, a blog post or submission to an advertising client. Curators, picture editors, art directors and designers working on these projects make final decisions about which pictures to include. At this stage, the photographer typically hopes this further visual distillation of the universe will result in his or her pictures being included in the final product, rather than being subtracted out entirely, as though David had been reduced to a pile of rock dust.
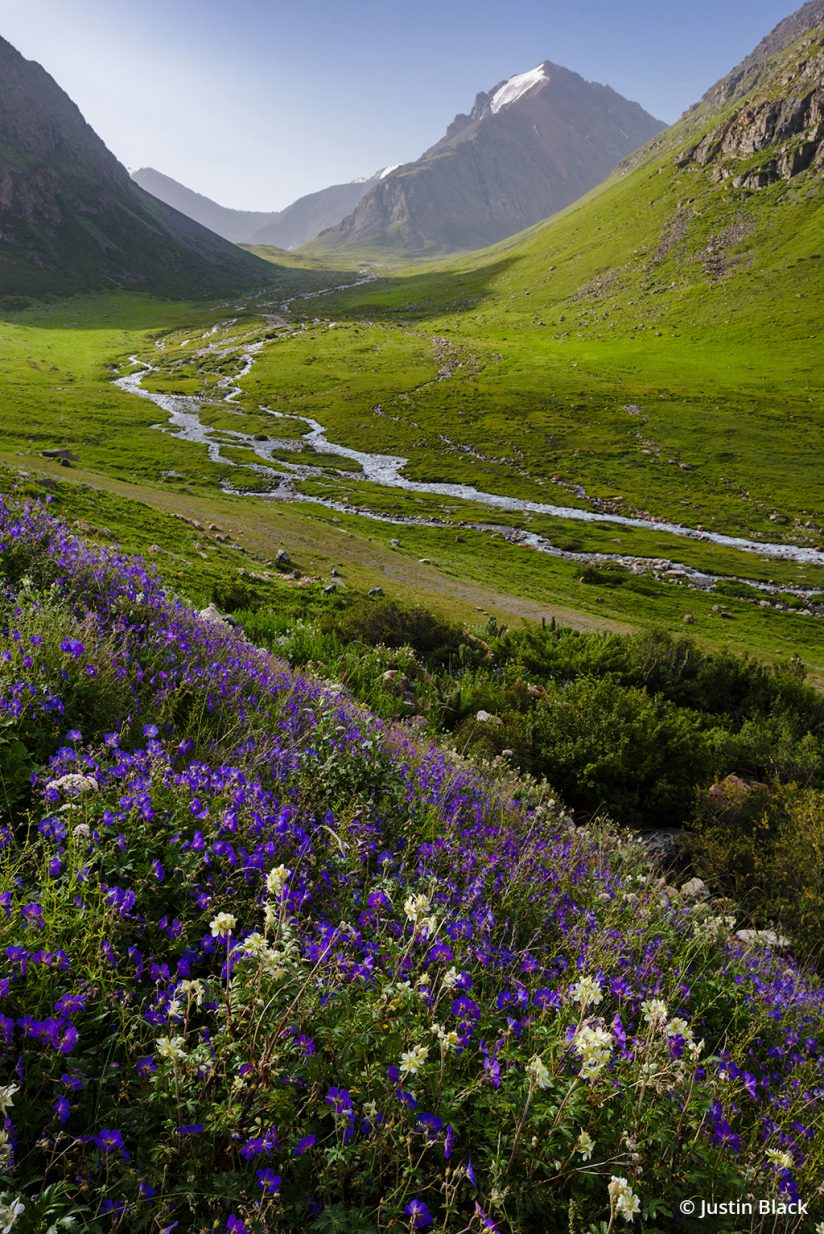
Alpine wildflowers in a glacier-carved valley, Tian Shan mountains, eastern Kyrgyzstan. Nikon D810, AF-S NIKKOR 18-35mm f/3.5-4.5G ED, Singh-Ray LB Polarizer, Really Right Stuff TVC-24L tripod and BH-55 ballhead.
Considering the subtractive aspects of photography can help you to make stronger pictures in the first place, while ensuring that your process funnels your work into a strong and continuously improving portfolio that represents a fairly concise statement of your personal vision of your world in your lifetime. After all, photography can be life-long practice, a never-ending learning experience that enriches the way we perceive the world, enables us to engage with space-time in an intimate way and adds incalculably to our purpose and meaning in life, even if we do have to subtract the universe in the process.
The post Subtracting The Universe appeared first on Outdoor Photographer.

