We all have secret ways to harvest deer. One of those is knowing what you have. Here’s what we found works to get the most shots on your trail camera.
I’ve always hunted deer on public land. I grew up in the Adirondack Mountains and our first trail camera was a string attached to a box that set a timer off when something crossed its path. Then, we got fancy and used a motion detector that had three timers on it so we could see exactly what time something crossed the path. We didn’t know if this was a buck or a doe or even a deer.
Today, technology has changed and some may argue that deer have as well. I’m a big fan of innovation but very stern to sticking to my roots. I would give anything to kill a giant whitetail buck from the ground in a black and red plaid shirt with my long bow. Of course this takes work, dedication and most of all patience.
How do I increase my odds?
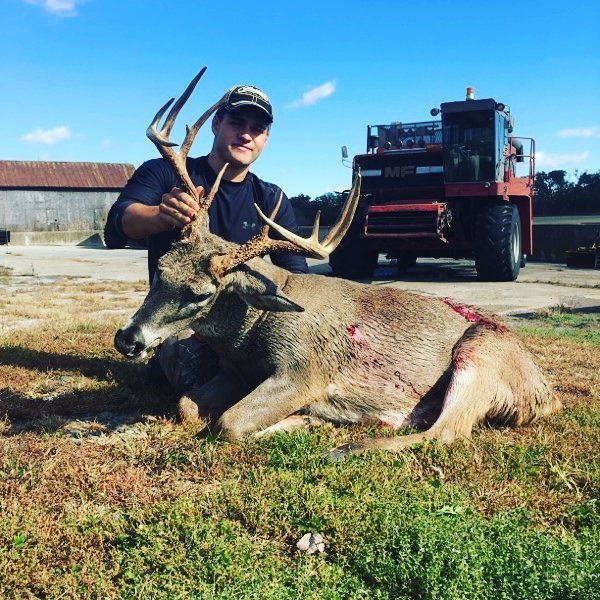
So how do I give myself the best odds? Whether I’m hunting with my rifle or longbow, how do I manage my time to ensure that I’m spending the best quality time in the woods that I can. That is where innovation becomes helpful.
This year we conducted a deer analysis using trail cameras. We set it up to get an idea of the number of deer total on a 900-acre farm. This farm is owned by the county and leased to farmers. The farmers are disgusted with the amount of deer on the farm, so the county has hired us to come in and do some quality deer management. This is a great opportunity for myself and my team to see and shoot deer, feed the hungry and help the community. Overall, the large number of deer on the property has led to a great deal of damage on the farmer’s crops.
Our goal was to get a close representation of the total number of deer, but also core, mature bucks in the area. We used a strategy we described earlier in the year after interviewing Matt Dye of Land and Legacy. What we found to begin our trail camera analysis was quite amazing.
Getting set up
So we set out 11 trail cameras throughout the 900-acre property. We made sure we didn’t walk into wooded areas, but tried to stay on the edge of the crops while we laid out corn for bait. At first, we saw a good deal of deer but the numbers didn’t seem to be as promising as we had hoped, at least when it came to the number of mature bucks. We ran this test for three weeks and had a total of three shooter bucks on the property. We describe a shooter buck as a mature buck, over four years old, sporting at least 140-inch antlers. Photos were rare, and even though they were daytime and nighttime photos, it just didn’t seem right.
Read this before we go any further
Before you read this next section, you need to understand one thing: I am a freelance, outdoor writer and have no ties to any products. My job, I enjoy, because I get to test products quite frequently and work my way through the marketing to see if the companies really are as good as their marketing is. With that in mind, we went back to the drawing board and decided we needed something more than just corn to attract our deer to get in front of our trail cameras.
After extensive research, we found there really are quite a few effective products on the market. When we came across the company called Monster Meal, we learned the products are formulated by a lifelong hunter and someone who holds a Ph.D in ruminant animal nutrition. If I have a problem with my teeth, I want to see a dentist. If I have a heart condition, I want to see someone who specializes in cardiology. So we thought it was smart since we wanted to attract deer to our cameras, we would go with Monster Meal.
Where did all these bucks come from?
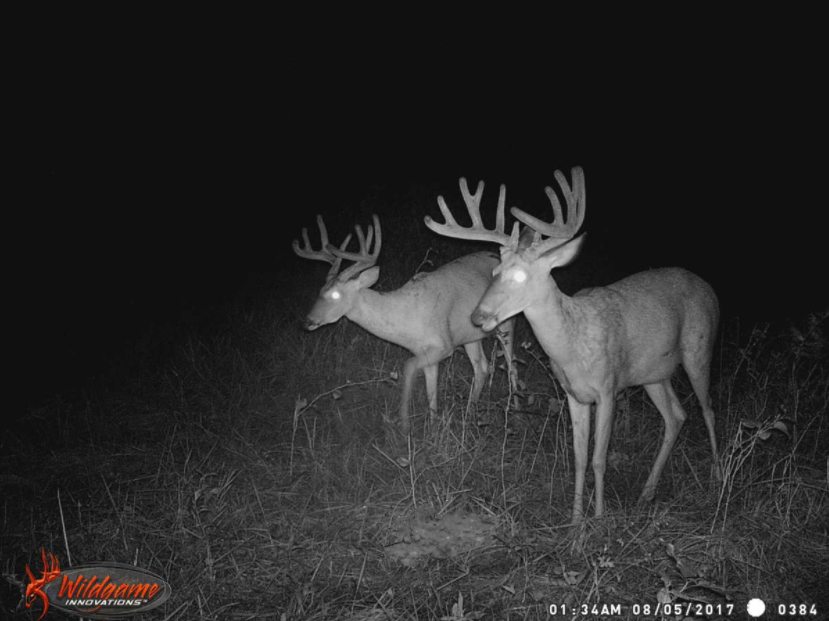
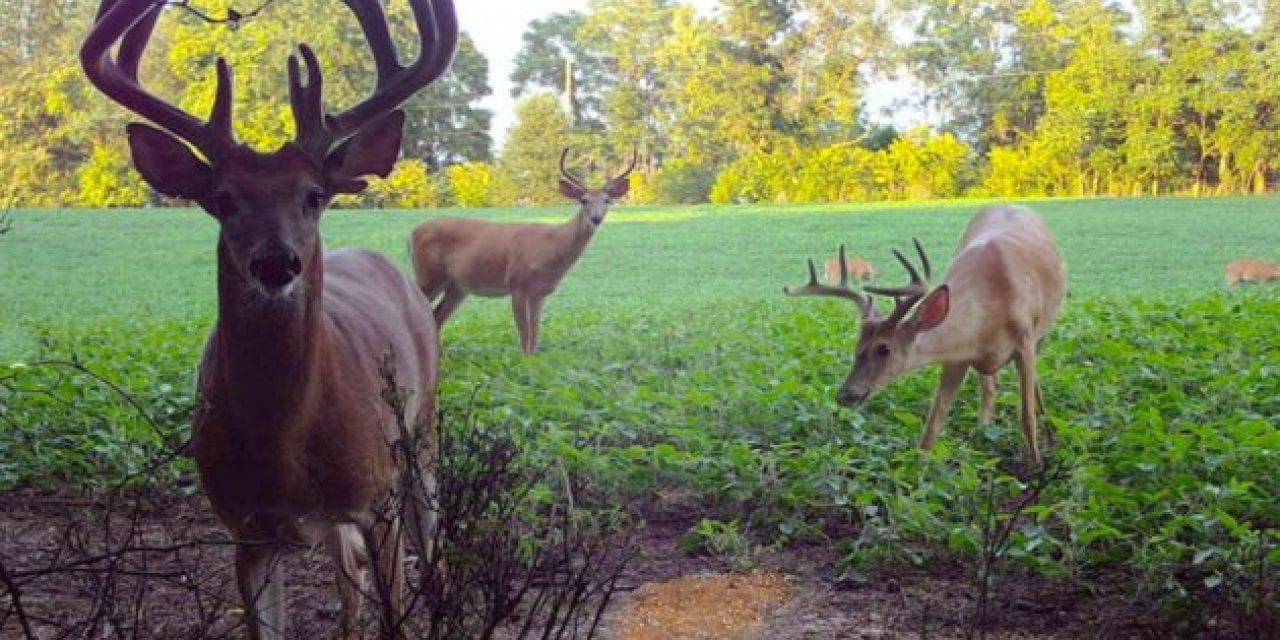
Just like that, it was like we turned on a light switch. We used the Monster Meal Attractant in front of every single camera and within three days we had more bucks and deer in general than we’d ever seen before.
Of course, we weren’t convinced at first. I’m not a pessimist; I’m a realist. I like to think when it comes to deer hunting, it’s a science at times. So we had to know if it was only the Monster Meal that made the difference, or if other factors like the weather or moon played a role. Could any attractant have worked? Sure, I can’t say that it wouldn’t because we haven’t proved it otherwise. But we took a look at all the information gathered.
We started testing a software program called DeerLab.com, and it has allowed us to organize all of our photos together to see movement based on a number of things. Being that we are able to go through and tag the photos however we would like, we made a tag called “mature bucks.” After doing this, we can monitor the photos that only have mature bucks in them, and we can use Deer Lab to collect the data so we can see the overall deer movement.
The key to success.
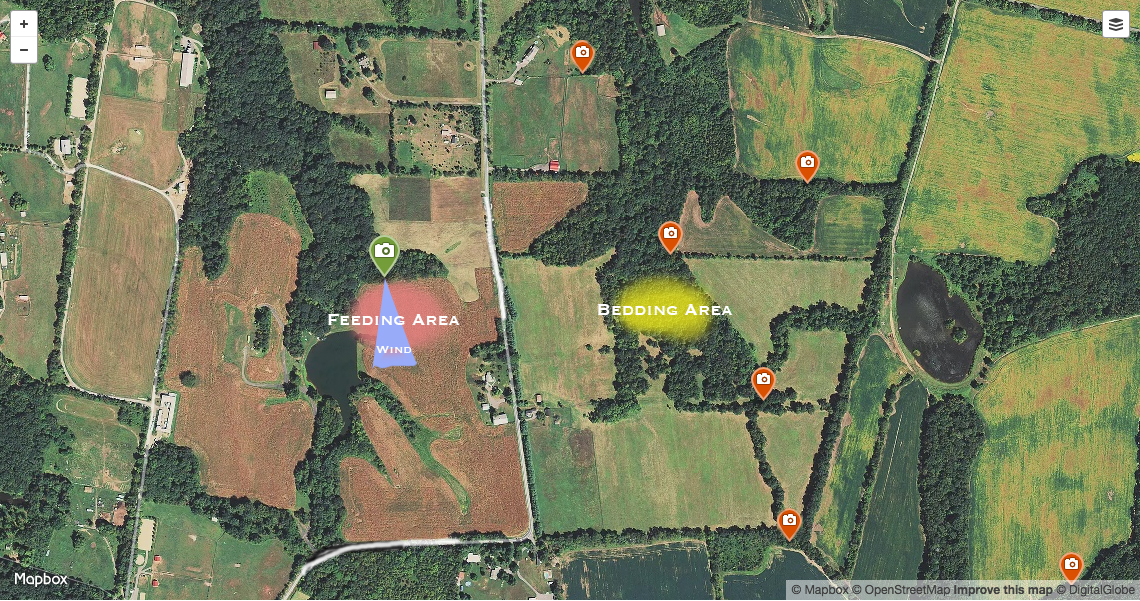
What we found was quite impressive. The moon affected the movement of mature bucks, but what really set it off was having the Monster Meal in front of the camera. If you have some sort of attractant in front of your camera, try to place it in an upwind location to where deer will often graze in a food plot. As the scent carries, it will almost become irresistible to deer and nearly pull them toward the front of your camera. If you don’t have a good location upwind, try to get it as close as possible to where the deer graze.
Overall, there is no doubt adding Monster Meal Attractant to our cameras this year increased our mature buck sightings. Because of how many cameras we have, it can get costly to keep them all regularly stocked up on Monster Meal. So our goal is to mix it with corn as the season continues, but never go without Monster Meal.
The attractant, camera locations and method to our analysis was very successful. Now it’s time to just put the data to use and try for yourself!
Like what you see here? You can read more articles by Dustin Prievo here. Follow him and his hunting team, Top Pin Outdoors, on Twitter, Facebook and Instagram.
NEXT: 11 TRAIL CAMERAS TESTED FOR QUALITY, DISTANCE, TRIGGER SPEED AND MORE
The post The Secret to Attracting Big Bucks to Your Trail Camera appeared first on Wide Open Spaces.

