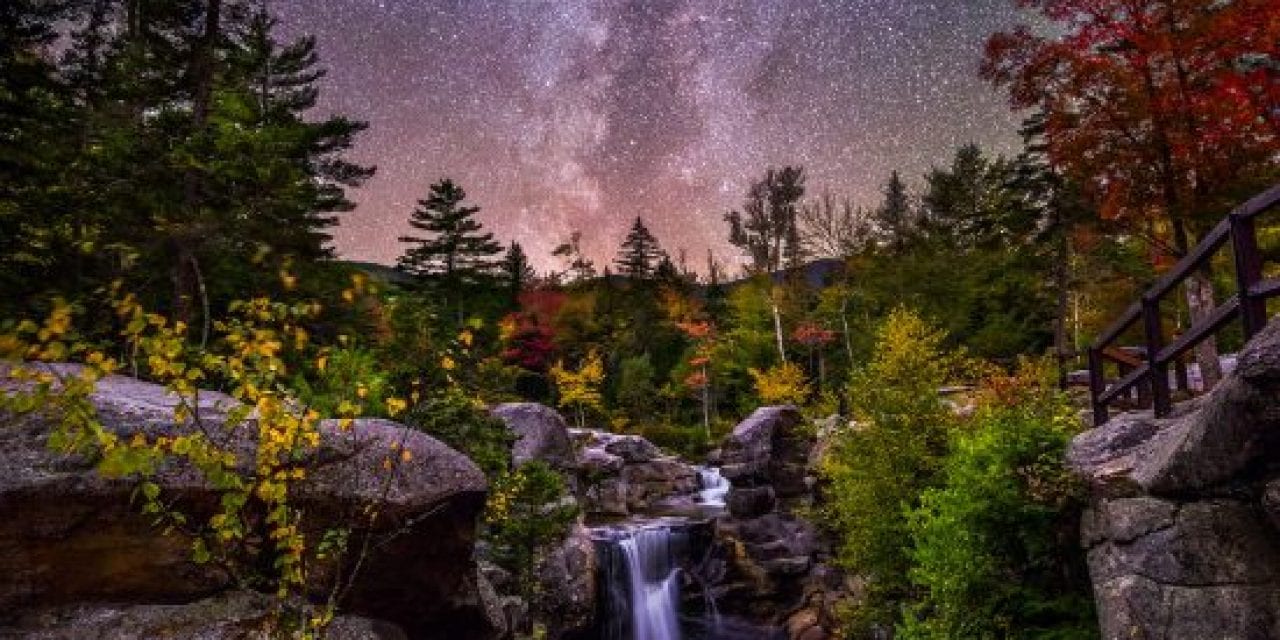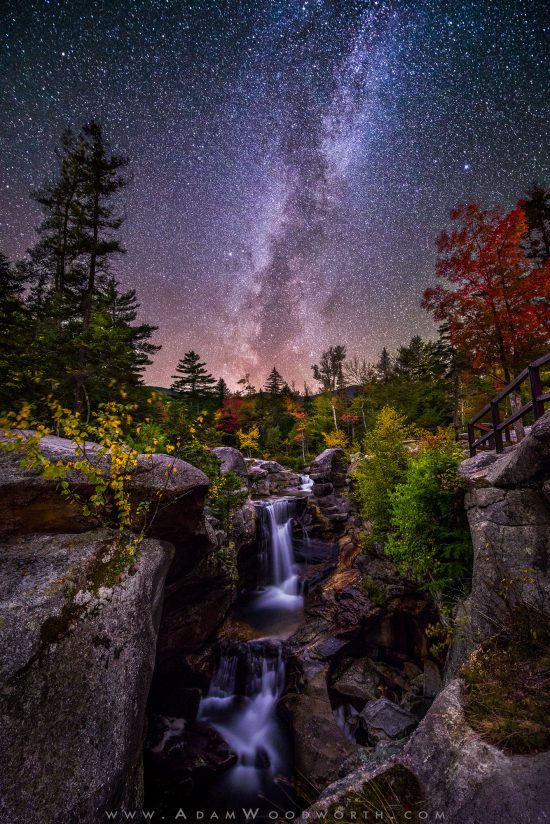
This is one of my favorite shots from back in 2013. Back then, we didn’t have no stinkin’ apps that let you plan Milky Way shots easily on satellite maps like you can with PhotoPills. It was all about knowing the heading of the Galactic Center by using a star chart, whether an actual chart or an app like Star Walk, and then looking at satellite view in Google Maps and determining if the angle of the Milky Way would line up at some point in the night with my desired foreground subject.
Even better, standing at the actual location I could use my compass and determine when the Milky Way would line up in the night by comparing the heading of my foreground object with the time that the Milky Way would be at that angle using the star chart.
That has since been largely replaced with planning apps like PhotoPills, an iOS or Android app that lets you plan landscape photography shots, and the Night Augmented Reality mode lets me view the angle of the Milky Way at any time and date overlaid on the live view of my iPhone’s camera.
Back in 2013, I did the planning the old fashioned way and knew that the Milky Way wouldn’t line up at this point until pretty late in the night, but it wasn’t clear exactly when, since I couldn’t see exactly where I would be standing on the satellite map. So I showed up early in the night and used my compass to figure out roughly when the Milky Way would be in position. I had plenty of time to setup my foreground and get everything figured out.
Turns out it was a good thing I had so much time to figure everything out, because getting a brightly exposed foreground shot was challenging. I was used to doing foreground shots of a few minutes or so to capture enough light in the dark, but looking into a gorge with no ambient light it was DARK! A 5 minute exposure wasn’t going to cut it. I tried light painting the gorge with a flashlight but it looked horrible, far too much glare on the wet rocks and weird shadows cast by the flashlight. It just didn’t look good, and to this day I rarely use light painting for the same reasons. So in the end I used a 20 minute exposure for the foreground, which worked out great!
The problem, though, was that my lens would fog up after a few minutes. This happens when the dew point reaches the ambient temperature, and means water droplets are much more likely to form on surfaces, and it turns out that the large front elements of wide angle lenses like the Nikon 14-24mm f/2.8 are the perfect surfaces. This was before I had my electric lens heaters, so in a pinch I used some Little Hotties hand warmers in a wool sock. I wrapped the sock around the lens and it worked! The lens was kept warm enough to prevent dew from forming on the front element. These days I have an electric heater from Protage that plugs into any USB battery pack.
Nikon D800E with NIKKOR 14-24mm f/2.8 lens @ 14mm and f/2.8. This was before I knew about star stacking, so the sky is from a 25 second shot at ISO 3200. Today I use star stacking, a method for capturing pinpoint stars and processing the images to get very low noise. The foreground is from a 20 minute shot at ISO 1600. Both shots were taken on the same night in the same spot, without moving the tripod. They were prepped in Lightroom and blended in Photoshop to create an image that is well exposed, sharp, and with low noise from the foreground to the stars.
Learn more about Milky Way shooting & editing techniques through tutorials available at Adam’s website, www.adamwoodworth.com, and follow him on Instagram as @awoodworthphoto.
The post The Story Behind: Milky Way Falls appeared first on Outdoor Photographer.

